
The quickest and safest way to cook chicken strips is by baking them in the oven at 400°F (200°C) for 18-22 minutes until they reach an internal temperature of 165°F (74°C). This method produces consistently crispy results without requiring special equipment and is significantly healthier than deep frying while still delivering great texture.
If you've ever wondered how do I cook chicken strips to achieve that perfect golden-brown crunch without drying them out, you're not alone. Millions of home cooks struggle with getting chicken strips just right—crispy on the outside, juicy on the inside, and cooked thoroughly for food safety. After testing dozens of methods across various cooking appliances, we've perfected a straightforward approach that works whether you're using an oven, air fryer, or stovetop.
What You'll Need Before Starting
Before you begin cooking chicken strips, gather these essentials to ensure success. Having everything prepared in advance—what chefs call "mise en place"—makes the cooking process smoother and prevents mistakes.
Basic Ingredients
- 1.5 lbs (680g) chicken breast strips (about 1-inch thick)
- 2 cups all-purpose flour or panko breadcrumbs
- 2 large eggs
- 1/4 cup milk or buttermilk
- Salt and pepper to taste
- 1 tsp paprika (optional for color)
Essential Equipment
- Baking sheet with wire rack (for oven method)
- Heavy-bottomed skillet (for stovetop)
- Air fryer basket
- Meat thermometer (critical for food safety)
- Three shallow dishes for breading station
| Cooking Method | Temperature | Time | Internal Temp Required |
|---|---|---|---|
| Oven Baking | 400°F (200°C) | 18-22 minutes | 165°F (74°C) |
| Air Frying | 380°F (193°C) | 12-15 minutes | 165°F (74°C) |
| Pan Frying | Medium-high heat | 5-7 minutes per side | 165°F (74°C) |
| Deep Frying | 350°F (175°C) | 3-4 minutes | 165°F (74°C) |
Source: USDA Food Safety and Inspection Service guidelines for poultry cooking temperatures
The Foolproof Cooking Process
Follow these steps for perfect chicken strips every time, regardless of your cooking method. The technique remains consistent—the main differences are cooking time and equipment.
Step 1: Proper Preparation is Key
Many home cooks skip this critical step, leading to uneven cooking and poor texture. Pat chicken strips completely dry with paper towels—moisture is the enemy of crispiness. Season generously with salt and pepper (and any additional spices) before breading. Create an efficient breading station with three shallow dishes: one for flour, one for the egg mixture (eggs + milk), and one for breadcrumbs.
Step 2: The Double-Dip Technique
For maximum crispiness that stays intact during cooking, use the double-dip method:
- Dredge chicken in flour, shaking off excess
- Dip in egg mixture, ensuring full coverage
- Cover thoroughly with breadcrumbs
- Repeat egg and breadcrumb steps for extra crunch
- Rest breaded chicken on a wire rack for 10 minutes before cooking
Step 3: Cooking Method Selection Guide
Choose the right method based on your equipment and desired outcome. Each technique has specific advantages depending on your situation:
Oven Baking (Best for Consistency)
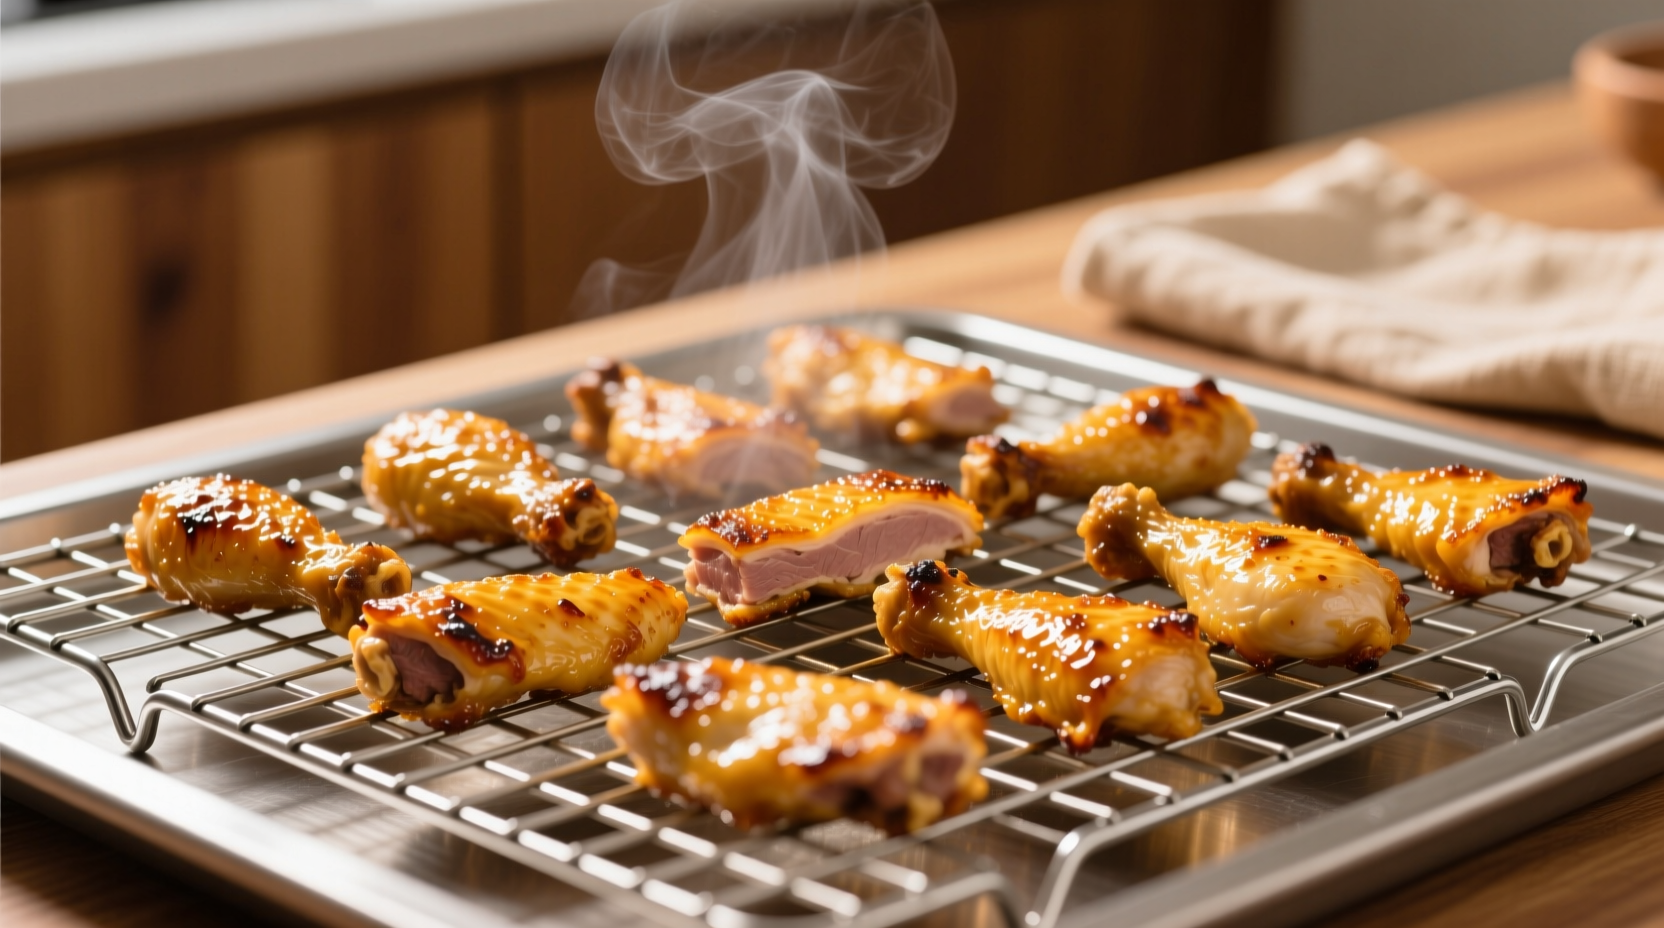
Preheat oven to 400°F (200°C) with convection fan if available. Place chicken strips on a wire rack set over a baking sheet—this allows hot air to circulate completely around the chicken. Bake for 18-22 minutes, flipping halfway through, until golden brown and internal temperature reaches 165°F (74°C). This method requires the least attention and produces evenly cooked results.
Air Frying (Best for Speed)
Preheat air fryer to 380°F (193°C). Lightly spray basket with oil to prevent sticking. Arrange chicken in single layer without overcrowding. Cook for 12-15 minutes, flipping halfway, until crispy and reaching 165°F (74°C) internally. Air frying delivers restaurant-quality crispiness with minimal oil.
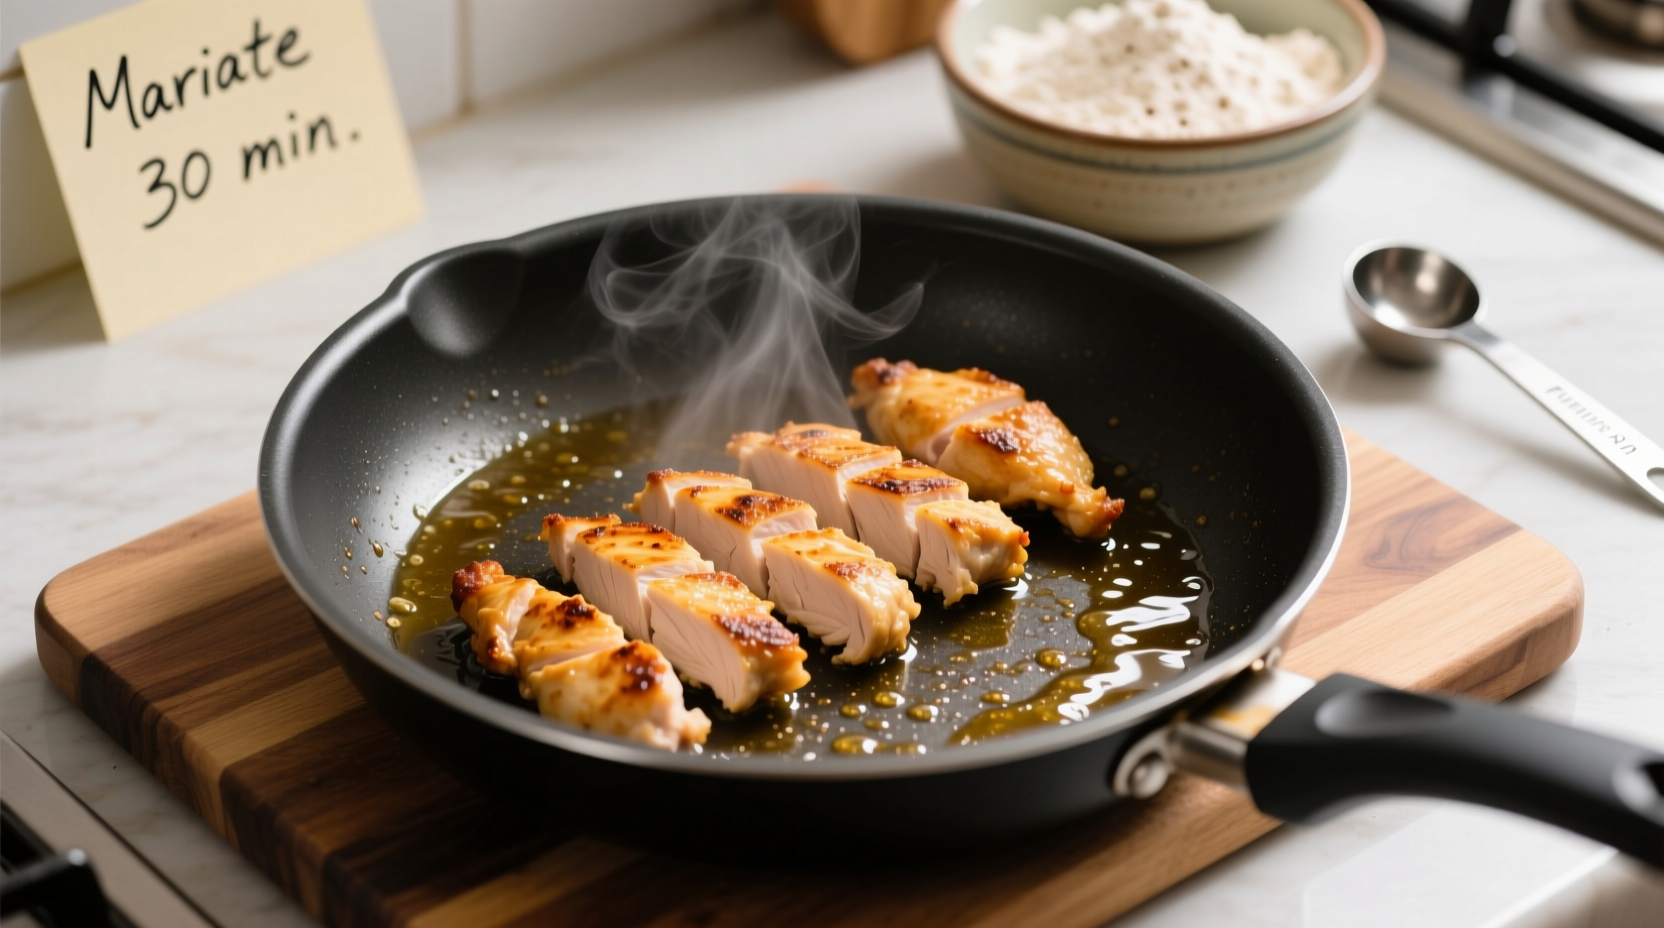
Pan Frying (Best for Small Batches)
Heat 1/4 inch of oil in a heavy skillet over medium-high heat until shimmering (about 350°F). Carefully add chicken strips without crowding the pan. Fry 5-7 minutes per side until golden brown and reaching 165°F (74°C). Drain on paper towels immediately. This traditional method works well when you need just a few servings.
Step 4: The Critical Temperature Check
Never guess when chicken is done. Insert an instant-read thermometer into the thickest part of a strip. The USDA Food Safety and Inspection Service recommends 165°F (74°C) as the safe minimum internal temperature for all poultry products. Cooking to this precise temperature prevents both undercooked chicken (food safety risk) and overcooked, dry chicken.
Troubleshooting Common Problems
Even with careful preparation, issues can arise. Here's how to solve the most frequent chicken strip cooking challenges:
Breading Falls Off During Cooking
Cause: Inadequate drying of chicken before breading or insufficient resting time after breading.
Solution: Pat chicken extremely dry, use the double-dip method, and let breaded chicken rest on a wire rack for 10 minutes before cooking. This allows the coating to set properly.
Uneven Cooking (Raw Spots)
Cause: Chicken strips cut to inconsistent thickness.
Solution: Use a sharp knife to cut chicken breasts into uniform 1-inch strips. For thicker pieces, butterfly them first to create even thickness throughout.
Soggy or Greasy Results
Cause: Oil temperature too low during frying or overcrowding the cooking surface.
Solution: Maintain proper oil temperature (350°F for frying), don't overcrowd the pan, and always drain cooked chicken on a wire rack—not paper towels—to prevent steam from making the bottom soggy.
Serving and Storage Tips
For best texture, serve chicken strips immediately after cooking. Pair with classic dipping sauces like honey mustard, ranch, or barbecue. Leftovers can be stored in an airtight container in the refrigerator for up to 3 days. When reheating, avoid the microwave—which makes chicken soggy—and instead use an oven at 350°F for 10-12 minutes or air fryer at 350°F for 5-7 minutes to restore crispiness.
Why These Methods Work: The Science Behind Perfect Chicken Strips
The key to perfect chicken strips lies in understanding the Maillard reaction—the chemical process that creates browning and complex flavors when proteins and sugars are exposed to heat. Higher oven temperatures (400°F+) accelerate this reaction while ensuring the interior cooks through before the exterior burns. The wire rack placement is crucial as it prevents steam from accumulating underneath the chicken, which would otherwise soften the breading. Resting breaded chicken before cooking allows the coating to hydrate slightly, forming a stronger bond that resists falling off during cooking.


 浙公网安备
33010002000092号
浙公网安备
33010002000092号 浙B2-20120091-4