
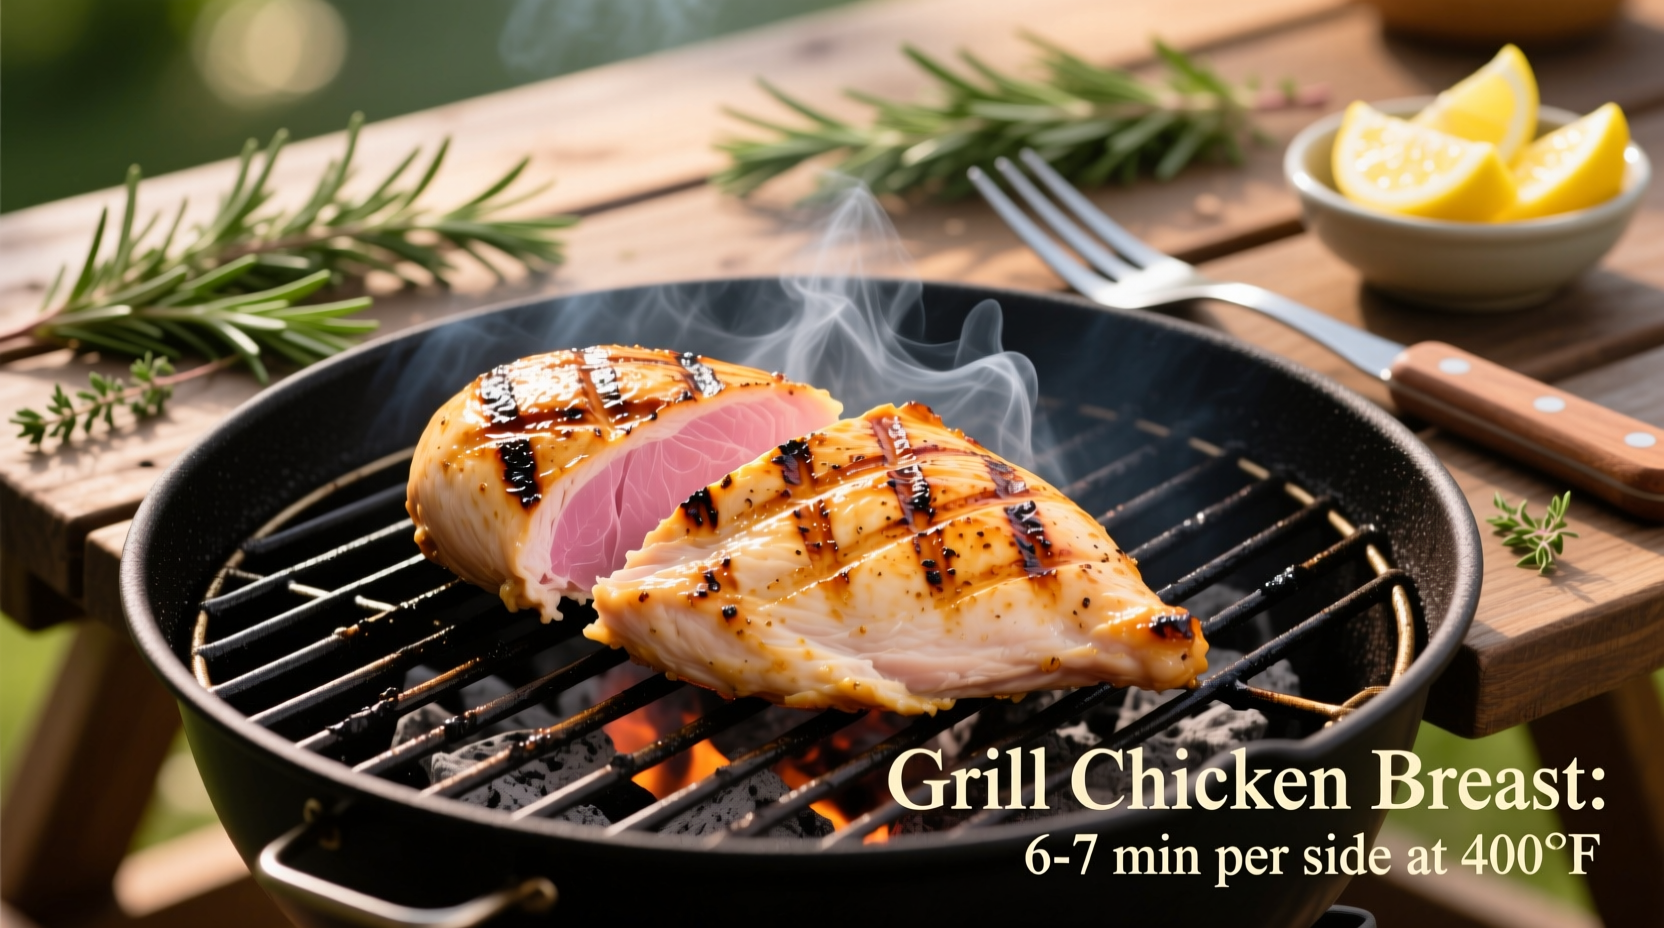
Grill chicken breast to perfect juiciness by preheating your grill to 400-450°F, pounding breasts to even ¾-inch thickness, and cooking for 6-8 minutes per side until reaching 165°F internal temperature. Always use a meat thermometer and let rest 5 minutes before slicing.
Nothing ruins a summer barbecue faster than dry, rubbery chicken breast. As a chef who's grilled thousands of chicken breasts across professional kitchens and backyard setups, I've perfected a foolproof method that delivers restaurant-quality results every time. This guide cuts through the confusion with science-backed techniques that prevent common pitfalls like uneven cooking and moisture loss.
Pre-Grill Preparation: Setting Up for Success
Before touching your grill, proper chicken preparation makes all the difference. Start by selecting boneless, skinless chicken breasts of similar size (about 6-8 ounces each) to ensure even cooking. Pound thicker portions to a uniform ¾-inch thickness using a meat mallet or heavy skillet - this critical step prevents the thinner ends from drying out while waiting for thicker sections to cook through.
Food safety comes first: keep chicken refrigerated until ready to prepare, use separate cutting boards for raw poultry, and wash hands thoroughly after handling. According to USDA Food Safety guidelines, raw chicken should never sit at room temperature for more than two hours (or one hour in temperatures above 90°F).
| Chicken Thickness | Recommended Cooking Time | Resting Time |
|---|---|---|
| ¾ inch | 12-16 minutes total | 5 minutes |
| 1 inch | 16-20 minutes total | 7 minutes |
| Bone-in (10-12 oz) | 20-25 minutes total | 10 minutes |
Seasoning Strategies That Actually Work
While marinades add flavor, they don't significantly tenderize chicken breast due to its low fat content. For best results, use a dry brine with salt (1 teaspoon per pound) at least 30 minutes before grilling. This draws out moisture temporarily, then allows the meat to reabsorb seasoned liquid for better flavor penetration.
For quick weeknight meals, combine salt with garlic powder, onion powder, and smoked paprika directly on the chicken 15 minutes before grilling. If using acidic marinades (like lemon or vinegar-based), limit contact time to 2 hours maximum - prolonged exposure can give chicken a mushy texture.
Mastering Grill Setup and Temperature Control
Successful grilling requires proper heat management. Preheat your grill to 400-450°F with a two-zone fire - direct heat on one side for searing, indirect heat on the other for finishing. Gas grill users should preheat with all burners on high for 10-15 minutes; charcoal users need a single layer of glowing coals covered with gray ash.
Clean and oil the grates thoroughly before cooking. A simple test: if you can hold your hand 5 inches above the grill for 2-3 seconds, you've achieved proper medium-high heat. This temperature range creates beautiful grill marks while allowing sufficient time for the interior to cook without burning the exterior.
The Cooking Process: Timing and Technique
Place chicken on the hottest part of the grill at a 45-degree angle to the grates for attractive crosshatch marks. Resist the urge to move or press down - this squeezes out precious juices. After 3-4 minutes, rotate chicken 90 degrees for proper sear lines, then flip once when it releases naturally from the grates (about 6-8 minutes total on first side).
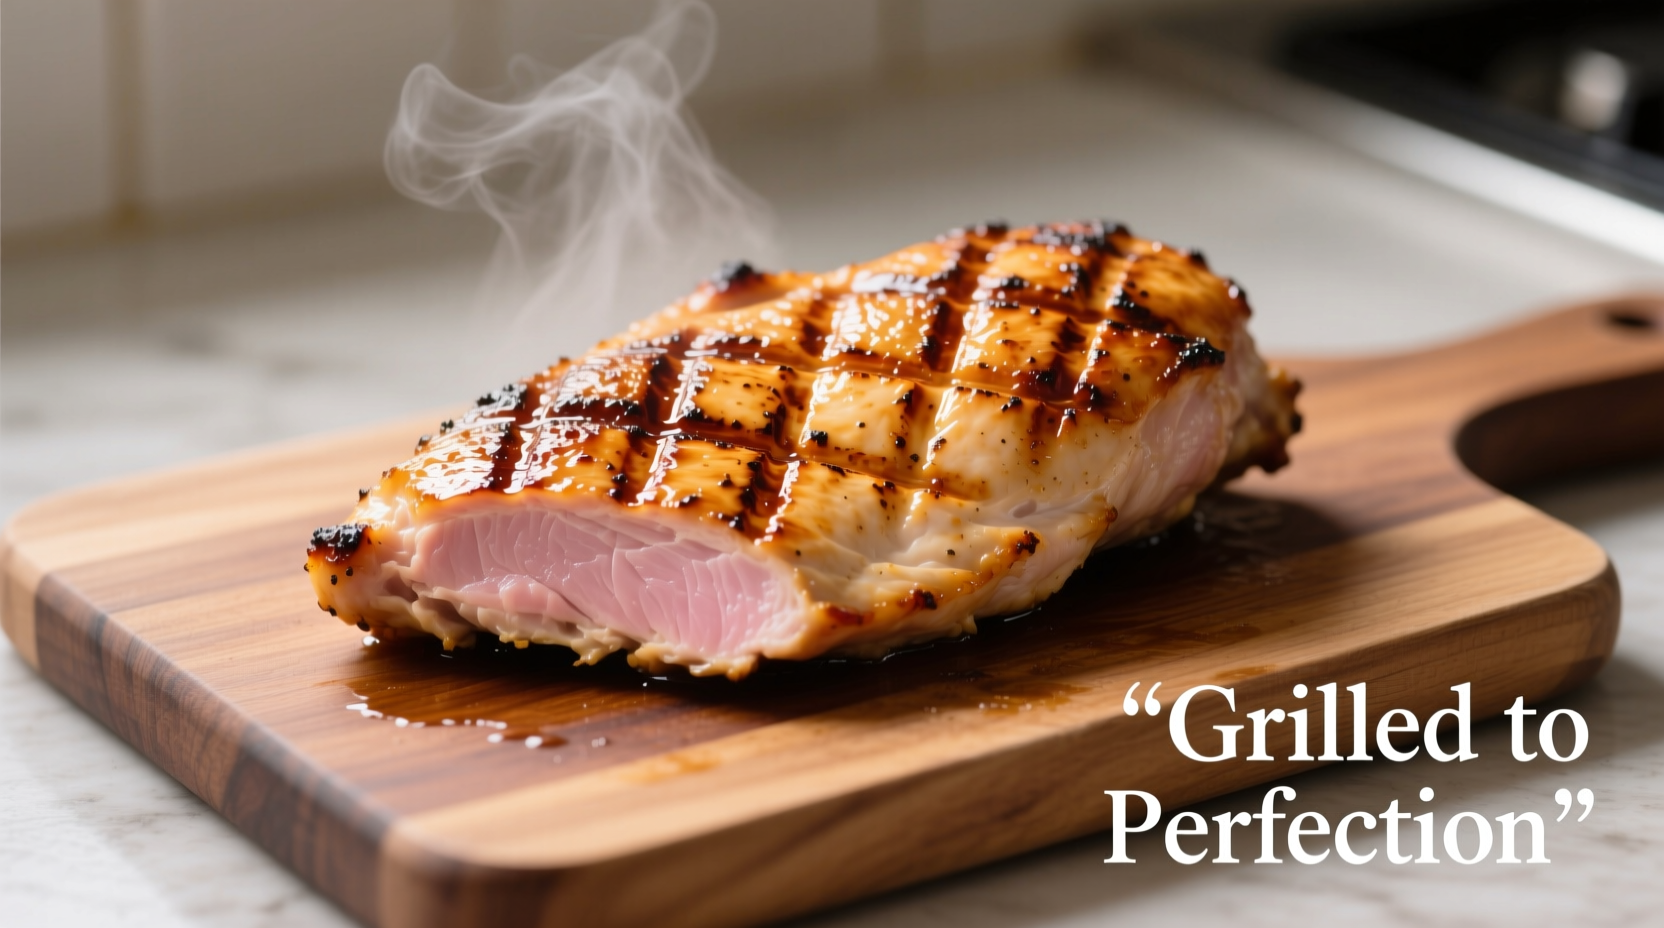
Move to indirect heat side to finish cooking, closing the lid to create an oven-like environment. Check temperature frequently with an instant-read thermometer - remove chicken at 160°F as carryover cooking will bring it to the safe 165°F during resting. Never slice immediately; the 5-minute rest allows juices to redistribute throughout the meat.
Troubleshooting Common Grilling Problems
Sticking chicken? Ensure grates are properly preheated and oiled. Chicken naturally releases when seared correctly - forcing it off causes tearing.
Flare-ups happening? Move chicken to indirect zone immediately. Trim excess fat beforehand to prevent grease fires.
Dry results? You're likely overcooking. Invest in a reliable thermometer - visual cues alone can't accurately determine doneness.
According to American Institute for Cancer Research guidelines, avoid excessive charring as it can create potentially harmful compounds. If flare-ups cause heavy charring, trim those sections before serving.
Serving and Storage Tips
Slice against the grain at a 45-degree angle for maximum tenderness. Leftovers keep refrigerated for 3-4 days or frozen up to 3 months. Reheat gently in a covered dish with a splash of broth to maintain moisture.
For meal prep success, cook extra chicken breasts to use in salads, wraps, or grain bowls throughout the week. Properly stored grilled chicken maintains quality better than many realize when handled correctly.


 浙公网安备
33010002000092号
浙公网安备
33010002000092号 浙B2-20120091-4