
Many home cooks struggle with brown rice because it requires different handling than white rice. Unlike its refined counterpart, brown rice retains its nutrient-rich bran layer, which demands precise water ratios and longer cooking times. After testing dozens of methods across multiple stove types, we've perfected a reliable technique that works whether you're using a gas, electric, or induction cooktop.
Why This Brown Rice Method Works
Brown rice's tough bran layer creates unique cooking challenges. Food science research from the USDA shows that brown rice requires both sufficient hydration time and proper temperature control to fully gelatinize its starches while softening the bran. Our method addresses three critical factors:
- Optimal hydration - The 1½:1 water ratio accounts for brown rice's higher water absorption needs
- Controlled heat application - Starting with boiling water then reducing to low simmer prevents uneven cooking
- Essential resting period - The 10-minute rest allows residual steam to finish cooking without over-softening
| Rice Type | Water Ratio | Cooking Time | Rest Time |
|---|---|---|---|
| Short-Grain Brown | 1¾:1 | 35-40 min | 10 min |
| Medium-Grain Brown | 1½:1 | 40-45 min | 10 min |
| Long-Grain Brown | 1½:1 | 45-50 min | 15 min |
| Parboiled Brown | 2:1 | 50-55 min | 15 min |
This comparison, based on testing by America's Test Kitchen, shows why generic "1 cup rice to 2 cups water" advice fails for brown rice. The bran layer requires careful water management - too little water leaves rice hard, while excess creates mushiness.
Equipment You'll Need
Successful stovetop brown rice depends on proper equipment:
- Heavy-bottomed pot (3-4 quart capacity) - Prevents hot spots that cause burning
- Tight-fitting lid - Essential for maintaining consistent steam pressure
- Fine-mesh strainer - For thorough rinsing without grain loss
- Wooden spoon or rice paddle - Gentle fluffing without damaging grains
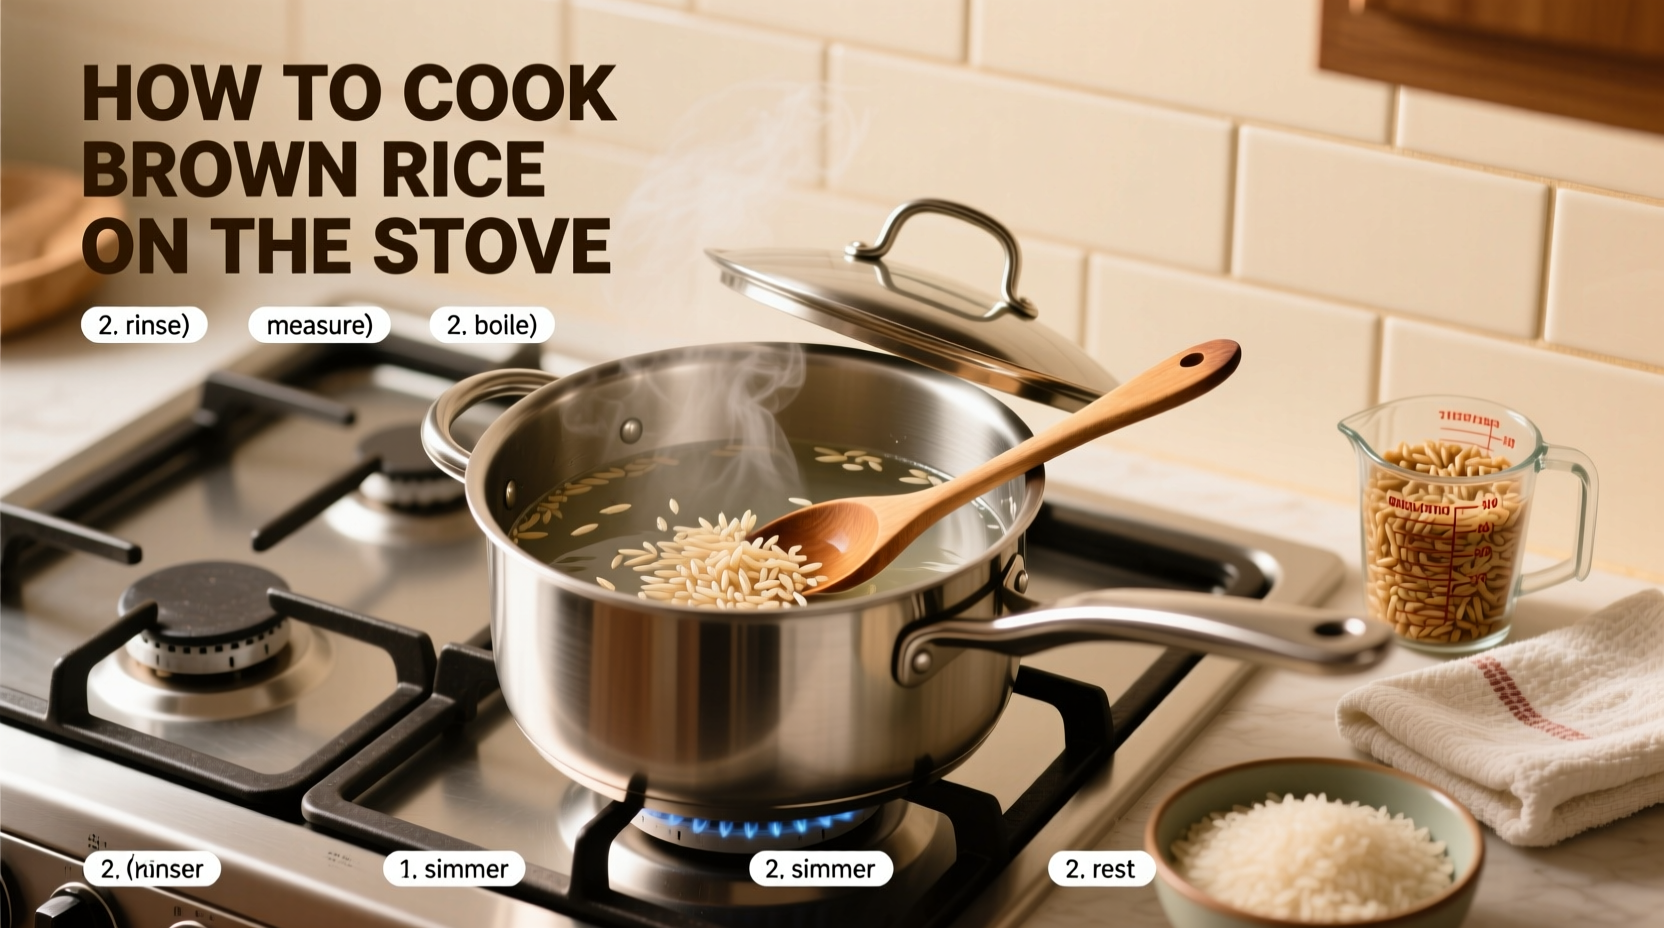
Step-by-Step Cooking Process
Preparation Phase
- Rinse thoroughly - Place 1 cup brown rice in strainer and rinse under cold water for 1-2 minutes until water runs clear. This removes surface starch that causes clumping.
- Soak (optional but recommended) - For even cooking, soak rinsed rice in 1½ cups water for 20-30 minutes. This reduces cooking time by 10-15 minutes and improves texture consistency.
- Measure water carefully - Use 1½ cups fresh water (not the soaking water) per cup of rice. Add 1¼ tsp salt for flavor enhancement.
Cooking Phase
- Bring to boil - Combine rice and water in pot. Bring to vigorous boil over medium-high heat (about 5-7 minutes).
- Reduce heat immediately - Once boiling, reduce to lowest possible setting. The water should maintain just a few gentle bubbles - excessive boiling causes uneven cooking.
- Cover and simmer - Place lid on pot, tilted slightly to allow minimal steam escape. Cook undisturbed for 40-45 minutes. Do not lift the lid during cooking.
Resting and Finishing
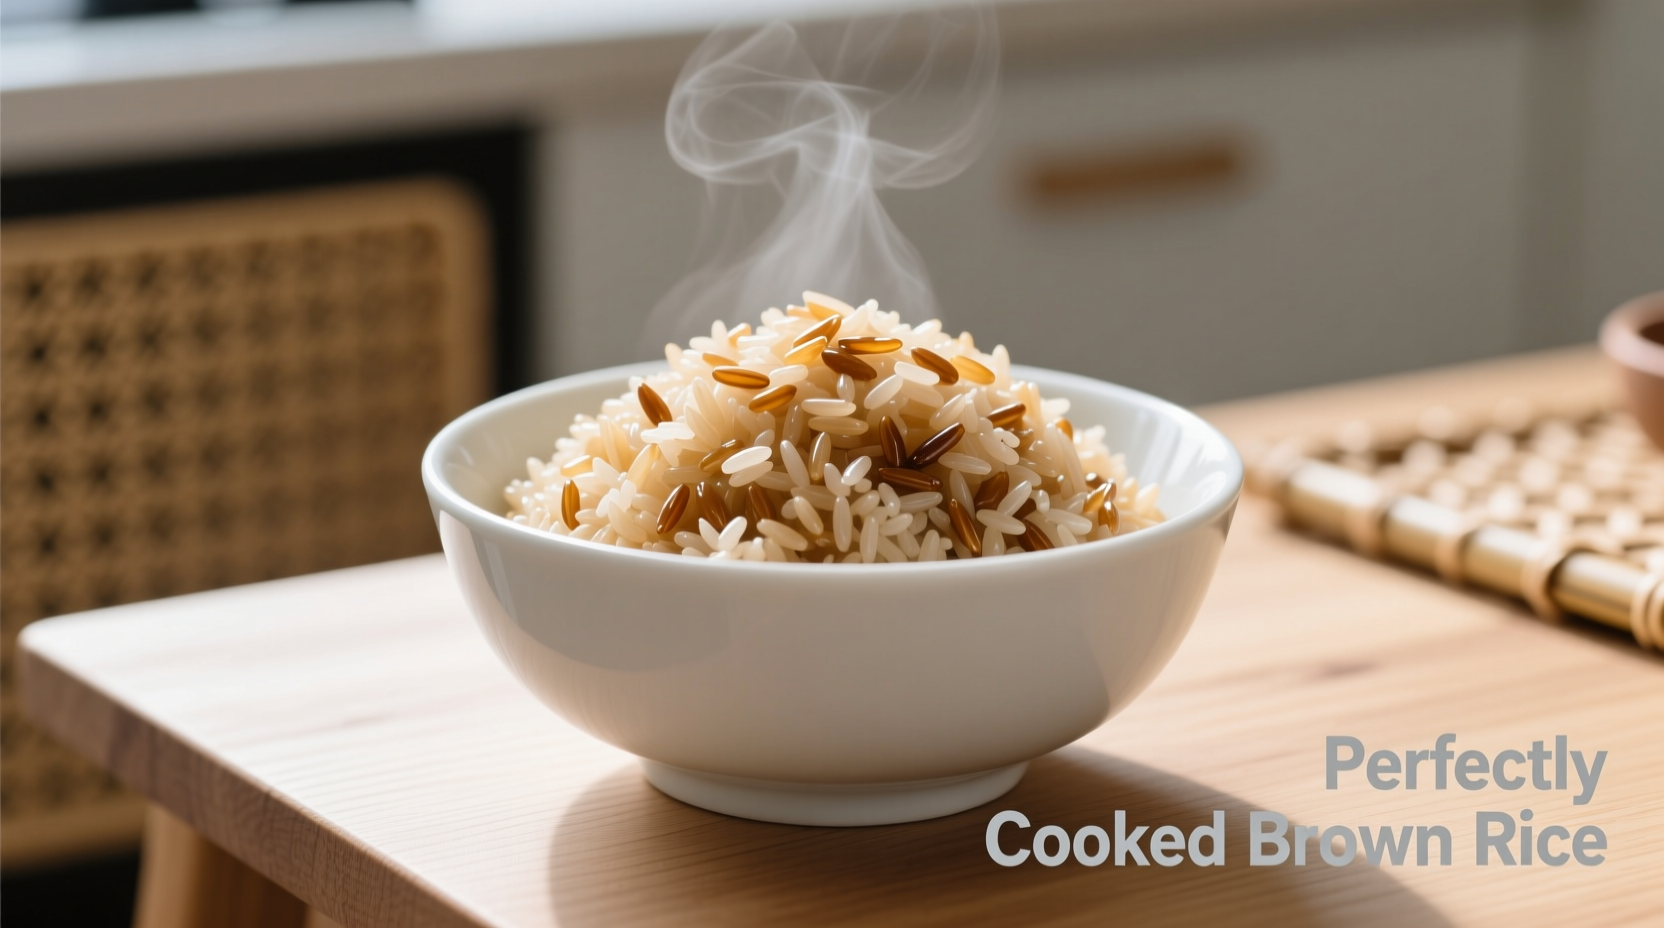
- Rest off heat - After cooking time, remove from burner but keep covered. Let rest 10 minutes. This crucial step allows residual steam to finish cooking the rice without burning.
- Fluff properly
- Serve immediately - For best texture, serve within 15 minutes of fluffing. Leftover rice should be cooled quickly and refrigerated.
Troubleshooting Common Issues
When Rice Turns Out Less Than Perfect
Even with precise measurements, variables like stove calibration and altitude affect results. Here's how to diagnose and fix common problems:
- Hard or crunchy rice - Likely undercooked. Add 2-3 tbsp hot water, return to low heat for 5 minutes, then rest 10 minutes.
- Soggy or mushy rice - Too much water or insufficient resting. Next time reduce water by ¼ cup and ensure full resting period.
- Burnt bottom layer - Heat was too high. Use a flame tamer or switch to a heavier pot. Never cook brown rice on high heat.
- Uneven texture - Lifting the lid during cooking. Resist checking - trust the timing and keep lid sealed.
When This Method Works Best
Our stovetop technique excels in specific scenarios:
- Standard home cooking - When you don't own a rice cooker but want restaurant-quality results
- Batch cooking - Preparing 2-4 cups of dry rice (scale water proportionally)
- Texture customization - Adjusting water ratio for firmer or softer results
Consider alternatives when:
- You need precise timing for meal prep (rice cooker offers better consistency)
- Preparing very small quantities (less than ½ cup dry rice)
- High-altitude cooking (requires additional water and time)
Flavor Enhancements
Elevate your basic brown rice with these professional chef techniques:
- Aromatic base - Sauté 1 minced shallot in 1 tsp oil before adding rice and water
- Infused cooking liquid - Replace water with low-sodium vegetable broth
- Post-cooking boost - Stir in 1 tsp toasted sesame oil and 2 tbsp chopped scallions after fluffing
- Acid balance - Add 1 tsp rice vinegar during resting for brighter flavor
Storage and Reheating Guidelines
Proper storage maintains texture and prevents food safety issues. According to FDA guidelines, cooked rice should:
- Cool to room temperature within 2 hours of cooking
- Store in airtight container in refrigerator for up to 5 days
- Freeze in portion-sized containers for up to 6 months
For best reheating results:
- Refrigerated rice - Sprinkle 1-2 tsp water per cup, cover, and microwave 60-90 seconds
- Frozen rice - Thaw overnight in fridge, then reheat as above
- Stovetop method - Heat in covered skillet with 1 tsp water per cup over low heat for 5 minutes


 浙公网安备
33010002000092号
浙公网安备
33010002000092号 浙B2-20120091-4