
Preheat your oven to 325°F (163°C). Season a 4-5 pound beef brisket with salt, pepper, and garlic powder. Sear all sides in a Dutch oven, add 1 cup beef broth, cover tightly, and cook for 3-4 hours until fork-tender. Rest for 30 minutes before slicing against the grain. This foolproof method yields tender, flavorful brisket every time.
Nothing beats the rich, melt-in-your-mouth texture of perfectly cooked beef brisket. While many associate this cut with smoking, your oven delivers equally impressive results with less fuss. After decades of refining this technique across professional kitchens and home stoves, I've discovered the precise balance of temperature, timing, and technique that transforms this tough cut into culinary magic.
Why Oven Cooking Beats Traditional Methods
Unlike smoking which requires constant monitoring, oven braising provides consistent temperature control while developing deep flavor complexity. The enclosed environment traps moisture while rendering collagen into gelatin—the secret to that signature tenderness. According to USDA Food Safety guidelines, cooking at 325°F ensures safe internal temperatures while preventing the meat from drying out (USDA FSIS).
| Brisket Weight | Recommended Cooking Time | Internal Temperature |
|---|---|---|
| 3-4 lbs | 2.5-3 hours | 195-205°F |
| 4-5 lbs | 3-4 hours | 195-205°F |
| 5-6 lbs | 4-5 hours | 195-205°F |
Step 1: Selecting and Preparing Your Brisket
Choose a well-marbled brisket with the point cut still attached—this fat layer keeps the meat moist during the long cooking process. Trim excess fat to about 1/4 inch thickness, leaving enough to render during cooking. Always cut against the grain when trimming, as this preserves the meat's structural integrity.
Season generously with coarse kosher salt and freshly ground black pepper at least 1 hour before cooking. For deeper flavor, add these professional chef secrets:
- 1 tablespoon smoked paprika for subtle smokiness
- 2 teaspoons garlic powder (not garlic salt)
- 1 teaspoon onion powder
- 1/2 teaspoon celery seed
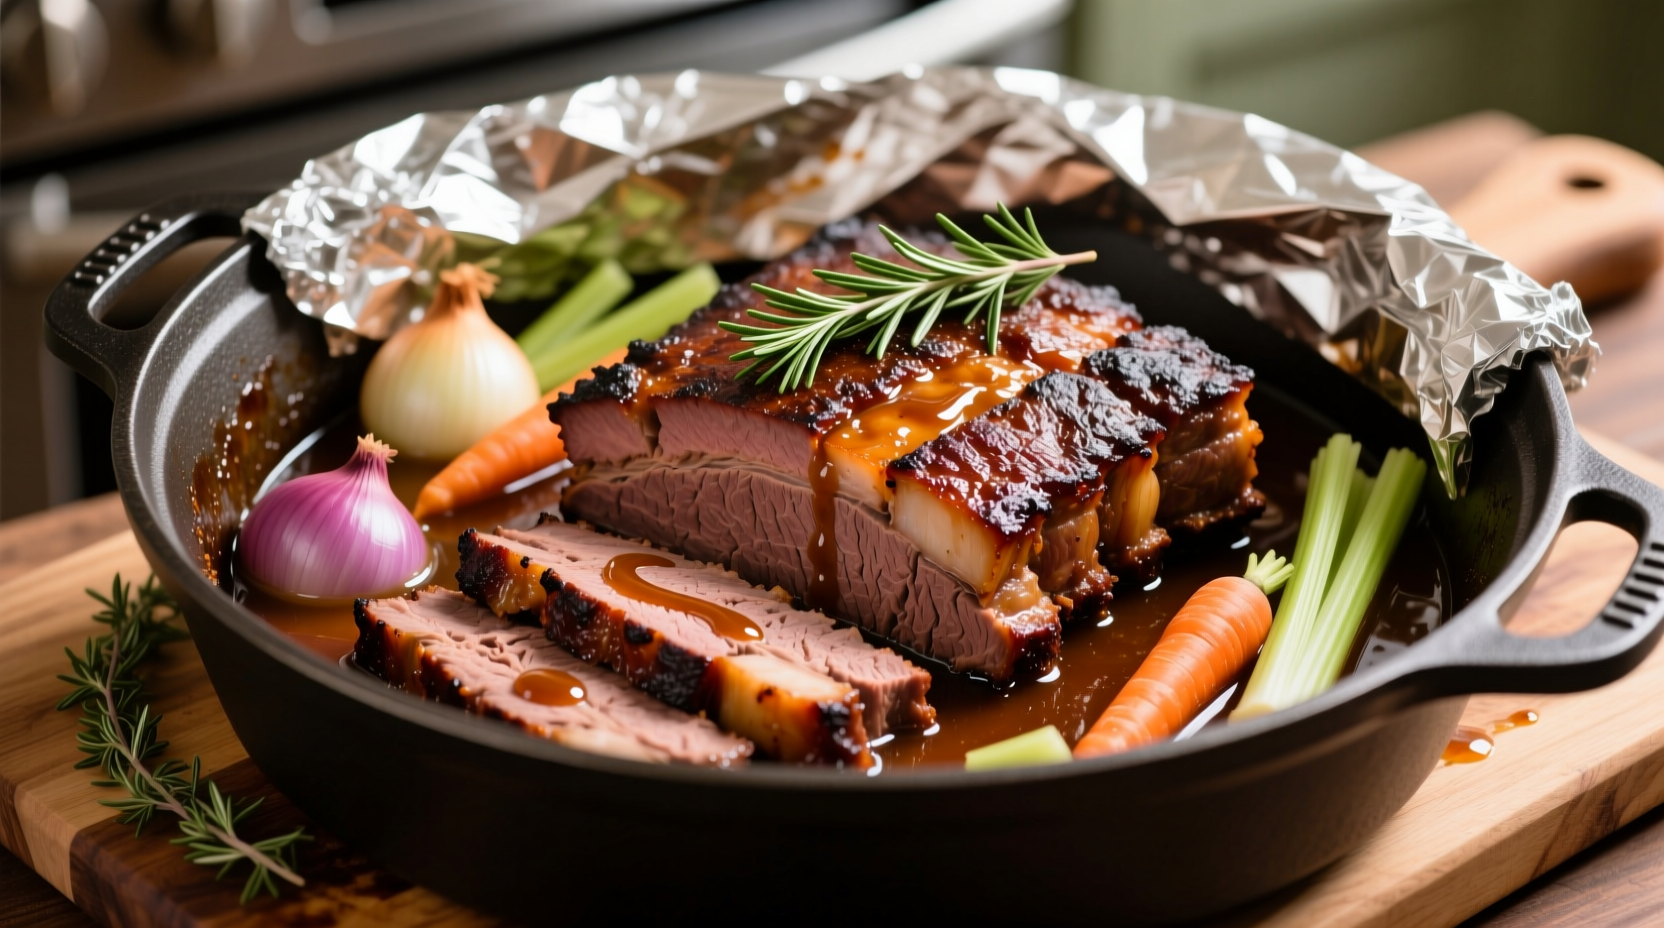
Step 2: The Perfect Sear and Braise
Heat 2 tablespoons of high-smoke-point oil (avocado or grapeseed) in a heavy Dutch oven over medium-high heat. Sear the brisket fat-side down first for 4-5 minutes until deeply browned. Flip and sear all other sides, including the edges. This Maillard reaction creates complex flavor compounds that can't be achieved through oven cooking alone.
Add 1 cup of low-sodium beef broth and 1/4 cup apple cider vinegar to the pot. The acid helps break down tough fibers while the broth provides gentle steam. Place the brisket fat-side up, cover tightly with a double layer of foil followed by the lid, and transfer to your preheated oven.
Step 3: Monitoring Cooking Progress
Resist the urge to peek! Opening the oven disrupts temperature consistency. After 2.5 hours, check tenderness by inserting a fork. It should slide in with little resistance. For precise results, use an instant-read thermometer—the ideal internal temperature range is 195-205°F. Remember that brisket continues cooking during resting, so remove it from the oven when it reaches 190°F.
Unlike other cuts, brisket requires extended cooking beyond standard safe temperatures because of its high collagen content. This USDA-approved method ensures both safety and optimal texture (USDA FSIS).
Step 4: The Critical Resting Phase
Transfer the brisket to a cutting board and tent loosely with foil. Rest for 30-45 minutes—this allows juices to redistribute throughout the meat. Cutting too soon releases precious moisture, resulting in dry brisket. During this time, the internal temperature will rise 5-10 degrees while the fibers relax.
Pro tip: Place the brisket in an empty cooler lined with towels if you need to hold it longer than 45 minutes. This technique, used by competition pitmasters, maintains temperature without overcooking.
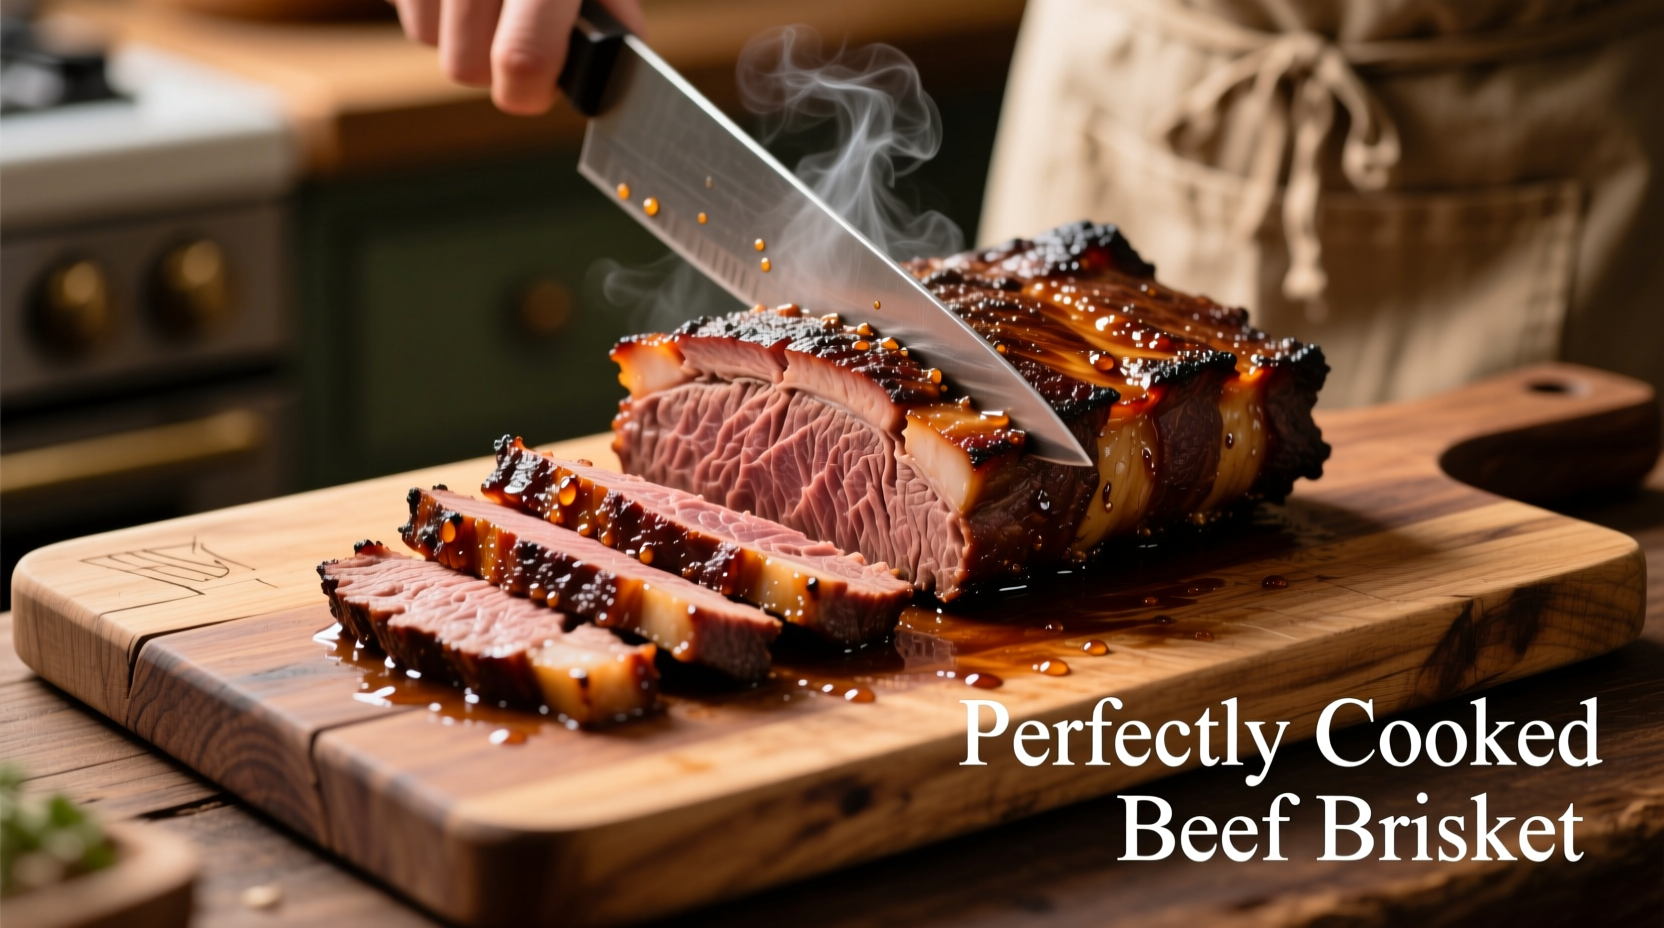
Step 5: Slicing for Maximum Tenderness
Identify the grain direction by looking for parallel muscle fibers. Slice perpendicular to the grain using a sharp carving knife, cutting 1/4 inch thick slices. Cutting against the grain shortens the muscle fibers, making each bite more tender. For the point cut, you may need to change slicing direction halfway through as the grain orientation shifts.
Troubleshooting Common Issues
Dry brisket: Usually caused by insufficient fat coverage or overcooking. Next time, leave more fat cap and check temperature earlier.
Tough texture: Indicates undercooking. Return to oven in 30-minute increments until fork-tender.
Bland flavor: Season more aggressively next time—brisket needs generous seasoning due to its dense muscle structure.
Perfect Pairings for Oven-Braised Brisket
Serve with these complementary sides that balance richness:
- Horseradish cream sauce (mix 1/2 cup sour cream with 2 tbsp prepared horseradish)
- Roasted root vegetables (carrots, parsnips, potatoes)
- Creamy horseradish mashed potatoes
- Simple green salad with vinaigrette
Leftovers transform beautifully into next-day favorites: brisket tacos, sandwiches, or chili. Store sliced portions in their cooking liquid for maximum moisture retention.
Frequently Asked Questions
Can I cook brisket at a lower temperature for longer?
Yes, but with limitations. Cooking below 275°F risks entering the bacterial danger zone for too long. The ideal compromise is 275-300°F for 5-6 hours, but this requires precise temperature monitoring to ensure food safety.
Why does my brisket always turn out dry in the oven?
Dry brisket usually results from insufficient fat coverage, inadequate braising liquid, or overcooking. Always leave at least 1/4 inch of fat, use enough liquid to create steam, and remove from oven at 190°F (it will continue cooking during resting).
How do I reheat leftover brisket without drying it out?
Place slices in a baking dish with 1/4 cup cooking liquid or beef broth. Cover tightly with foil and warm in a 275°F oven for 15-20 minutes until heated through. Never reheat in a microwave, which destroys texture.
Can I make this recipe without a Dutch oven?
Yes, use any oven-safe dish with a tight-fitting lid. For best results, line a roasting pan with heavy-duty foil, place the brisket inside, add liquid, then seal completely with another layer of foil before baking.
What's the difference between point cut and flat cut brisket?
The flat cut is leaner and more uniform in shape, making it better for slicing. The point cut has more marbling and connective tissue, yielding more flavorful but less uniform results. For oven cooking, the point cut often produces more tender results due to its higher fat content.


 浙公网安备
33010002000092号
浙公网安备
33010002000092号 浙B2-20120091-4