
There's nothing quite like a perfectly cooked prime rib roast for special occasions. As a French-trained chef with decades of experience mastering classic roasting techniques, I've discovered that the secret to exceptional prime rib isn't complicated equipment or rare ingredients—it's understanding the science behind slow roasting and proper temperature management. Follow this comprehensive guide to achieve restaurant-quality results in your own kitchen.
Understanding Prime Rib: More Than Just a Cut
Prime rib, also known as standing rib roast, comes from the rib section of the beef—specifically ribs 6 through 12. Despite the name, not all prime rib is USDA Prime grade; the "prime" refers to the cut's premium position. The roast contains the eye of ribeye, spinalis dorsi (the flavorful cap), and a generous layer of fat that bastes the meat during cooking.
| Cooking Stage | Target Internal Temperature | Final Rested Temperature | Doneness Level |
|---|---|---|---|
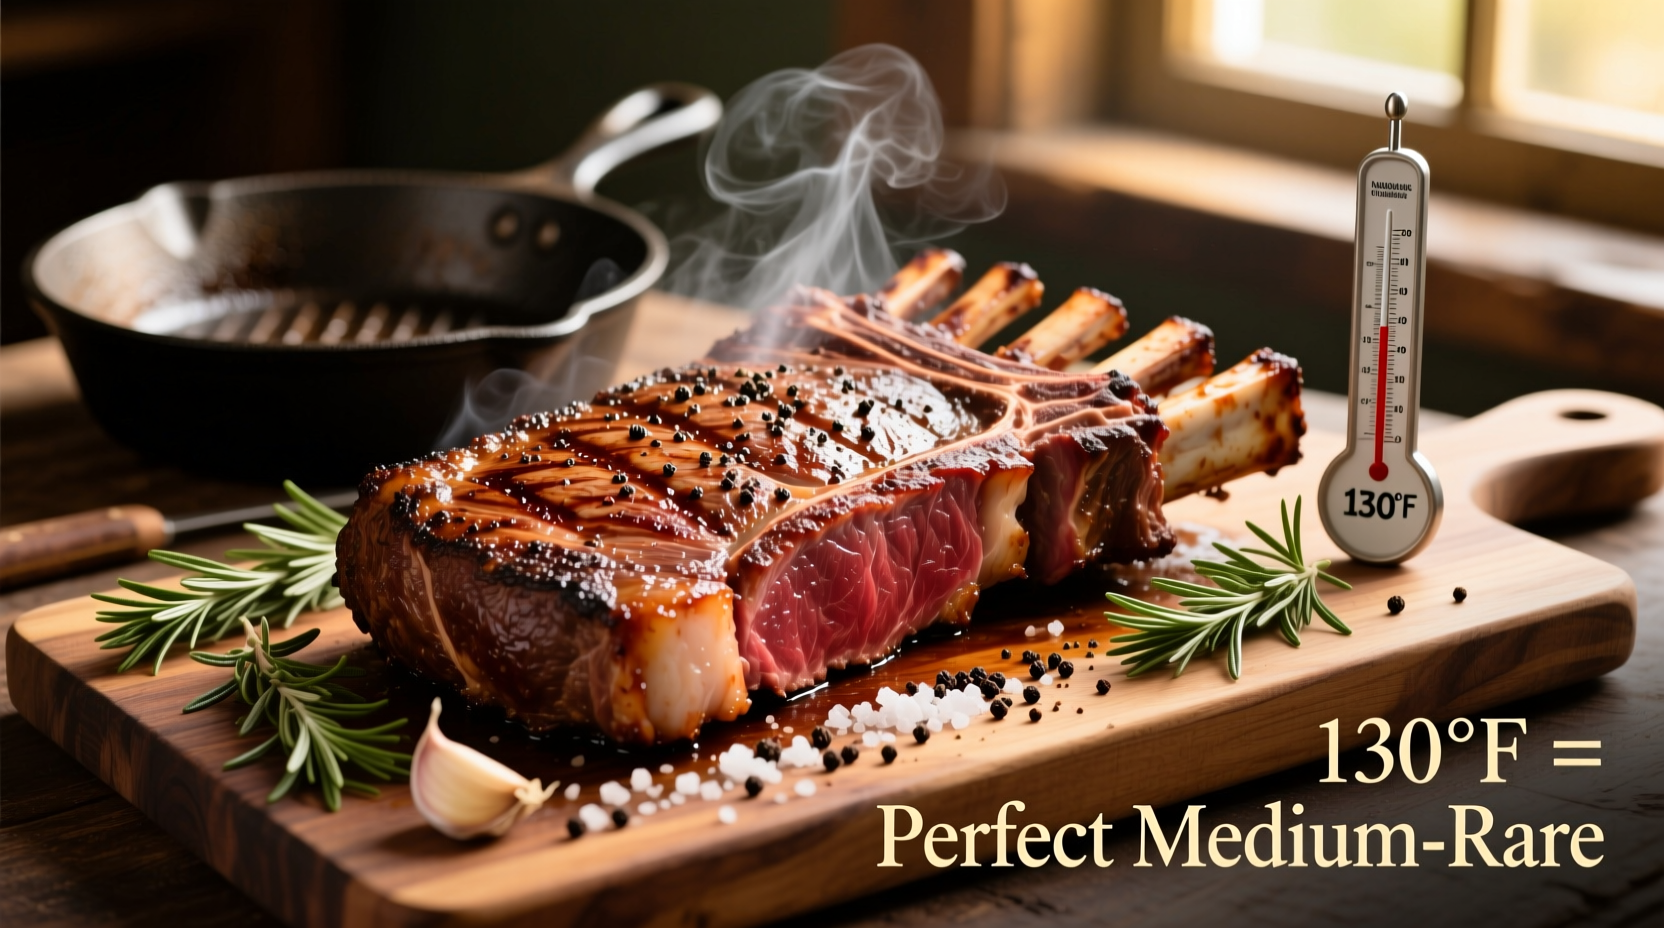
| Remove from oven | 115°F | 125°F | Medium-rare |
| Remove from oven | 120°F | 130°F | Medium |
| Remove from oven | 128°F | 138°F | Medium-well |
Selecting Your Prime Rib Roast
Choosing the right roast sets the foundation for success. Look for these characteristics:
- Marrow-filled bones: Vibrant red marrow indicates freshness
- Even fat distribution: Marbling should be consistent throughout
- Thick spinalis dorsi: This cap muscle delivers the most flavorful portion
- Minimum 3-rib roast: Smaller roasts overcook more easily
According to USDA guidelines, properly handled beef maintains safety when cooked to appropriate temperatures. The Food Safety and Inspection Service confirms that resting meat after cooking allows for both temperature stabilization and pathogen reduction.
Essential Equipment Checklist
While you don't need specialized tools, these items make the process significantly easier:
- Instant-read digital thermometer (critical for accuracy)
- Heavy-duty roasting pan with rack
- Sharp carving knife
- Butcher's twine for tying
- Aluminum foil for tenting
Preparation: The 24-Hour Secret to Flavor Development
Professional chefs know that preparation begins long before cooking. For optimal results:
- Remove packaging and place roast on a wire rack over a tray
- Refrigerate uncovered for 24-48 hours to dry the surface
- One hour before cooking, bring to room temperature
- Season generously with coarse salt and freshly ground pepper
This dry-aging technique, recommended by culinary institutions like the Culinary Institute of America, develops deeper flavor and ensures superior browning.
The Cooking Process: Low and Slow for Perfect Results
Traditional high-heat methods often lead to overcooked exteriors and undercooked centers. Instead, follow this proven approach:
Step 1: Initial Sear (Optional but Recommended)
For 8-10 minutes at 450°F to develop crust, then reduce temperature.
Step 2: Slow Roasting
Maintain oven temperature at 225°F until internal temperature reaches 115°F for medium-rare. Plan for approximately 15-17 minutes per pound.
| Roast Weight | Estimated Cooking Time | Resting Time |
|---|---|---|
| 4-6 lbs (2-3 ribs) | 1.5-2 hours | 30 minutes |
| 7-9 lbs (3-4 ribs) | 2-2.5 hours | 40 minutes |
| 10-12 lbs (4-5 ribs) | 2.5-3 hours | 45 minutes |
Step 3: Temperature Monitoring
Insert thermometer into the thickest part of the eye muscle, avoiding bone. Check temperature every 20 minutes during final cooking stage.
The Critical Resting Period: Why Patience Pays Off
Never skip resting! This 30-45 minute period allows:
- Temperature equalization throughout the roast
- Juice redistribution for maximum tenderness
- Carryover cooking to reach perfect final temperature
- Relaxation of muscle fibers for easier carving
Tent loosely with foil during resting—never wrap tightly, which creates steam and softens the crust you worked so hard to develop.
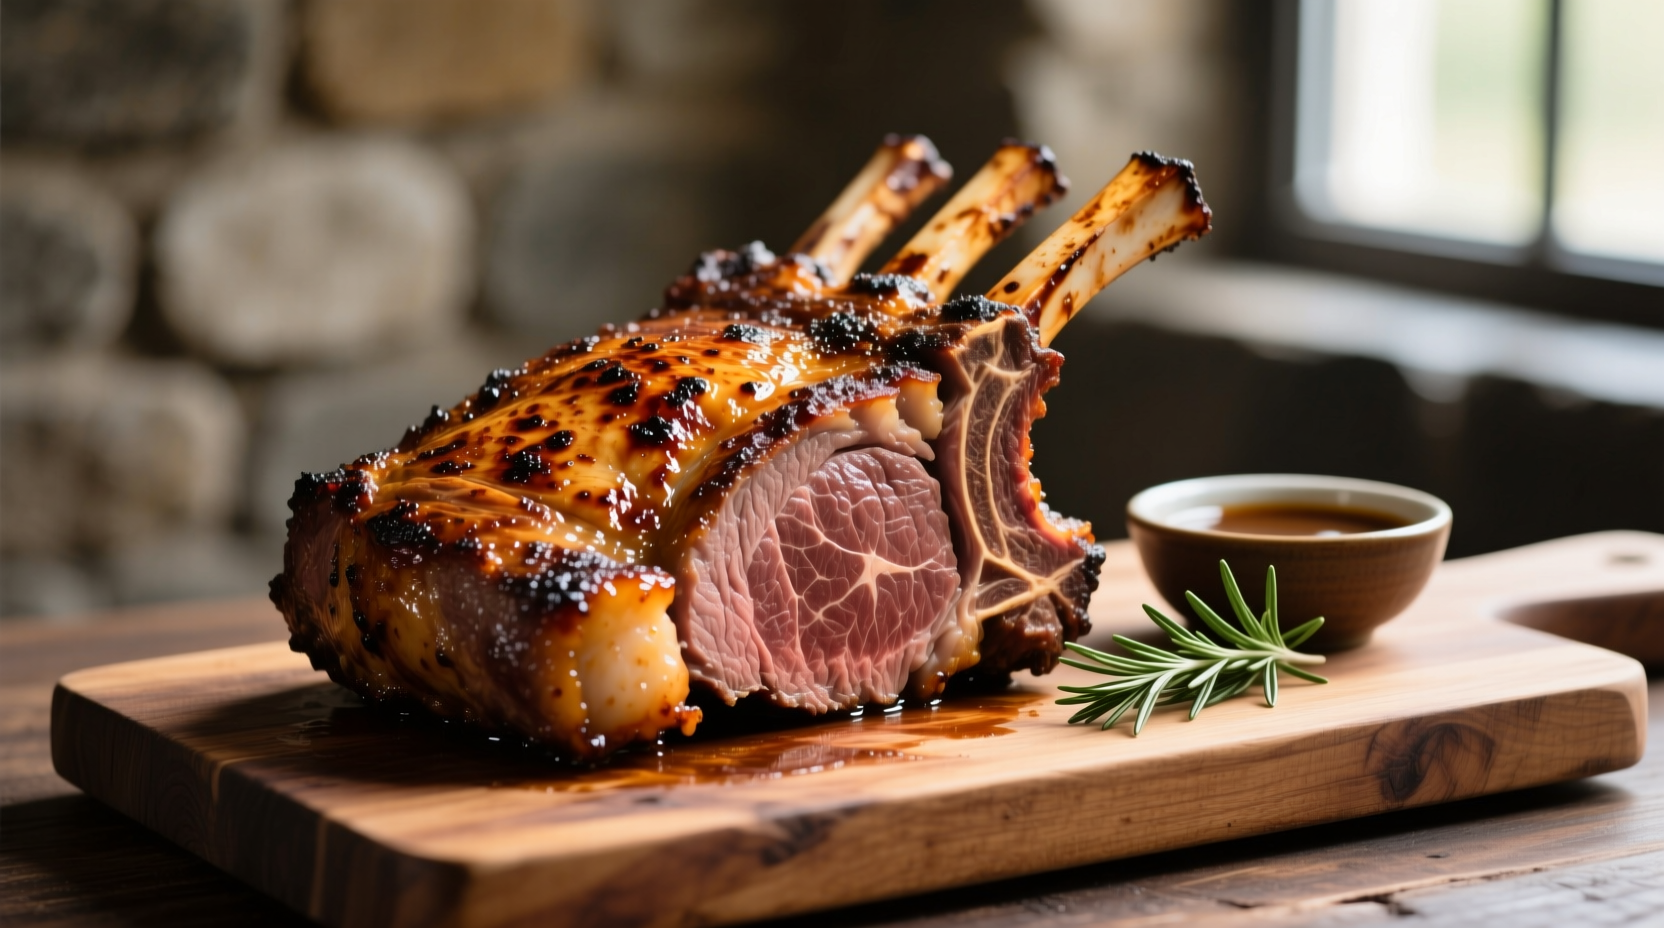
Carving Like a Professional
Follow these steps for picture-perfect slices:
- Remove bones by cutting along the membrane
- Place roast bone-side down on cutting board
- Slice against the grain in 1/2-inch thick portions
- Include a portion of the flavorful spinalis in each slice
Troubleshooting Common Prime Rib Problems
Dry roast: Usually caused by overcooking or insufficient resting time. Always remove from oven 10-15°F below target temperature.
Pale exterior: Indicates oven temperature too low or insufficient initial sear. Increase oven temperature for final 15 minutes if needed.
Uneven cooking: Position roast with bone side toward oven's heat source, as bones conduct heat differently than meat.
Contextual Considerations for Different Cooking Environments
Your cooking method may need adjustment based on your specific kitchen environment:
- Convection ovens: Reduce temperature by 25°F and check early
- Older ovens: Use an independent oven thermometer for accuracy
- High altitude: Increase cooking time by 10-15% due to lower boiling point
- Humid climates: Extend uncovered refrigeration time to dry surface
Understanding these variables helps adapt the basic technique to your specific cooking conditions, ensuring consistent results regardless of your kitchen setup.
Prime Rib Cooking Timeline: From Fridge to Table
Follow this chronological guide for perfect timing:
- 48 hours before: Unwrap roast, place on rack in refrigerator
- 24 hours before: Check surface dryness, rotate if needed
- 1 hour before cooking: Bring to room temperature
- Cooking time: 15-17 minutes per pound at 225°F
- Resting: 30-45 minutes tented with foil
- Carving: Just before serving for optimal presentation
Perfect Pairings for Your Prime Rib Feast
Complete your meal with these classic accompaniments:
- Horseradish cream sauce (freshly grated horseradish, not pre-made)
- Yorkshire pudding (baked in the roast's drippings)
- Roasted root vegetables (parsnips, carrots, potatoes)
- Simple green salad with vinaigrette to cut richness
Remember that prime rib's rich flavor stands best with minimal seasoning—quality salt and pepper enhance rather than mask the beef's natural taste.


 浙公网安备
33010002000092号
浙公网安备
33010002000092号 浙B2-20120091-4