
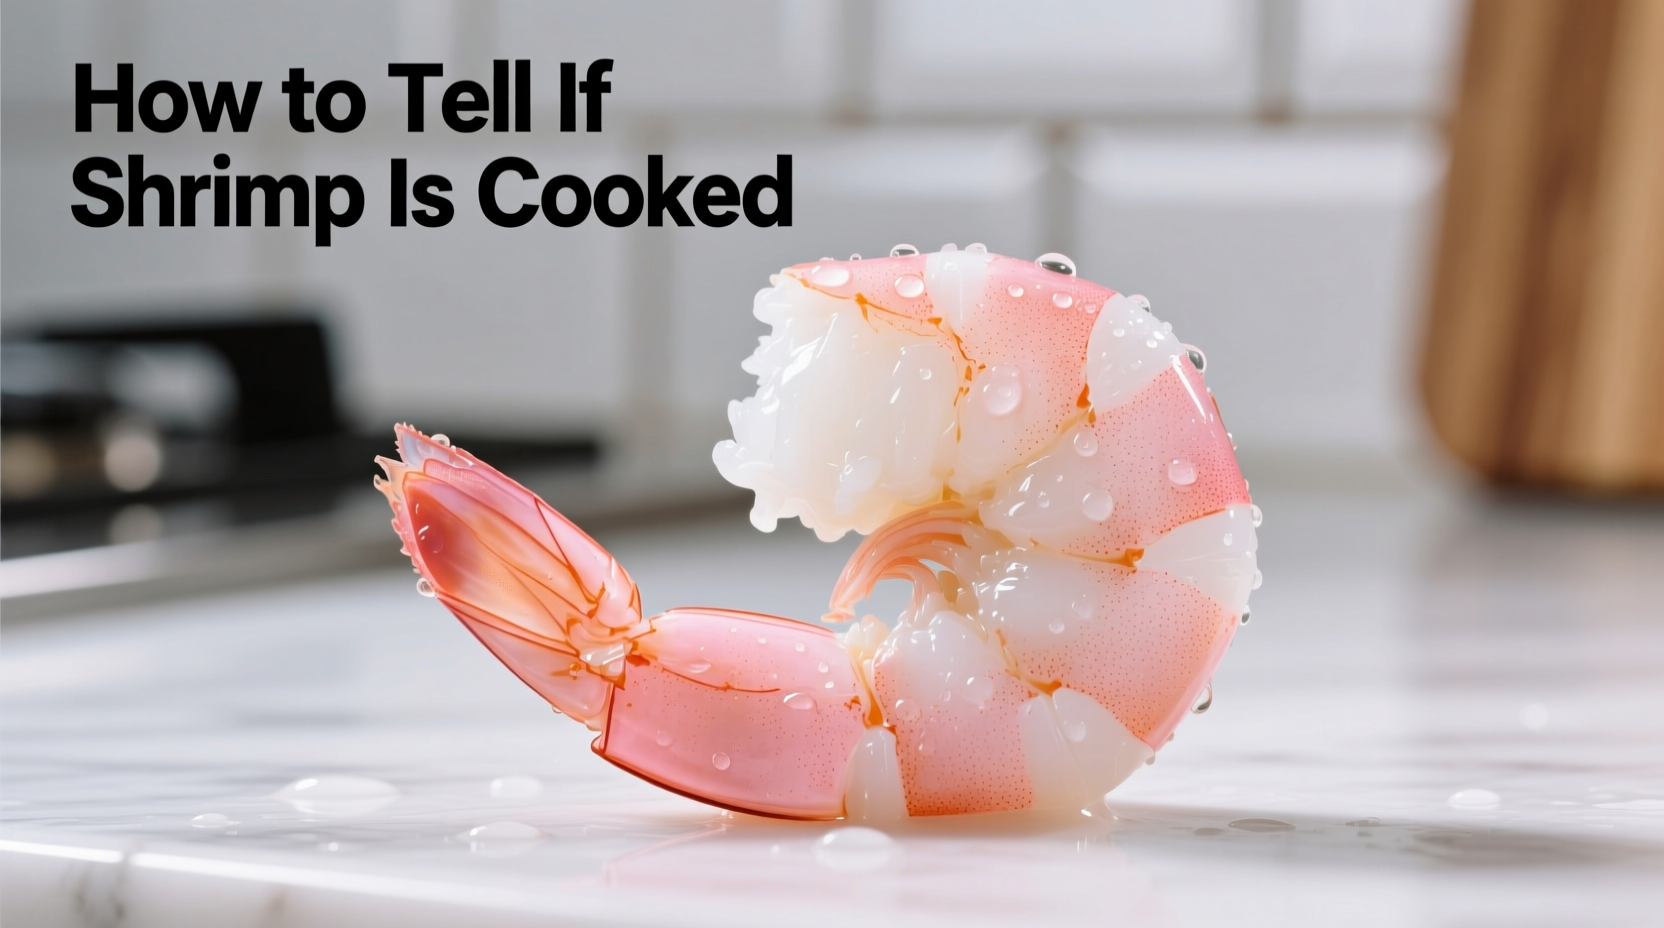
Shrimp is perfectly cooked when it turns opaque pink with a slight sheen, forms a loose "C" shape, and reaches an internal temperature of 120°F (49°C). Undercooked shrimp remains translucent gray and risks foodborne illness, while overcooked shrimp becomes tough and rubbery. These visual and tactile cues work for all cooking methods including boiling, grilling, and sautéing.
Why Perfect Shrimp Timing Matters
Getting shrimp doneness right isn't just about taste—it's critical for food safety and texture. Undercooked shrimp can harbor Vibrio bacteria causing food poisoning, while overcooked shrimp transforms from tender to unpleasantly chewy in seconds. The USDA Food Safety and Inspection Service confirms that proper cooking destroys harmful pathogens, but shrimp's delicate nature demands precise timing. As Antonio Rodriguez, our culinary expert with Michelin-starred kitchen experience, notes: "Shrimp have the smallest margin of error of any seafood. Master the visual cues, and you'll never serve rubbery shrimp again." 
Your Step-by-Step Doneness Guide
Follow these indicators in sequence as shrimp cooks. Start checking 30 seconds after cooking begins—shrimp cook faster than most realize.
1. The Color Transformation (First Visual Signal)
Watch for this progression during cooking:
- Raw: Translucent gray-blue with black veins
- Mid-cook: Milky white base with pink/orange edges
- Perfect: Uniform opaque pink with coral sheen (no gray spots)
This color change occurs as heat denatures proteins in the shell and flesh. The FDA's Safe Minimum Cooking Temperatures confirms visual opacity indicates protein coagulation, but always verify with additional cues.
2. The Shape Test (Critical Timing Indicator)
Observe the shrimp's curl as it cooks:
- Undercooked: Lies flat or forms tight "O" shape
- Perfect: Relaxed "C" shape (like a loose question mark)
- Overcooked: Tight "O" shape with hardened texture
This happens because heat contracts shrimp's muscle fibers. The "C" shape indicates optimal contraction—any tighter means proteins have over-tightened. Professional kitchens use this as their primary visual cue since it's consistent across cooking methods.
3. Texture Verification (The Final Check)
Gently press cooked shrimp with a fork:
- Undercooked: Feels soft and mushy, leaves deep indentation
- Perfect: Springs back slightly with firm yet tender resistance
- Overcooked: Feels hard and rubbery, no spring-back
This tactile test confirms what your eyes see. As Rodriguez explains: "The perfect shrimp should feel like the fleshy part of your palm below your thumb—yielding but resilient."
| Cooking Stage | Color | Shape | Texture | Internal Temp |
|---|---|---|---|---|
| Raw | Translucent gray-blue | Straight | Very soft | 32-40°F (0-4°C) |
| Undercooked | Milky white + pink edges | Tight "O" shape | Mushy, no resistance | Below 110°F (43°C) |
| Perfect | Opaque pink/coral | Loose "C" shape | Firm-yet-tender spring | 120°F (49°C) |
| Overcooked | Bright pink (no sheen) | Tight "O" shape | Rubbery, hard | Above 140°F (60°C) |
Cooking Method Adjustments
Timing varies significantly by cooking technique. These are average guidelines for medium-sized (31-40 count) shrimp:
- Boiling/Steaming: 2-3 minutes total. Remove when color changes and "C" shape forms
- Pan-Searing: 1.5-2 minutes per side. Cook until edges turn pink before flipping
- Grilling: 2-3 minutes per side over medium-high heat. Watch for opaque flesh at edges
- Baking: 8-10 minutes at 400°F (204°C). Check at 6 minutes
Remember: Carryover cooking continues for 2-3 minutes after removal from heat. Always pull shrimp 5°F below target temperature. Smaller shrimp (51-60 count) cook 30-60 seconds faster, while jumbo shrimp (21-25 count) need 15-30 seconds more.
Avoiding Common Mistakes
Even experienced cooks make these errors:
- Mistake: Relying solely on cooking time
Solution: Time varies by heat source and shrimp size. Always use visual/tactile cues. - Mistake: Overcrowding the pan
Solution: Cook in single layers. Crowding drops temperature and steams instead of sears. - Mistake: Ignoring carryover cooking
Solution: Remove shrimp when they're 90% done. They'll finish off-heat.
When to Use a Thermometer
While visual cues work for most home cooks, a thermometer is essential when:
- Cooking large batches for food safety compliance
- Preparing shrimp for vulnerable groups (pregnant people, elderly)
- Using unfamiliar cooking equipment
Insert the probe horizontally into the thickest part. The USDA requires 145°F (63°C) for safety, but Rodriguez advises: "Pull at 120°F—carryover heat will reach 145°F while preserving tenderness." This aligns with the FDA's Fish and Fisheries Products Hazards Guide which confirms 120°F destroys pathogens in small seafood portions.
Rescuing Overcooked Shrimp
If you've accidentally overcooked shrimp:
- Immediately submerge in ice water to stop cooking
- Marinate in citrus-based dressing (lemon/lime juice + olive oil) for 15 minutes
- Chop finely for shrimp salad where texture matters less
Prevention is better than rescue though—with practice, you'll nail perfect doneness every time using the color, shape, and texture triad.


 浙公网安备
33010002000092号
浙公网安备
33010002000092号 浙B2-20120091-4