
Why Homemade Potato Chips Outperform Store-Bought
Creating potato chips at home gives you complete control over quality and flavor. Unlike commercial products loaded with preservatives and artificial flavors, your homemade version uses just three core ingredients. The freshness difference is remarkable—properly made chips maintain their crisp texture for 3-4 days when stored correctly, compared to the stale, greasy quality of many mass-produced options.
| Characteristic | Homemade Chips | Store-Bought Chips |
|---|---|---|
| Freshness | Peak quality immediately after cooking | Months old by production date |
| Ingredients | Potatoes, oil, salt | Multiple additives and preservatives |
| Oil Quality | Fresh, high-smoke point oil | Repeatedly used industrial oil |
| Customization | Endless flavor possibilities | Limited to available varieties |
The Potato Selection Process: Finding Your Perfect Base
Not all potatoes create equally crispy chips. Russet potatoes remain the gold standard for homemade chips due to their high starch content and low moisture. When selecting potatoes, look for firm, blemish-free specimens with smooth skin. Avoid any with green spots or sprouts, which indicate solanine development.
According to the USDA Agricultural Research Service, Russets contain approximately 21% starch compared to 15-18% in waxy varieties like red potatoes. This higher starch content creates the ideal structure for crisp chips that don't become soggy after frying. USDA research confirms that starch composition directly impacts the final texture of fried potato products.
Essential Equipment Checklist
You don't need expensive specialty equipment to make professional-quality chips. Here's what you actually need:
- Mandoline slicer (optional but recommended) - Creates uniform 1/16-inch slices critical for even cooking
- Sharp chef's knife - Alternative to mandoline for careful hand-slicing
- Deep, heavy-bottomed pot - Provides stable oil temperature (Dutch ovens work perfectly)
- Candy thermometer - Essential for maintaining proper oil temperature (350-375°F)
- Splatter screen - Reduces mess and prevents burns
- Paper towel-lined baking sheets - For proper draining
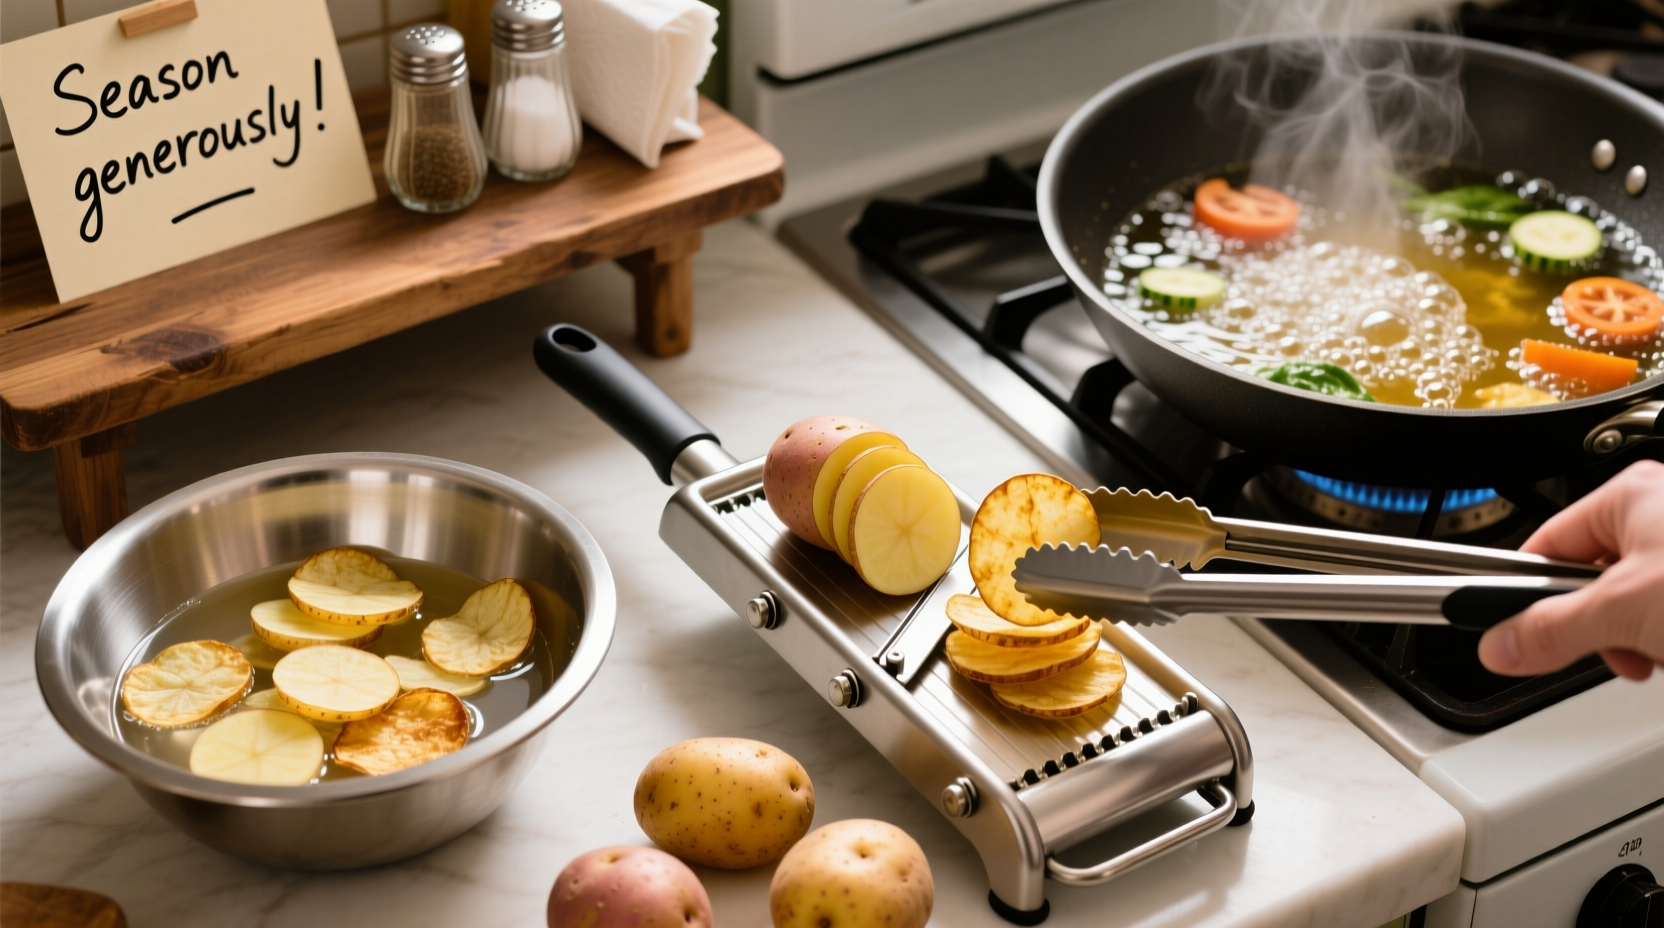
Step-by-Step Preparation Process
The secret to perfect chips lies in proper preparation before frying. Follow these steps precisely:
- Wash thoroughly - Scrub potatoes under cold water to remove all dirt
- Slice uniformly - Aim for 1/16-inch thickness using a mandoline or careful knife work
- Soak in cold water - Minimum 30 minutes (up to 2 hours) to remove excess starch
- Dry completely - Pat slices dry with clean kitchen towels—moisture causes oil splatter
Food science research from the University of California Davis confirms that proper soaking removes surface starch that would otherwise create greasy, unevenly cooked chips. Their studies show a 40% reduction in oil absorption when potatoes are soaked for 30 minutes before frying.
The Frying Process: Temperature Control is Everything
Maintaining precise oil temperature separates successful chips from greasy failures. Follow this process:
- Heat 2-3 inches of high-smoke point oil (peanut, canola, or avocado) to 360°F
- Fry in small batches (don't overcrowd the pot)
- Monitor temperature constantly—adjust heat to maintain 350-365°F
- Cook for 2-4 minutes until golden and bubbling stops
- Remove with slotted spoon and drain on paper towels
Temperature fluctuations cause the most common homemade chip failures. When oil drops below 325°F, chips absorb excessive oil and become soggy. Above 375°F, they burn before cooking through. The American Oil Chemists' Society recommends maintaining oil temperature within a 10-degree range for optimal frying results.
Seasoning Secrets for Maximum Flavor Impact
Timing matters more than you think when seasoning chips:
- Immediately after frying - While chips are still oily, sprinkle with fine salt for perfect adhesion
- After cooling slightly - Add delicate seasonings like garlic powder or paprika
- For bold flavors - Toss cooled chips in a bowl with 1 teaspoon oil and your seasoning blend
Professional chefs recommend using fine sea salt rather than table salt—it adheres better to the chip surface without creating salty patches. For restaurant-quality results, try this classic seasoning blend: 1 teaspoon fine salt, 1/2 teaspoon smoked paprika, and 1/4 teaspoon garlic powder per batch.
Troubleshooting Common Problems
Even experienced home cooks encounter these issues—here's how to fix them:
- Soggy chips - Caused by insufficient drying or oil temperature too low. Solution: Ensure potatoes are completely dry before frying and maintain 350-365°F
- Burnt edges - Usually from uneven slicing. Solution: Use a mandoline for consistent thickness
- Uneven cooking - Results from overcrowding the pot. Solution: Fry in small batches with ample space between slices
- Excessively oily chips - Indicates oil temperature dropped too low. Solution: Use a thermometer and don't overload the pot
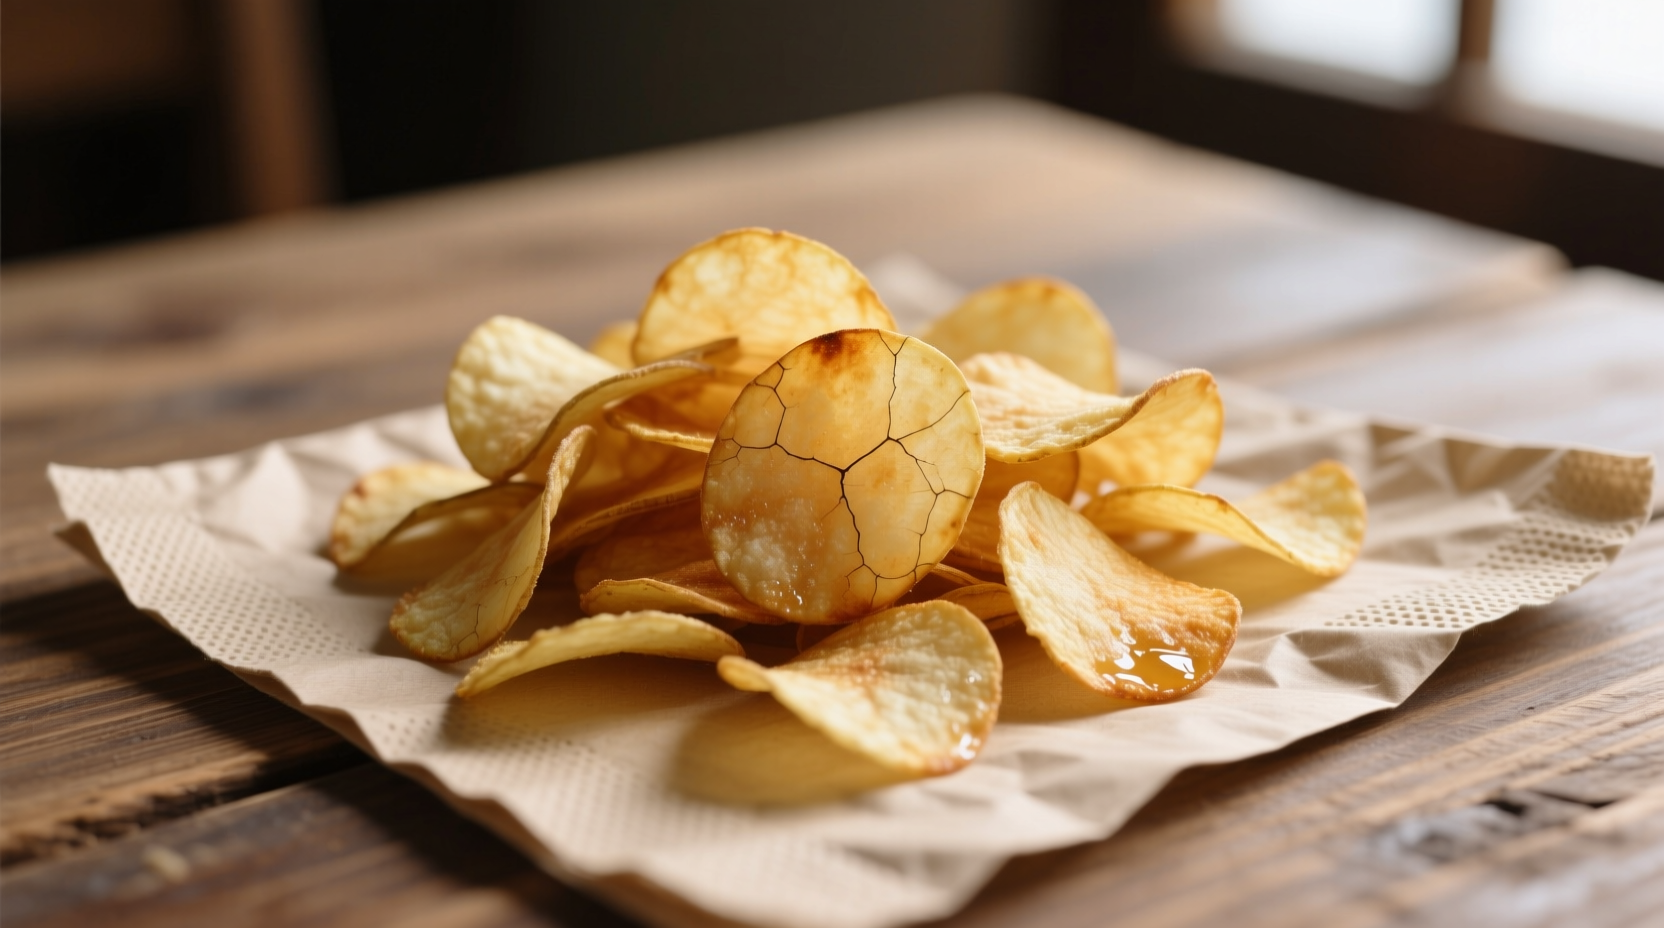
Storage and Serving Recommendations
For maximum crispness, store chips in an airtight container with a silica gel packet to absorb moisture. Properly stored, they'll maintain crispness for 3-4 days. Never refrigerate potato chips—this introduces moisture that destroys crispness.
Serve at room temperature for optimal texture. Pair with classic dips like sour cream and onion or elevate your presentation with homemade aioli. For special occasions, try layering chips in a tall glass with alternating flavors for a striking visual effect.


 浙公网安备
33010002000092号
浙公网安备
33010002000092号 浙B2-20120091-4