
Brown food coloring can be made by combining red, yellow, and blue liquid food dyes in a 5:3:1 ratio, or naturally using cocoa powder, coffee, or spices like cinnamon and nutmeg. The simplest method requires just 3 drops of red, 2 drops of yellow, and 1 drop of blue per teaspoon of frosting or batter.
The Ultimate Guide to Making Brown Food Coloring at Home
Creating the perfect brown shade for your baking projects doesn't require expensive specialty products. Whether you're decorating cakes for a rustic wedding, making chocolate-themed treats, or simply ran out of brown food coloring, this guide provides reliable methods using ingredients already in your pantry.
Why Make Your Own Brown Food Coloring?
Commercial brown food coloring often contains artificial dyes like Red 40, Yellow 5, and Blue 1 that many home bakers prefer to avoid. According to the U.S. Food and Drug Administration, while these additives are approved for consumption, natural alternatives have gained popularity among health-conscious consumers. Making your own brown coloring gives you complete control over ingredients and lets you customize shades for specific baking needs.
Method 1: The Basic Color Mixing Approach
This professional technique used by pastry chefs creates consistent brown shades every time. Unlike random mixing that often results in muddy colors, this method follows color theory principles:
- Start with your base (frosting, batter, or royal icing)
- Add 3 drops of red food coloring
- Add 2 drops of yellow food coloring
- Add 1 drop of blue food coloring
- Mix thoroughly and assess color
- Adjust by adding more red for warmer brown or more blue for cooler brown
For darker shades like chocolate brown, increase the ratio to 5:3:2 (red:yellow:blue). Remember that colors deepen over time, so wait 15 minutes before making final adjustments.
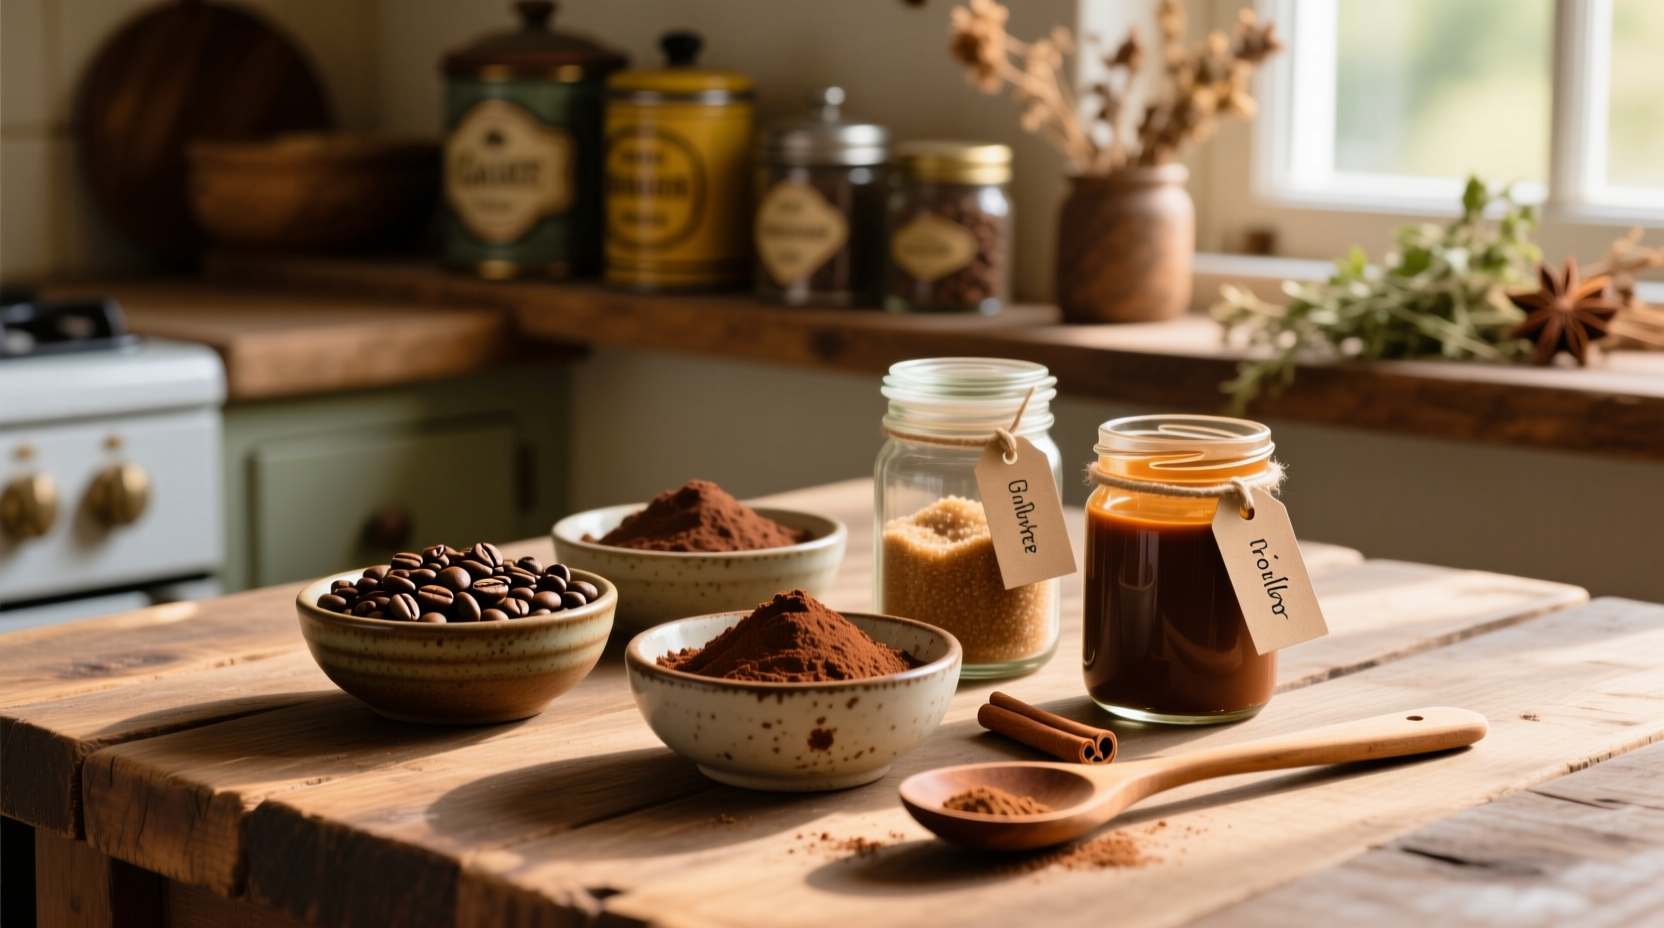
Method 2: Natural Brown Coloring Options
When avoiding artificial dyes, these kitchen staples create beautiful natural browns while adding complementary flavors:
| Natural Ingredient | Ratio per Cup of Base | Best For | Flavor Impact |
|---|---|---|---|
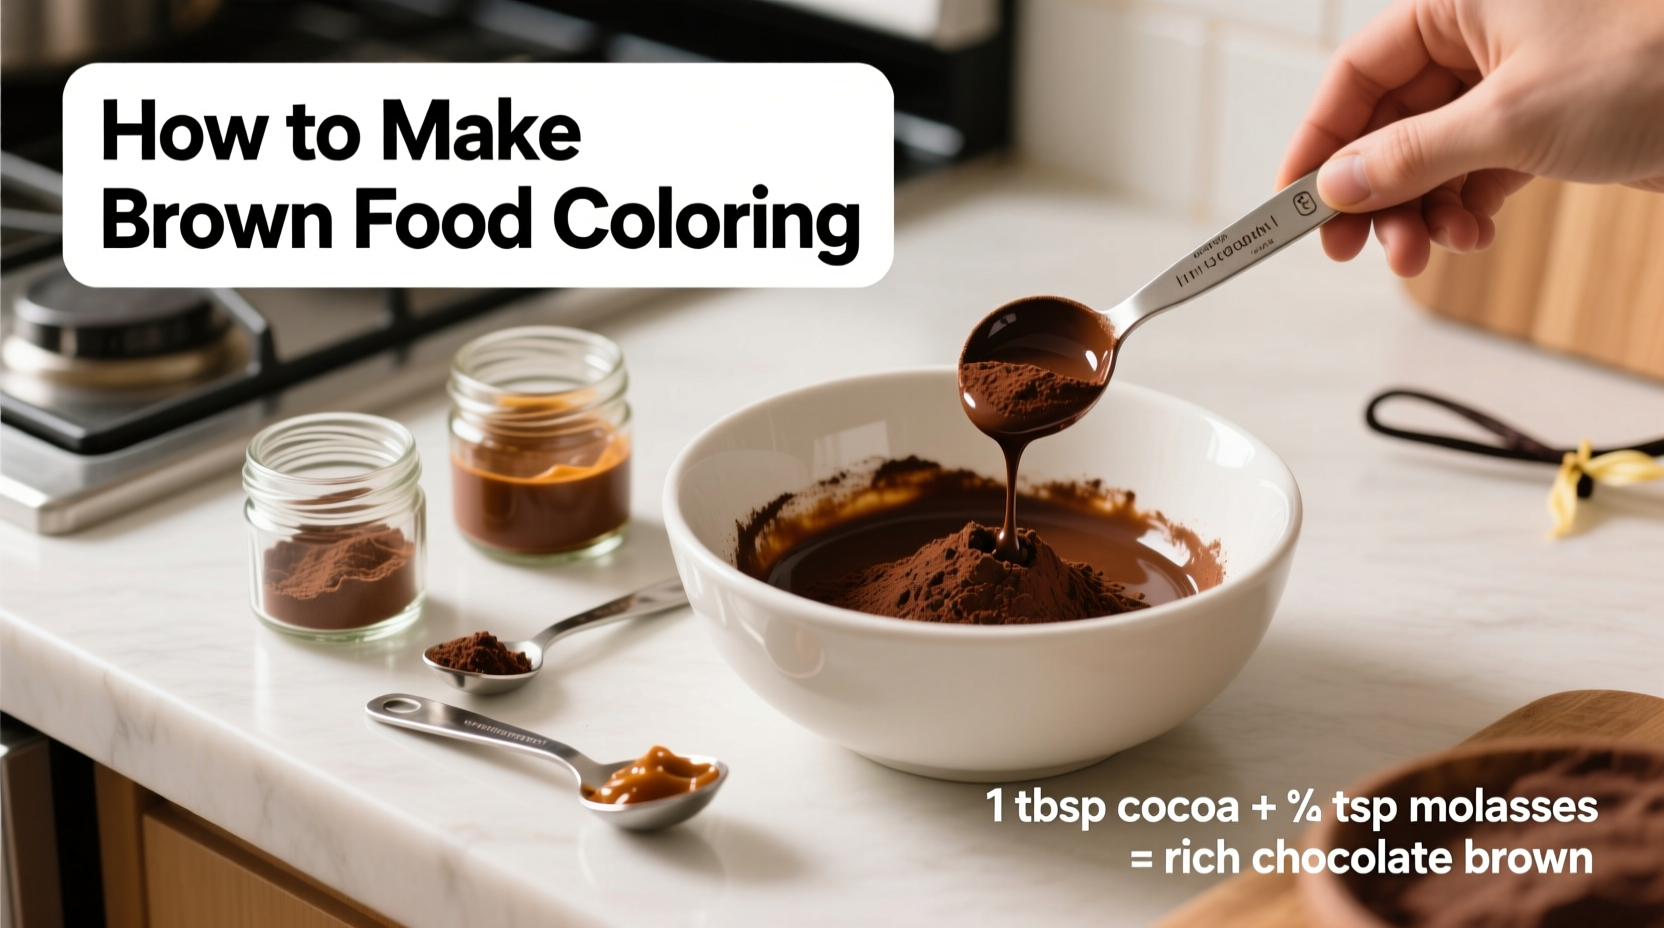
| Unsweetened cocoa powder | 1-2 tablespoons | Chocolate cakes, brownies | Rich chocolate flavor |
| Strong brewed coffee | 1-2 tablespoons liquid | Coffee-flavored desserts | Mild coffee taste |
| Cinnamon | 1-2 teaspoons | Spice cakes, gingerbread | Warm spice notes |
| Instant espresso powder | 1-2 teaspoons | Dark chocolate effects | Intense coffee flavor |
Food scientists at the USDA National Institute of Food and Agriculture confirm that these natural alternatives provide safe coloring options while contributing additional nutritional benefits compared to synthetic dyes.
When Each Method Works Best
Understanding context boundaries prevents disappointing results. Not all brown coloring methods work equally well across applications:
- Frosting & Buttercream: Artificial dye method creates the darkest brown without altering texture. Natural options work well but may require adjusting liquid content.
- Royal Icing: Only use artificial dyes as natural options cause icing to become runny.
- White Cake Batter: Natural options like cocoa create delicious chocolate cake but won't produce neutral brown.
- Chocolate Cake: Natural options enhance both color and flavor.
Troubleshooting Common Brown Coloring Problems
Even experienced bakers encounter issues when creating brown shades. Here's how to fix them:
Problem: Muddy Gray Instead of Brown
Solution: You've added too much blue. Add small amounts of red and yellow (2:1 ratio) to warm the color. Professional pastry chefs recommend keeping a small amount of orange food coloring on hand to quickly correct gray tones.
Problem: Orange Tint Instead of Brown
Solution: You need more blue. Add single drops of blue food coloring while mixing thoroughly between additions. Remember that brown is essentially dark orange with added blue.
Problem: Brown Too Light
Solution: For artificial dyes, increase the ratio to 6:4:2. For natural options, reduce liquid content elsewhere in your recipe to concentrate the color.
Historical Evolution of Food Coloring Techniques
Understanding how brown coloring methods have evolved helps appreciate modern techniques:
- Pre-1900s: Bakers relied solely on natural ingredients like caramelized sugar, coffee, and spices for brown hues
- Early 1900s: Coal-tar derived synthetic dyes became available but contained harmful substances
- 1938: The Federal Food, Drug, and Cosmetic Act established safety standards for food dyes
- 1960s: FDA approved Red 40, Yellow 5, and Blue 1 that remain common today
- 2000s-Present: Growing demand for natural alternatives has revived interest in traditional coloring methods
This historical context explains why modern bakers have both synthetic and natural options available, with increasing preference for plant-based alternatives according to USDA Agricultural Research Service food trend analyses.
Pro Tips for Perfect Brown Every Time
- Always mix coloring into a small portion of your base first, then blend with the larger batch for even distribution
- Work with gel food coloring rather than liquid for more concentrated color with less liquid disruption
- Create a color swatch by spreading a small amount on parchment paper to see true color before committing
- For realistic wood-grain effects, apply multiple shades of brown with a toothpick
- Store homemade colored frostings in airtight containers for up to 3 days
Advanced Technique: Creating Multiple Brown Shades
Professional cake decorators create depth by using multiple brown shades. Here's how to make a brown gradient:
- Prepare three separate small portions of frosting
- Create light brown: 2 red : 1 yellow : 0 blue
- Create medium brown: 3 red : 2 yellow : 1 blue
- Create dark brown: 5 red : 3 yellow : 2 blue
- Apply different shades strategically for realistic dimensional effects
This technique works particularly well for creating realistic wood textures, chocolate effects, or earth-toned designs.
Storage and Shelf Life Considerations
Homemade brown coloring has different storage requirements based on method:
- Artificial dye mixtures: Store in airtight container for up to 6 months
- Cocoa-based mixtures: Use within 24 hours as fats can separate
- Coffee-based mixtures: Best used immediately as they can develop bitterness
- Spice-based mixtures: May settle - stir before use and consume within 48 hours
For best results, prepare only the amount needed for your current project. The USDA Food Safety and Inspection Service recommends discarding any homemade food coloring that develops off odors or mold.
Conclusion: Mastering Brown Food Coloring
Creating perfect brown food coloring is both science and art. By understanding color theory principles and ingredient properties, you can consistently achieve the exact shade you need. Whether you're aiming for milk chocolate brown, dark espresso, or a natural wood tone, these methods provide reliable results for any baking project. Remember that practice improves precision - keep notes on your successful color combinations for future reference.


 浙公网安备
33010002000092号
浙公网安备
33010002000092号 浙B2-20120091-4