
Nothing beats the aroma of onions slowly caramelizing as they transform from sharp and pungent to sweet and golden. Hot onion dip has evolved from 1950s American cocktail parties to become a modern game day essential, with culinary historians tracing its origins to French onion soup adaptations. The magic happens when properly caramelized onions meet the right dairy base—this isn't your average powdered onion dip. Professional kitchens achieve depth of flavor through controlled caramelization and strategic ingredient layering, techniques now accessible to home cooks.
The Evolution of Onion Dip: From Mid-Century Classic to Modern Favorite
Onion dip's journey reflects changing American food culture. The 1950s saw the rise of convenience foods with the invention of Lipton's dried onion soup mix, creating the original "California dip." By the 1980s, chefs began elevating the concept using fresh ingredients. Today's hot onion dip represents a perfect middle ground—maintaining approachability while embracing quality ingredients. Food anthropologists note this evolution mirrors broader trends toward "elevated comfort food" that began gaining momentum around 2010, as documented by the Food Timeline historical resource.
Choosing Your Onions: Flavor Impact Comparison
| Onion Variety | Sweetness Level | Caramelization Time | Best For |
|---|---|---|---|
| Yellow onions | Medium-high | 20-25 minutes | Classic balanced flavor |
| Vidalia onions | Very high | 15-20 minutes | Sweeter, milder dip |
| Shallots | High | 18-22 minutes | Elegant, complex flavor |
| Red onions | Medium | 22-28 minutes | Vibrant color, sharper finish |
Perfect Hot Onion Dip Recipe: Professional Techniques for Home Cooks
Creating exceptional hot onion dip requires understanding the chemistry behind flavor development. The key is proper caramelization—this isn't merely cooking onions until soft, but triggering the Maillard reaction that creates complex flavor compounds. Professional chefs use a combination of butter and oil to prevent burning while achieving optimal browning. The dairy components must be incorporated at precisely the right temperature to maintain emulsion without curdling.
Ingredients for Maximum Flavor
- 3 large yellow onions, thinly sliced (about 4 cups)
- 2 tablespoons unsalted butter
- 1 tablespoon olive oil
- 8 oz full-fat cream cheese, softened
- 1 cup sour cream
- 1 teaspoon Worcestershire sauce
- 1/2 teaspoon smoked paprika
- 1/4 teaspoon cayenne pepper (optional)
- Salt and freshly ground black pepper to taste
- 2 tablespoons fresh chives, finely chopped
Step-by-Step Preparation
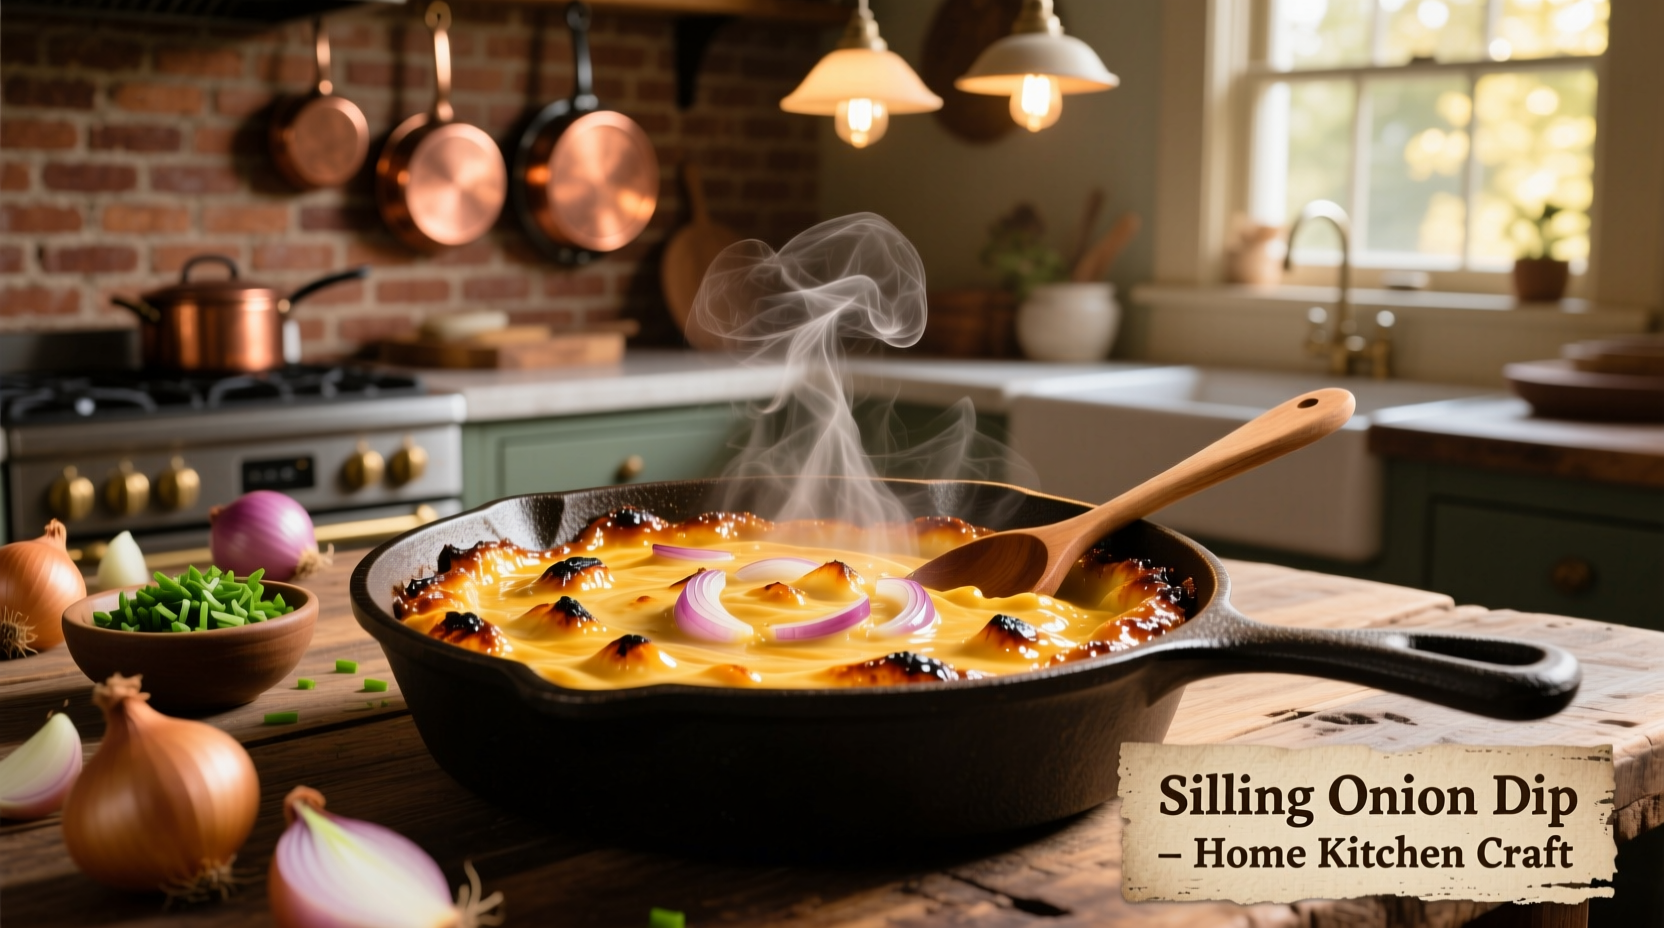
- Caramelize onions properly: Combine butter and oil in skillet over medium-low heat. Add onions and a pinch of salt. Cook slowly for 20-25 minutes, stirring occasionally, until deep golden brown. Avoid rushing this step—proper caramelization creates the dip's flavor foundation.
- Cool onions slightly: Transfer caramelized onions to bowl and let cool for 10 minutes. This prevents the dairy from curdling when combined.
- Combine dairy components: In separate bowl, beat cream cheese until smooth. Gradually mix in sour cream until fully incorporated.
- Build flavor layers: Add cooled onions, Worcestershire sauce, paprika, and cayenne to dairy mixture. Fold gently to maintain texture.
- Chill for flavor development: Refrigerate for at least 1 hour before serving. This allows flavors to meld and improves texture.
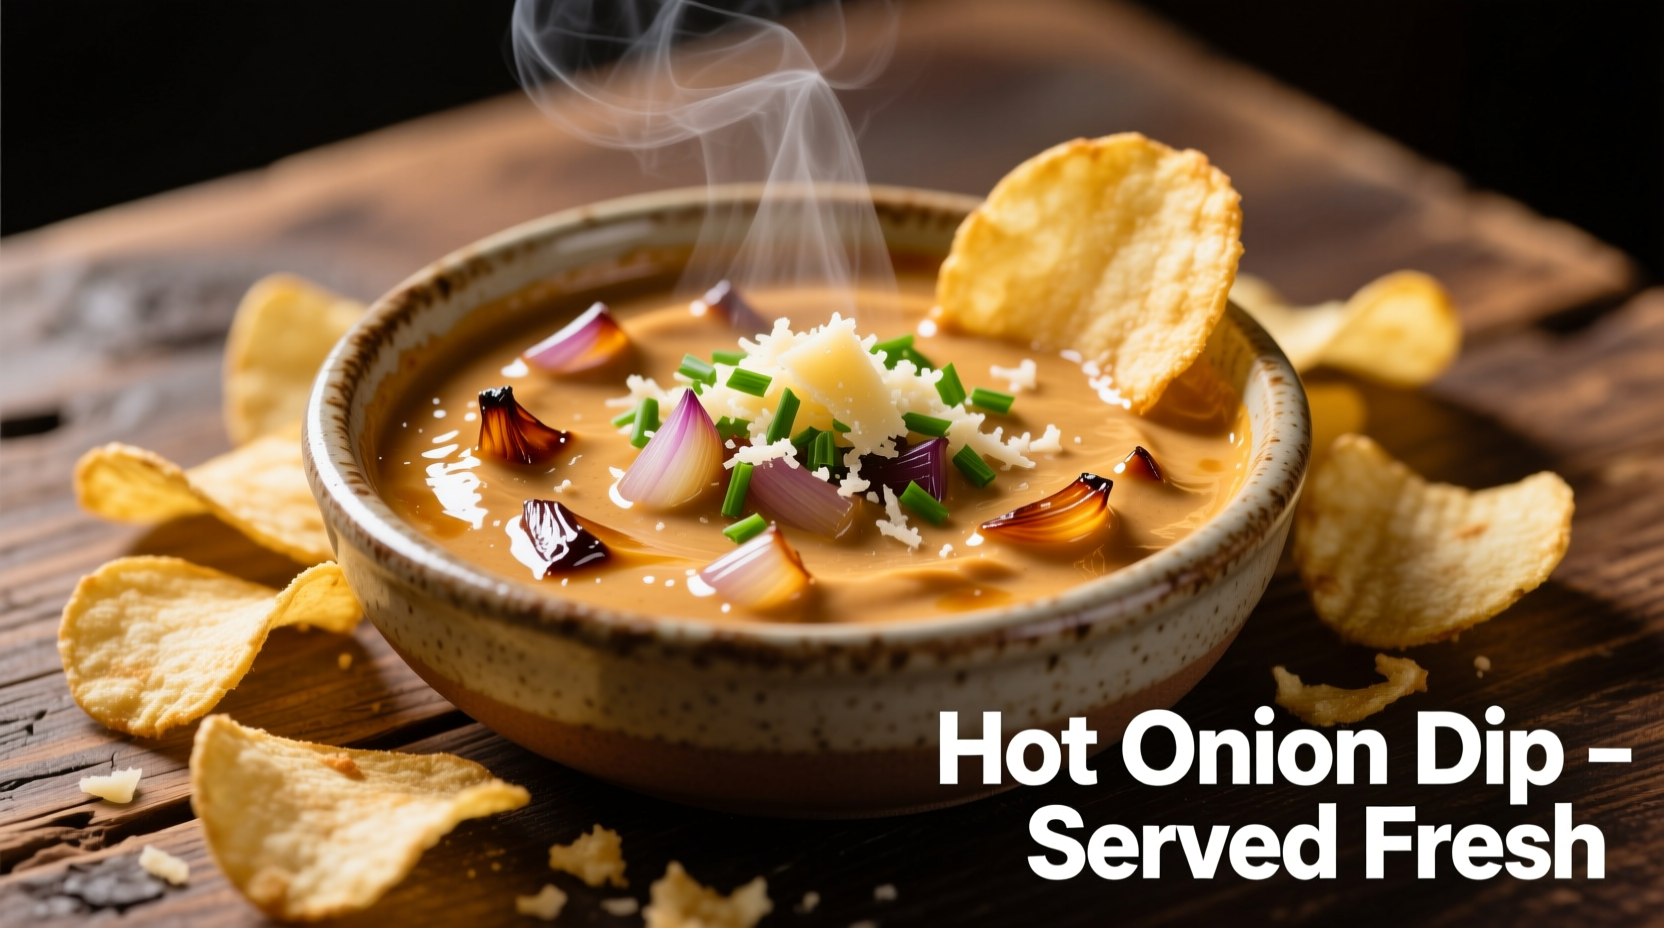
- Serve warm: Transfer to oven-safe dish and heat at 350°F for 15-20 minutes until bubbling at edges. Garnish with fresh chives.
Serving Temperature Matters: Context Boundaries
Hot onion dip serves different purposes depending on temperature. When served warm (120-140°F), it functions as a comforting appetizer ideal for casual gatherings and cold weather events. The warm temperature enhances aroma release, making it perfect for game day spreads. Cold onion dip (40-50°F) works better for elegant cocktail parties where guests are circulating. Food service studies show temperature directly impacts perceived richness—warmer dips register as creamier to tasters. Never serve onion dip above 145°F as excessive heat diminishes delicate flavor compounds and can cause separation.
Make-Ahead Tips and Storage Guidelines
Hot onion dip can be prepared up to 3 days in advance. Store the combined but unheated dip in an airtight container. When ready to serve, transfer to baking dish, cover with foil, and heat at 325°F for 25-30 minutes. For best results, add fresh chives after reheating. Leftovers keep for 3-4 days refrigerated but don't freeze well due to dairy separation. If your dip separates during reheating, remove from oven and whisk vigorously—this usually restores emulsion.
Troubleshooting Common Issues
Problem: Dip is too thin
Solution: Chill for additional 30 minutes—the dip will thicken as it cools. For immediate correction, mix 1 tablespoon cornstarch with 2 tablespoons cold water and stir into dip while heating.
Problem: Onions burned during caramelization
Solution: Start over—burnt onions create bitter flavors that permeate the entire dip. Next time, use medium-low heat and stir more frequently during the final caramelization stage.
Problem: Dip separates when reheating
Solution: This happens when temperature rises too quickly. Always reheat gradually and stir occasionally. If separation occurs, remove from heat and whisk vigorously to re-emulsify.
Perfect Pairings for Your Hot Onion Dip
While potato chips remain the classic choice, consider these professional pairing suggestions that balance texture and flavor:
- Crispy elements: Pita chips, bagel chips, or toasted baguette slices provide sturdy vehicles that won't break
- Fresh contrast: Bell pepper strips, cucumber rounds, or endive leaves cut through the richness
- Unexpected options: Roasted potato wedges or grilled zucchini offer warm dipping alternatives


 浙公网安备
33010002000092号
浙公网安备
33010002000092号 浙B2-20120091-4