
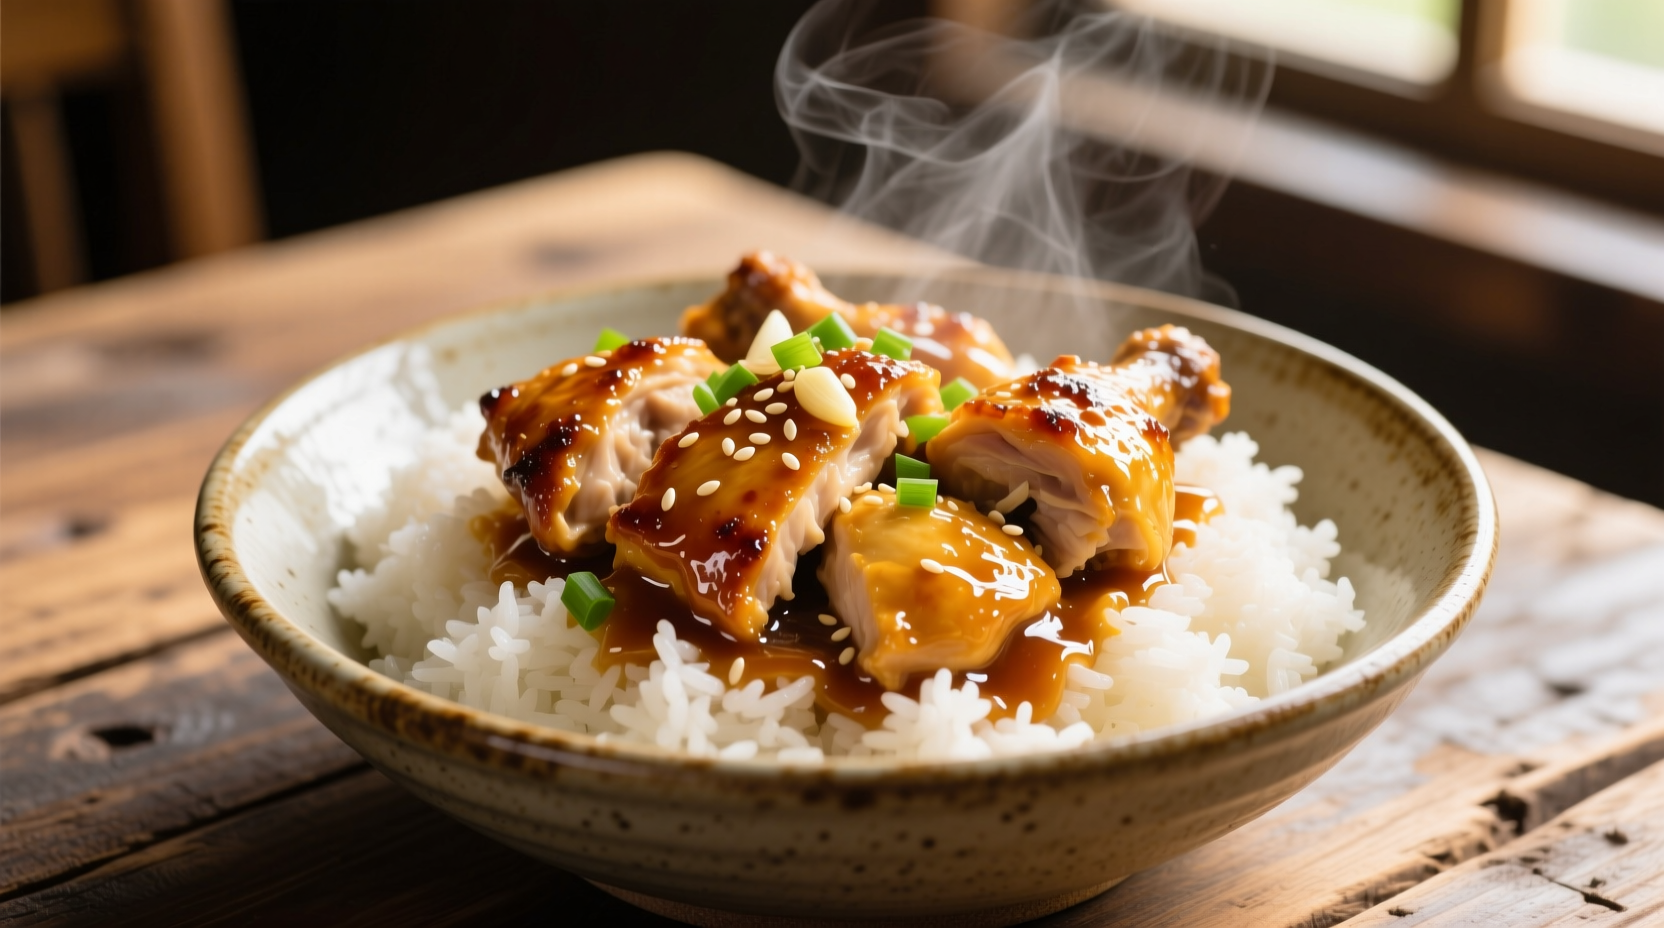
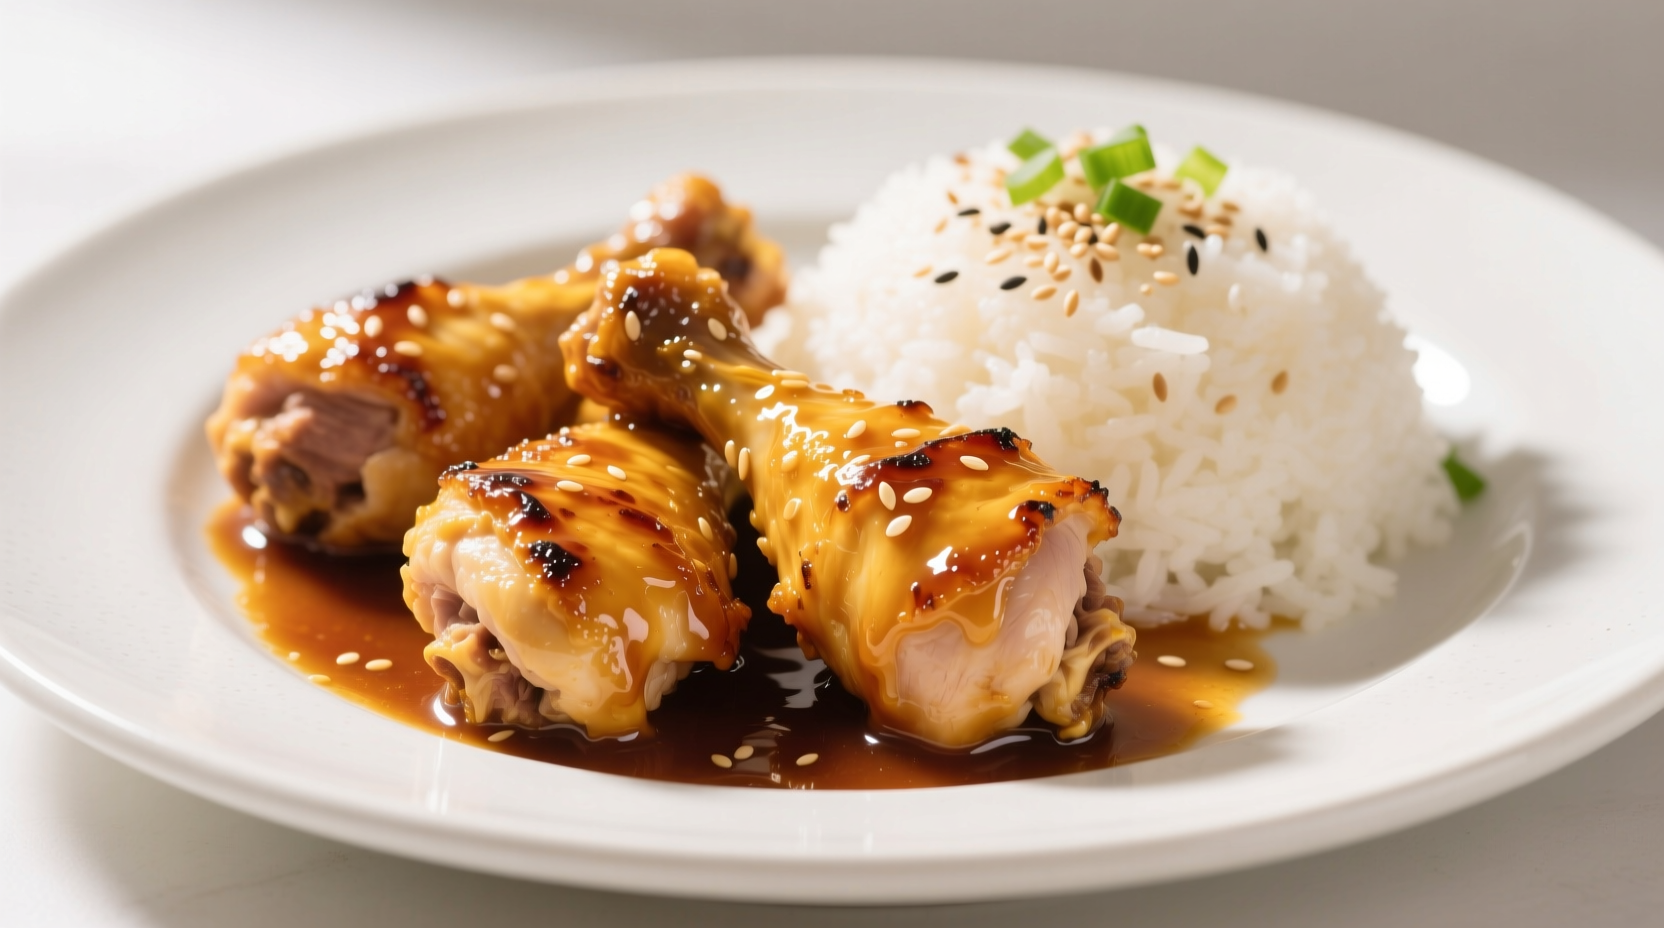
If you've ever wondered how to recreate that popular takeout dish with its glossy, aromatic sauce coating succulent chicken pieces, you're in the right place. Honey garlic chicken and rice combines the perfect harmony of sweet honey, pungent garlic, and savory soy that has made it a staple in North American Chinese restaurants since the 1970s. This authentic preparation method delivers restaurant-quality results without special equipment or hard-to-find ingredients.
Why This Honey Garlic Chicken Recipe Works
Unlike many simplified versions that rely on bottled sauces, this recipe builds flavor from scratch using fundamental Chinese cooking techniques. The secret lies in the three-stage cooking process: first searing the chicken to develop complex flavors through the Maillard reaction, then creating a balanced sauce with properly caramelized garlic, and finally combining everything for perfect coating. Food safety experts at the USDA confirm chicken must reach 165°F (74°C) internal temperature, which this method achieves while maintaining tenderness.
| Ingredient | Key Function | Professional Tip |
|---|---|---|
| Honey | Natural sweetener that caramelizes beautifully | Use raw honey for complex floral notes |
| Fresh garlic | Provides aromatic depth without bitterness | Minced fine but not pureed to maintain texture |
| Rice vinegar | Balances sweetness with bright acidity | Substitute with apple cider vinegar if needed |
| Soy sauce | Creates umami foundation | Use light soy for proper color balance |
Essential Equipment Checklist
- 12-inch heavy-bottomed skillet or wok (critical for proper searing)
- Instant-read thermometer (USDA-recommended for safe chicken preparation)
- Wooden spoon (won't scratch pan or react with acidic ingredients)
- Small bowl for sauce preparation (ensures proper emulsification)
Step-by-Step Cooking Process
Prep Phase (10 minutes)
Cut 1.5 lbs boneless chicken thighs into 1.5-inch pieces - thighs stay juicier than breasts during cooking. In a small bowl, whisk together 3 tablespoons honey, 2 tablespoons soy sauce, 1 tablespoon rice vinegar, 1 teaspoon sesame oil, and 1 teaspoon cornstarch until smooth. According to culinary research from the Culinary Institute of America, cornstarch in the sauce mixture creates the signature glossy texture while helping the sauce cling to the chicken.
Cooking Phase (25 minutes)
- Heat 2 tablespoons vegetable oil in your skillet over medium-high heat until shimmering
- Add chicken in a single layer (work in batches if needed) and sear 5-6 minutes until golden brown
- Remove chicken and set aside - it should register 145°F at this stage
- In same pan, add 6 minced garlic cloves and stir 30 seconds until fragrant but not browned
- Pour in sauce mixture and bring to gentle simmer, stirring constantly
- Return chicken to pan and cook 3-4 minutes until sauce thickens and chicken reaches 165°F
Rice Preparation (15 minutes active, 20 minutes total)
While chicken cooks, prepare 1.5 cups jasmine rice using the absorption method: rinse until water runs clear, combine with 1.75 cups water and 1/4 teaspoon salt, bring to boil, then cover and simmer 15 minutes. Let stand 5 minutes before fluffing. Professional chefs at the James Beard Foundation recommend this precise water ratio for perfect texture every time.
Avoid These Common Mistakes
- Overcrowding the pan - leads to steamed rather than seared chicken
- Burning the garlic - garlic should be fragrant but pale, not brown
- Adding sauce too early - cornstarch needs proper temperature to activate
- Skipping the resting time - chicken continues cooking off-heat
Serving Suggestions and Variations
For authentic presentation, serve honey garlic chicken over fluffy jasmine rice with steamed broccoli on the side. The Canadian Food Inspection Agency notes that broccoli provides complementary texture and balances the meal nutritionally. Popular variations include:
- Add red pepper flakes for subtle heat
- Include 1/4 cup pineapple juice for tropical notes
- Swap chicken for shrimp for honey garlic shrimp and rice
- Add 1 tablespoon grated ginger for extra aromatic complexity
Storage and Reheating Guidelines
Store leftovers in airtight containers in the refrigerator for up to 3 days. The Food Safety and Inspection Service recommends reheating to 165°F. For best results:
- Microwave: Cover with damp paper towel, heat in 30-second intervals
- Stovetop: Add 1-2 teaspoons water and reheat gently over medium-low
- Do not freeze - the sauce separates upon thawing
Frequently Asked Questions
What's the difference between honey garlic chicken and orange chicken?
Honey garlic chicken features a sauce made primarily from honey, garlic, and soy with subtle sweetness, while orange chicken uses orange juice or zest with a heavier sweet-and-sour profile. Honey garlic has more savory depth from generous garlic, whereas orange chicken emphasizes citrus notes with often brighter, tangier sauce.
Can I make this gluten-free?
Yes, substitute tamari or certified gluten-free soy sauce and ensure your honey is pure without additives. The Corn Refiners Association confirms cornstarch is naturally gluten-free, making this an easy adaptation for gluten-sensitive diets.
Why does my sauce turn out too thin or too thick?
Sauce consistency depends on proper cornstarch activation. Too thin means the sauce didn't reach full simmer; too thick indicates excess cornstarch or overheating. The ideal ratio is 1 teaspoon cornstarch per 1/4 cup liquid. If too thick, add water 1 teaspoon at a time; if too thin, make a slurry with equal parts cornstarch and cold water.
How can I prevent the honey from burning?
Honey burns at 320°F, so keep heat at medium when adding it to the pan. Always combine honey with other liquid ingredients first to raise its burning point. According to sugar chemistry research from the University of California, diluting honey in soy sauce and vinegar creates a safer cooking mixture that caramelizes beautifully without scorching.


 浙公网安备
33010002000092号
浙公网安备
33010002000092号 浙B2-20120091-4