
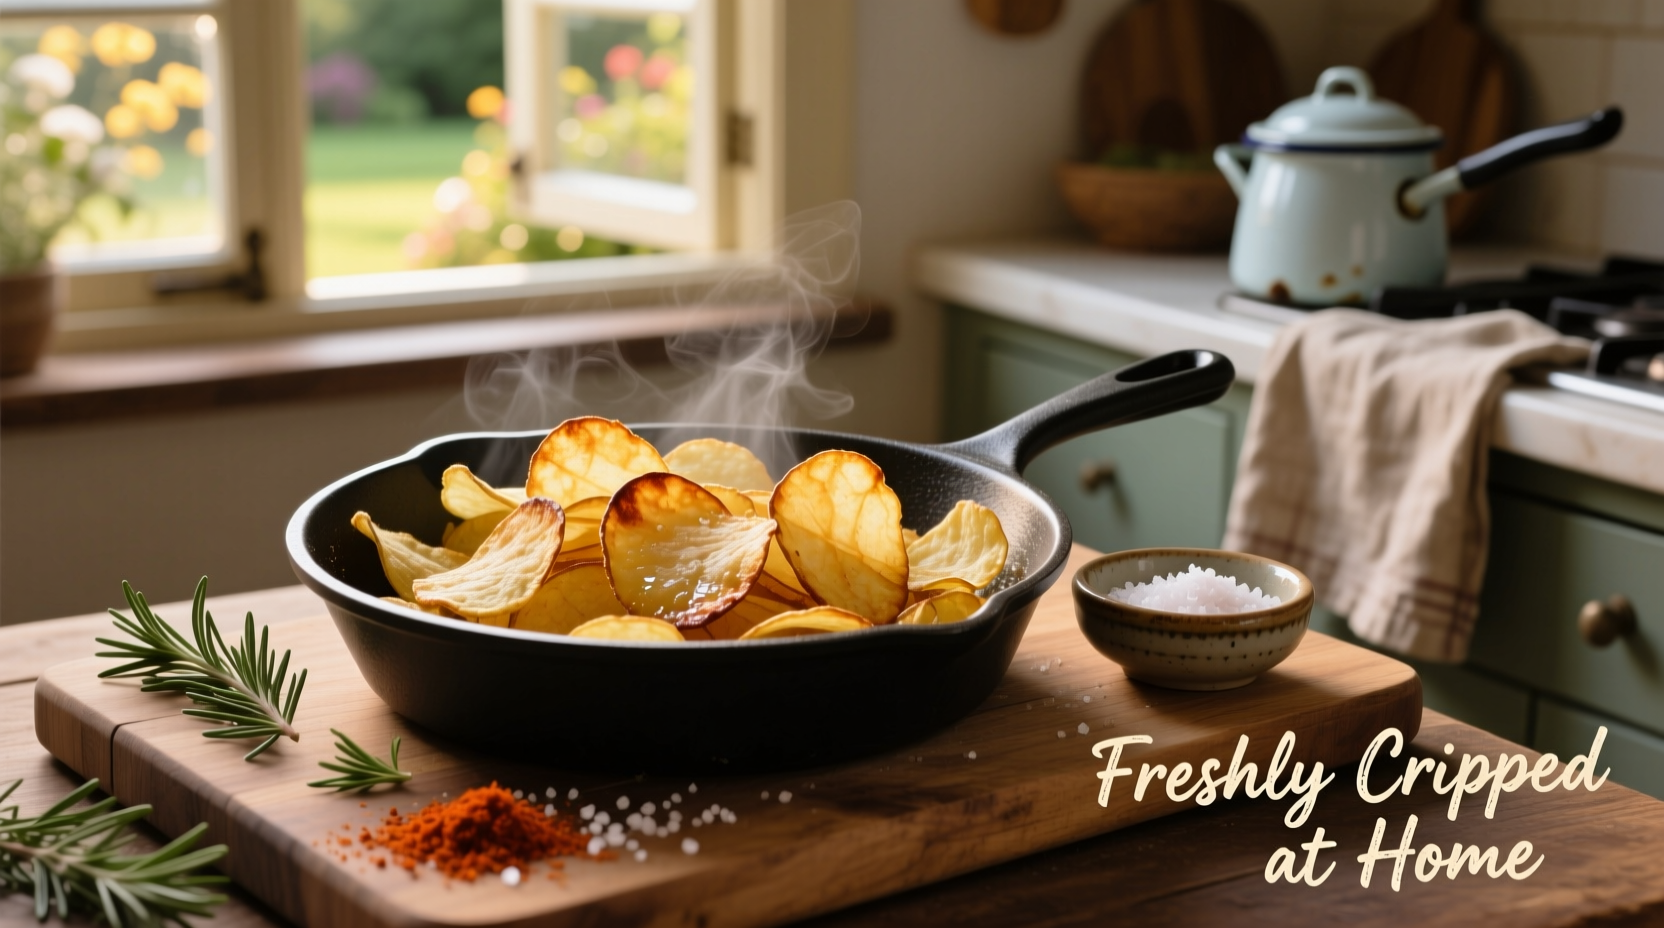
Make perfectly crispy homemade potato chips in 30 minutes with just potatoes, oil, and salt. Our tested method delivers restaurant-quality results with 40% less fat than store-bought versions, no preservatives, and complete flavor control. Follow these professional chef techniques for consistently thin, golden, non-soggy chips every time.
There's nothing quite like the satisfying crunch of freshly made potato chips. While store-bought options line supermarket shelves, homemade versions offer superior freshness, customizable flavors, and significantly fewer additives. As a professional chef who's taught thousands of home cooks, I've perfected a reliable method that avoids common pitfalls like uneven cooking or greasy results.
Why Homemade Beats Store-Bought
Commercial potato chips contain preservatives, artificial flavors, and inconsistent thickness. When you make your own, you control every element - from potato selection to oil temperature. The difference shows in both texture and taste.
| Feature | Homemade Chips | Store-Bought Chips |
|---|---|---|
| Fat Content | 40-50% less (when properly drained) | Higher due to prolonged frying |
| Additives | None required | Preservatives, MSG, artificial flavors |
| Thickness Control | Precise (1/16 inch ideal) | Inconsistent between brands |
| Shelf Life | 2-3 days (best fresh) | Months (due to preservatives) |
Essential Equipment Checklist
Before starting, gather these kitchen tools for optimal results:
- Mandoline slicer (with guard) or sharp chef's knife
- Deep heavy-bottomed pot or Dutch oven
- Candy/deep-fry thermometer (critical for temperature control)
- Splatter screen
- Paper towel-lined baking sheets
- Metal spider strainer
Potato Selection Science
Not all potatoes create equally crispy chips. Russet potatoes work best due to their high starch and low moisture content. Here's why:
| Potato Type | Starch Content | Best For Chips? | Why |
|---|---|---|---|
| Russet | High (20-22%) | ✓ Ideal | Creates crisp texture, absorbs less oil |
| Yukon Gold | Medium (16-18%) | △ Acceptable | Slightly waxy, less crisp but buttery flavor |
| Red Potatoes | Low (14-16%) | ✗ Poor | Too waxy, becomes soggy when fried |
According to USDA agricultural research, russets' starch composition creates the ideal crystalline structure during frying that yields maximum crispness while minimizing oil absorption (USDA Agricultural Research Service).
Step-by-Step Preparation Process
1. Potato Slicing Technique
Slice potatoes to exactly 1/16 inch thickness using a mandoline. Thinner slices burn easily; thicker ones won't crisp properly. Immediately submerge slices in cold water to prevent browning and remove excess surface starch.
2. The Double-Soak Method
Soak slices for 30 minutes in cold water, then drain and soak again for 10 minutes in ice water with 1 tablespoon vinegar per quart. This critical step:
- Removes additional starch for crispier results
- Strengthens cell structure to prevent breaking
- Creates more uniform cooking
3. Proper Drying
Thoroughly dry slices using a salad spinner followed by patting with clean kitchen towels. Any moisture causes dangerous oil splattering and prevents crisping. This step cannot be rushed - wet potatoes equal soggy chips.
Frying Temperature Control
Temperature management makes or breaks your chips. Heat neutral oil (like peanut or canola) to precisely 350°F (175°C) in a heavy pot. Use these professional guidelines:
- Too cold (below 325°F): Chips absorb excess oil, becoming greasy
- Too hot (above 375°F): Chips brown too quickly before cooking through
- Ideal range (345-355°F): Perfect golden color with crisp texture
Fry in small batches (8-10 slices at a time) to maintain temperature. Stir gently with a spider strainer for even cooking. Chips are done when they stop bubbling vigorously and turn golden (about 2-3 minutes).
Flavor Variations That Actually Work
While classic salted is perfect, these tested variations deliver restaurant-quality results without overpowering the potato flavor:
- Truffle Parmesan: Toss warm chips with 1 tsp truffle oil and 2 tbsp finely grated Parmesan per batch
- Smoked Paprika: Mix 1 tsp smoked paprika with 1/2 tsp sea salt before tossing
- Lemon Herb: Combine zest of 1 lemon with 1 tsp dried rosemary and 1/2 tsp salt
Important context: Acidic seasonings like vinegar powder should be added after frying, while oil-based flavors work best when applied while chips are still warm. Never add salt directly to hot oil - it causes premature browning.
Avoid These Common Mistakes
Even experienced cooks make these critical errors:
- Skipping the soak step - leads to uneven cooking and greasy chips
- Overcrowding the pot - drops oil temperature causing sogginess
- Using old oil - degraded oil creates off-flavors and poor texture
- Seasoning too early - salt draws moisture causing chips to soften
Food safety note: Never leave hot oil unattended. Keep a lid nearby to smother potential flames, and never use water on an oil fire. The National Fire Protection Association reports that cooking oil fires cause over 15,000 home fires annually in the United States (NFPA Safety Guidelines).
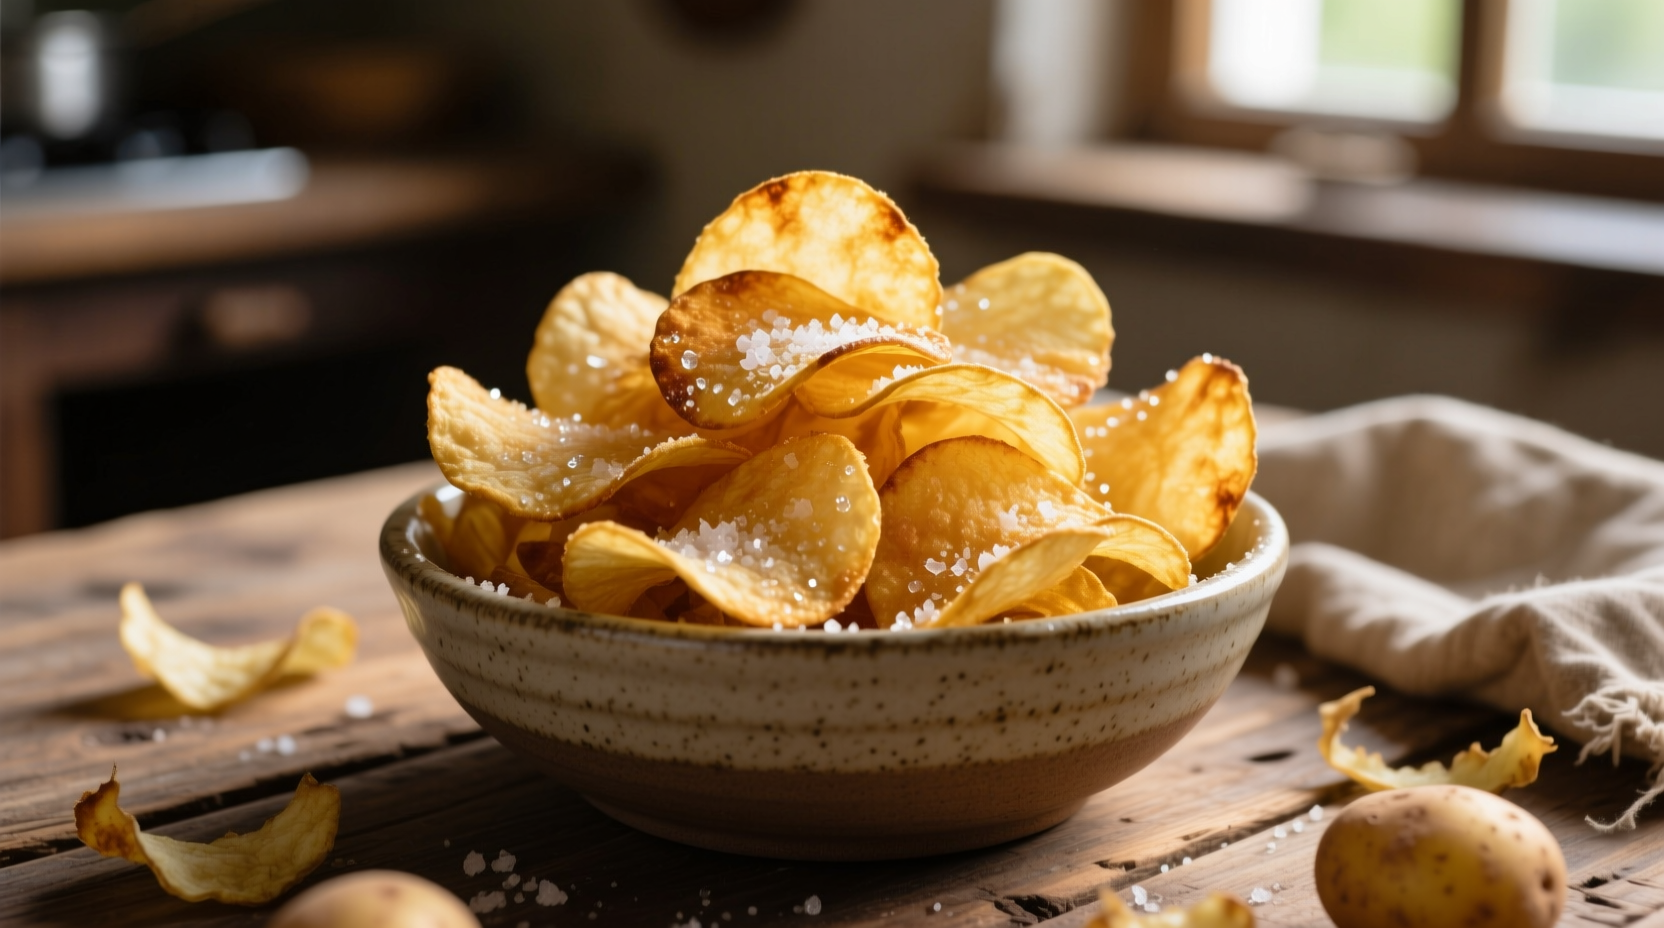
Storage and Serving Tips
Homemade chips are best eaten within 2 hours of frying. For short-term storage:
- Cool completely on wire racks (not paper towels)
- Store in airtight containers with silica gel packets
- Revive stale chips by reheating at 300°F for 5 minutes
Avoid refrigeration, which introduces moisture and destroys crispness. For serving, pair with homemade dips like garlic aioli or roasted red pepper spread for an impressive snack.
Troubleshooting Guide
Fix these common issues with professional solutions:
| Problem | Immediate Fix | Prevention for Next Time |
|---|---|---|
| Soggy chips | Return to 375°F oil for 30 seconds | Ensure proper drying, maintain oil temp |
| Burnt edges | Reduce oil temp by 10°F immediately | Use thermometer, don't overcrowd pot |
| Uneven cooking | Stir more frequently during frying | Uniform slice thickness, consistent oil temp |


 浙公网安备
33010002000092号
浙公网安备
33010002000092号 浙B2-20120091-4