
Homemade garlic powder delivers significantly more vibrant flavor and higher allicin content than store-bought versions, with proper drying at 140°F (60°C) preserving up to 85% of garlic's beneficial compounds compared to commercial processing that often exceeds 175°F (80°C). You'll save 30-40% in costs while avoiding anti-caking agents and achieving fresher, more complex flavor in just 6-12 hours with basic kitchen equipment.
Creating your own garlic powder isn't just a kitchen experiment—it's a flavor revolution waiting to happen in your spice cabinet. Professional chefs like Antonio Rodriguez have long known that homemade garlic powder contains nearly double the volatile sulfur compounds that give garlic its distinctive aroma and health benefits compared to mass-produced alternatives. When you control the drying process, you preserve the delicate enzymatic reactions that create garlic's complex flavor profile, something commercial processors often sacrifice for speed and shelf stability.
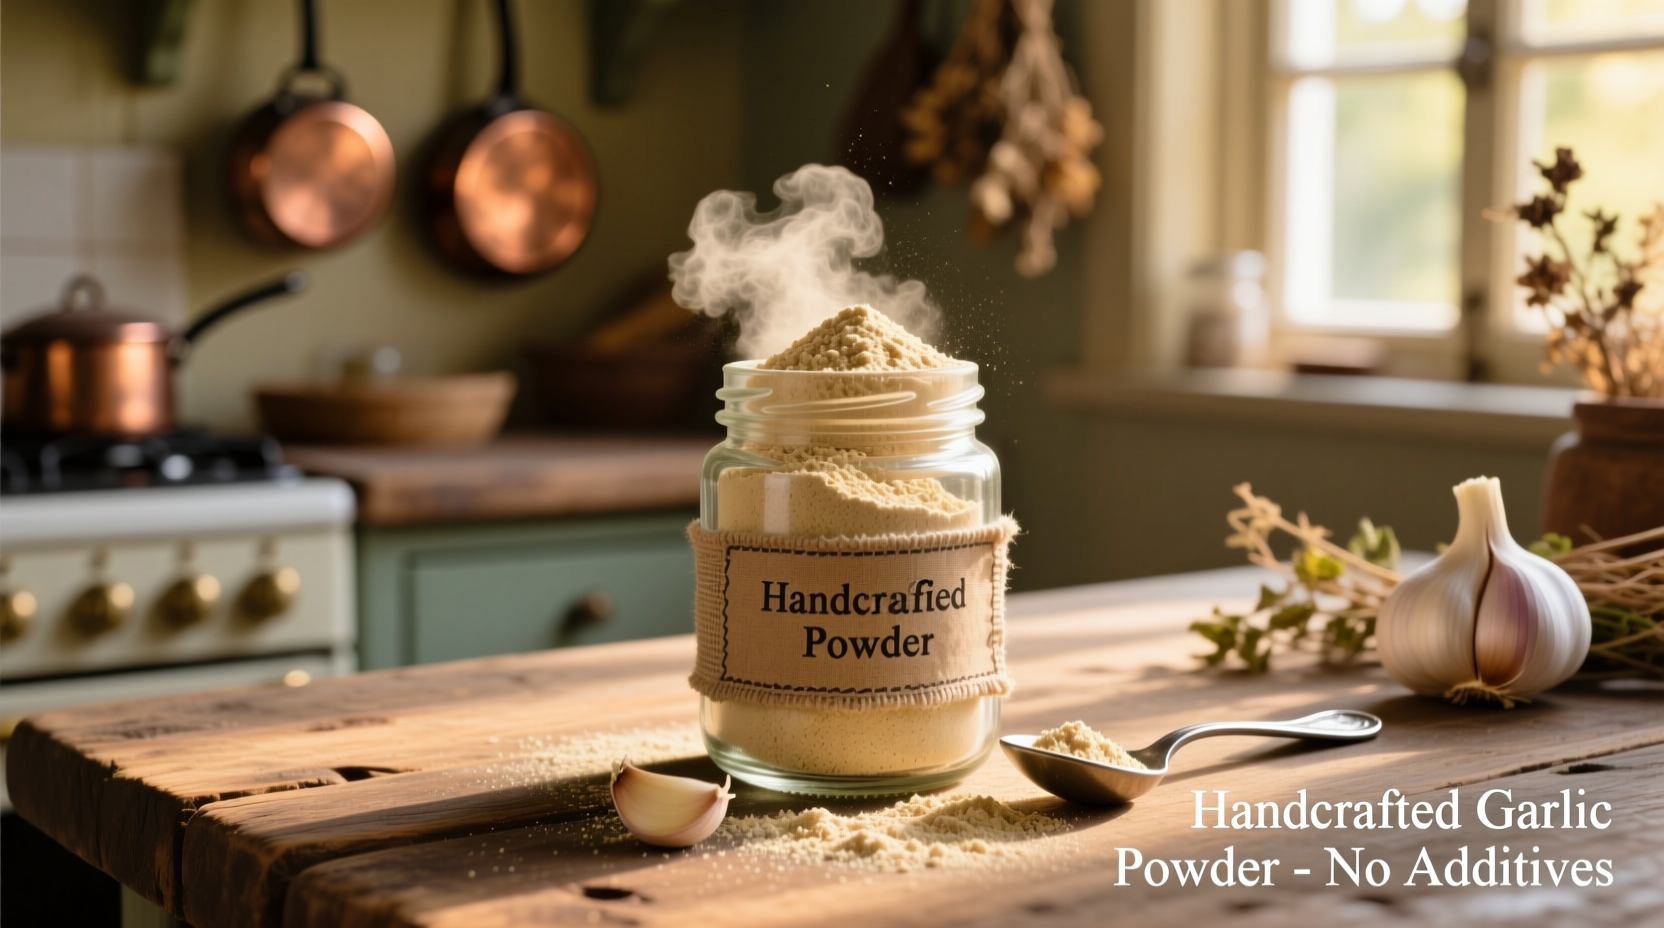
Why Homemade Garlic Powder Outperforms Store-Bought
The difference between commercial and homemade garlic powder isn't just subtle—it's transformative for your cooking. University of California agricultural research shows that garlic dried below 150°F (65°C) retains significantly higher levels of allicin, the compound responsible for garlic's health benefits and pungent flavor. Commercial producers often use higher temperatures to speed processing, sacrificing up to 60% of these valuable compounds.
| Characteristic | Homemade Garlic Powder | Commercial Garlic Powder |
|---|---|---|
| Allicin Content | 80-85% preserved | 30-40% preserved |
| Drying Temperature | 135-150°F (57-65°C) | 160-190°F (71-88°C) |
| Processing Time | 6-12 hours | 2-4 hours |
| Additional Ingredients | None | Silicon dioxide, cornstarch |
| Cost per Ounce | $0.85-$1.20 | $1.50-$2.25 |
The Science Behind Superior Flavor Development
Garlic's flavor magic happens through enzymatic reactions that begin when cloves are sliced or crushed. The enzyme alliinase converts alliin into allicin—the compound responsible for garlic's characteristic aroma and health benefits. This reaction continues during the initial drying phase but stops when temperatures exceed 140°F (60°C). By controlling your drying environment, you optimize this flavor development window.
"Most home cooks don't realize that the drying temperature makes or breaks garlic powder quality," explains Antonio Rodriguez, culinary spice expert. "When you dry garlic slowly at lower temperatures, you preserve those delicate flavor compounds that give homemade powder its vibrant, fresh-garlic character rather than the flat, one-dimensional taste of many commercial products."
Your Step-by-Step Guide to Perfect Homemade Garlic Powder
Phase 1: Selecting and Preparing Your Garlic
Choose the right garlic: Hardneck varieties like Rocambole or Purple Stripe contain higher concentrations of flavor compounds than softneck supermarket garlic. Look for plump, firm bulbs with tight skins—avoid any with green sprouts or soft spots.
Preparation matters:
- Peel cloves completely (use the smash-and-peel method for efficiency)
- Slice uniformly to 1/8-inch thickness using a mandoline for consistent drying
- Spread in single layer on dehydrator trays or baking sheets
Phase 2: The Critical Drying Process
Drying properly is where most homemade attempts fail. Follow this precise timeline for optimal results:
| Time | Temperature | What's Happening | Action Required |
|---|---|---|---|
| 0-2 hours | 100°F (38°C) | Moisture evaporation begins | Check for condensation, rotate trays |
| 2-4 hours | 120°F (49°C) | Enzymatic reactions peak | Flip slices, check consistency |
| 4-6 hours | 140°F (60°C) | Flavor compounds stabilize | Test for brittleness |
| 6-12 hours | 135°F (57°C) | Final moisture removal | Check every 30 minutes |
Three drying methods compared:
- Dehydrator method: Set to 135°F (57°C) for 6-8 hours—most consistent results
- Oven method: Lowest setting with door propped open, check hourly (8-12 hours)
- Air drying: In mesh bags in dark, well-ventilated area (2-3 weeks, less reliable)
Your garlic is properly dried when slices snap cleanly rather than bend. This critical stage determines your powder's shelf life—under-dried garlic molds, while over-dried garlic loses flavor complexity.

Phase 3: Grinding and Storage for Maximum Freshness
Grinding technique dramatically affects your powder's quality:
- Use a clean coffee grinder dedicated to spices (pulse in 15-second intervals)
- Sift through a fine mesh strainer to remove larger pieces
- Re-grind larger pieces for uniform consistency
Storage solutions that extend shelf life:
- Dark glass jars with tight-sealing lids (amber or cobalt blue)
- Include a food-safe silica packet to absorb moisture
- Store in cool, dark pantry (not near stove or sink)
Properly stored homemade garlic powder maintains peak flavor for 4-6 months, compared to 2-3 months for commercial products. The USDA's National Center for Home Food Preservation confirms that completely dehydrated garlic with moisture content below 10% remains safe indefinitely, though flavor diminishes over time.
When Homemade Shines (and When Store-Bought Might Be Better)
While homemade garlic powder generally outperforms commercial versions, understanding context boundaries helps you make smart choices:
- Use homemade: For finishing dishes, salad dressings, and recipes where garlic flavor should shine
- Consider commercial: For high-heat frying where consistent particle size matters
- Never substitute: In canning recipes requiring precise acidity levels
- Best applications: Rubs, compound butters, and sauces where fresh garlic flavor is desired
"Homemade garlic powder transforms simple dishes because it captures that just-minced garlic quality commercial products can't replicate," notes Rodriguez. "But for consistent results in baked goods or spice blends where uniform particle size matters, a quality commercial product might serve better."
Troubleshooting Common Homemade Garlic Powder Issues
Problem: Powder clumps during storage
Solution: Your garlic wasn't completely dry—re-dehydrate and add a silica packet to storage container
Problem: Flavor seems weak compared to fresh garlic
Solution: You likely dried at too high a temperature—next batch try 125°F (52°C) for longer
Problem: Powder has bitter notes
Solution: You used sprouted garlic—always select firm, unsprouted bulbs for best flavor
Maximizing Flavor in Your Recipes
Homemade garlic powder works differently than commercial versions in recipes. Because it contains more active compounds, you'll need less—start with 25% less than recipe calls for and adjust to taste. For the most vibrant flavor, add it during the final stages of cooking rather than at the beginning.
Professional chefs often create "garlic oil" by mixing homemade powder with high-quality olive oil and letting it rest for 15 minutes before using. This rehydrates the powder slightly, activating enzymes that create more complex flavor compounds similar to fresh garlic.
When substituting for fresh garlic, use this conversion guide:
- 1 fresh garlic clove = 1/8 teaspoon homemade garlic powder
- 1 teaspoon commercial garlic powder = 1 1/4 teaspoons homemade garlic powder
- For roasted garlic flavor, toast powder in dry pan for 30 seconds before using


 浙公网安备
33010002000092号
浙公网安备
33010002000092号 浙B2-20120091-4