
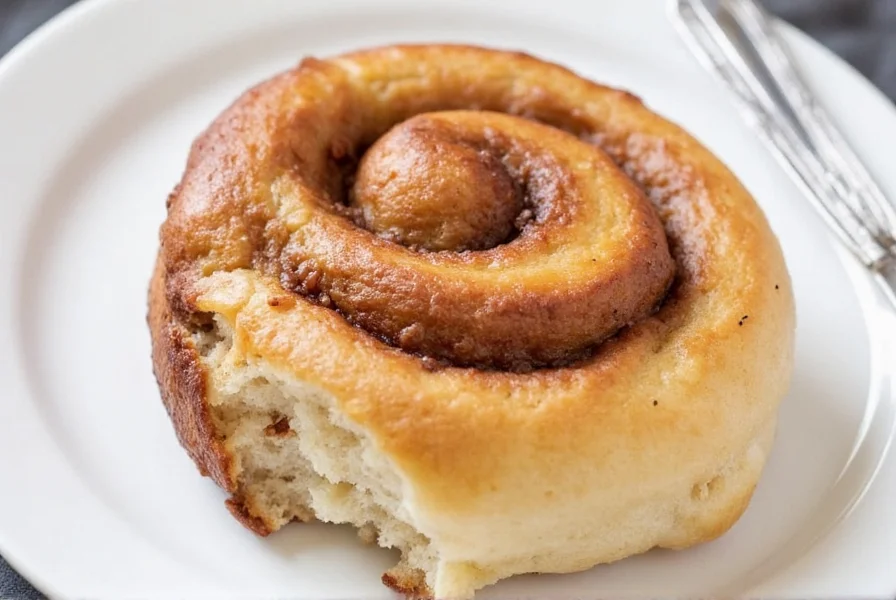
There's nothing quite like the aroma of freshly baked cinnamon buns filling your kitchen. While many assume these sweet treats require advanced baking skills, this streamlined recipe proves that perfect homemade cinnamon buns are achievable for bakers of all levels. The secret lies in a simplified dough preparation method and carefully balanced filling that guarantees consistent results without complicated techniques.
Why This Easy Cinnamon Bun Recipe Works
Unlike traditional recipes that demand precise temperature control and multiple rising periods, this approach uses a single-rise method that cuts preparation time in half. The dough formulation includes a touch more yeast to compensate for the shorter rising period, while the filling uses a measured ratio of cinnamon to sugar that prevents common issues like gritty texture or overpowering spice.
Simple Ingredients for Perfect Cinnamon Buns
This easy homemade cinnamon buns recipe uses standard pantry staples with no specialty ingredients required. Each component serves a specific purpose in creating the ideal texture and flavor profile:
| Ingredient | Quantity | Key Purpose |
|---|---|---|
| All-purpose flour | 3½ cups | Provides structure without excessive gluten development |
| Warm milk (110°F) | 1 cup | Activates yeast while keeping dough tender |
| Active dry yeast | 2¼ teaspoons | Reliable leavening for consistent rise |
| Granulated sugar | ⅓ cup + ¾ cup | Dough sweetness and caramelization in filling |
| Unsalted butter | ⅓ cup melted | Richness and tender crumb |
| Ground cinnamon | 3 tablespoons | Balanced spice flavor without bitterness |
| Large egg | 1 | Structure and golden color |
| Salt | 1 teaspoon | Flavor enhancement and gluten control |
| Powdered sugar | 1½ cups | Smoother icing texture than granulated |
| Heavy cream | 2-3 tablespoons | Icing consistency control |
Step-by-Step Instructions for Foolproof Cinnamon Buns
Dough Preparation (15 minutes)
- In a small bowl, combine warm milk, 1 tablespoon of the granulated sugar, and yeast. Let sit for 5-7 minutes until foamy.
- Mix flour, remaining sugar, salt, and melted butter in a large bowl.
- Add yeast mixture and egg to dry ingredients, stirring until a shaggy dough forms.
- Knead by hand for 5 minutes (or 3 minutes with dough hook) until smooth and elastic.
- Cover bowl with damp cloth and let rest while preparing filling.
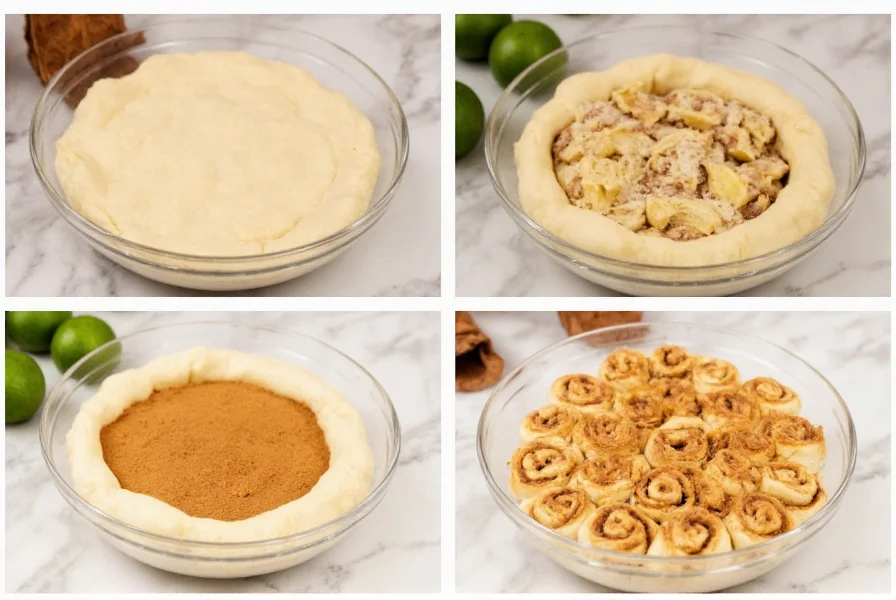
Filling and Shaping (10 minutes)
- Mix ¾ cup sugar and cinnamon in small bowl.
- Roll rested dough into 16x12 inch rectangle on lightly floured surface.
- Spread softened butter evenly over dough, then sprinkle cinnamon sugar mixture.
- Tightly roll dough starting from long edge, pinching seam to seal.
- Cut into 12 equal pieces using dental floss for clean slices.
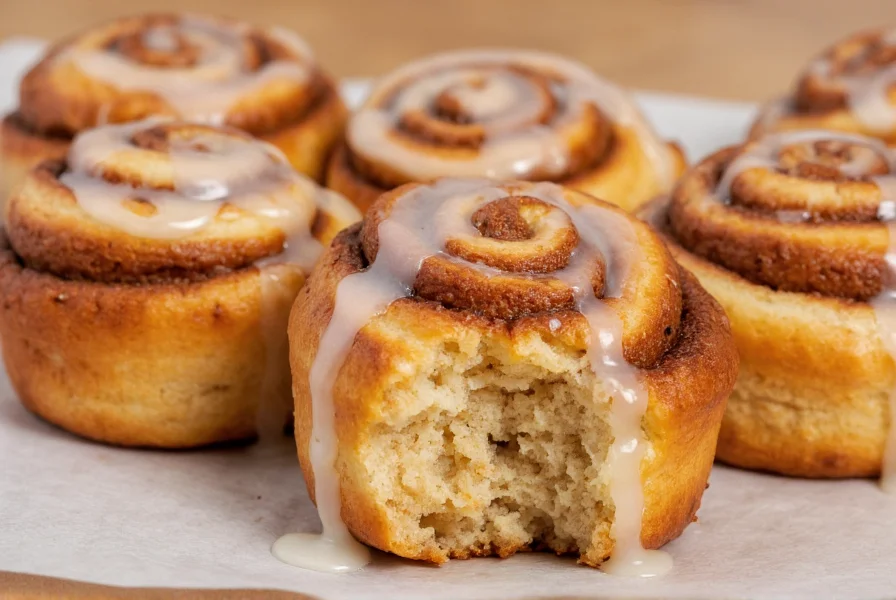
Baking and Icing (65 minutes)
- Place rolls in greased 9x13 inch pan, cover, and let rise 45 minutes.
- Bake at 375°F for 22-25 minutes until golden brown.
- While cooling, whisk powdered sugar and cream until smooth.
- Drizzle icing over warm buns for perfect absorption.
Pro Tips for Perfect Results Every Time
- Milk temperature matters: Too hot kills yeast, too cold won't activate it. Use a thermometer for best results when making easy cinnamon roll preparation
- Dental floss trick: Slide under rolled dough and cross ends to slice cleanly without squishing - essential for maintaining that perfect cinnamon swirl
- Rising environment: Place covered dough in oven with light on for consistent 80-85°F temperature
- Icing timing: Apply while buns are warm (not hot) for ideal absorption without melting
Troubleshooting Common Issues
Even with this simplified recipe, occasional challenges may arise. Here's how to address them:
- Dense texture: Usually caused by over-flouring during kneading. Measure flour by spooning into cup then leveling - never scoop directly
- Filling leakage: Ensure butter is evenly spread but not pooling at edges before adding cinnamon sugar
- Uneven rising: Rotate pan halfway through rising period for consistent expansion
- Dry buns: Overbaking is the culprit. Remove when internal temperature reaches 190°F
Variations for Different Tastes
This beginner-friendly cinnamon roll recipe adapts beautifully to personal preferences:
- Nutty version: Sprinkle ½ cup chopped pecans over filling before rolling
- Fruity twist: Add ¼ cup raisins or dried cranberries to filling mixture
- Cream cheese icing: Mix 2 oz softened cream cheese with icing ingredients
- Gluten-free option: Substitute with 1:1 gluten-free flour blend (add 1 tsp xanthan gum)
Storage and Reheating Instructions
Homemade cinnamon buns maintain freshness longer than store-bought versions when stored properly:
- Room temperature: Keep in airtight container for up to 2 days
- Refrigerated: Store for up to 5 days; reheat in microwave 10-15 seconds
- Freezing: Wrap individual buns tightly; freeze up to 3 months. Thaw at room temperature 1 hour before reheating
- Best reheating: 20 seconds in microwave followed by 2 minutes in 350°F oven for crisp exterior and soft interior
Frequently Asked Questions
Can I prepare the dough the night before?
Yes, you can make the dough, roll and cut the buns, then place them in the pan, cover tightly, and refrigerate overnight. The next morning, remove from refrigerator 30 minutes before baking to allow them to come to room temperature. This slow rise enhances flavor while maintaining the easy preparation method.
Why did my cinnamon buns come out dry?
Dry cinnamon buns typically result from overbaking or excessive flour in the dough. For perfect texture, remove buns from oven when internal temperature reaches 190°F (use an instant-read thermometer). When measuring flour, spoon it into the measuring cup and level off - never scoop directly from the bag, which compacts the flour and leads to dry results.
Can I use quick rise yeast instead of active dry?
Yes, you can substitute quick rise yeast in a 1:1 ratio. The main difference is that quick rise yeast allows for a slightly faster rise time. If using quick rise yeast, reduce the rising time by 15-20% while maintaining the same visual cues (doubled in size). This substitution works perfectly with this easy homemade cinnamon buns recipe.
How do I prevent the filling from leaking out during baking?
To prevent filling leakage, spread the softened butter evenly but leave a ½-inch border around the edges before adding the cinnamon sugar. When rolling the dough, start from the long edge and roll tightly but gently. Pinch the seam firmly to seal, and use dental floss rather than a knife to cut the rolls for clean slices that maintain their shape during baking.
Can I make these cinnamon buns without an electric mixer?
Absolutely. This simple cinnamon roll instructions are designed for hand preparation. Mix the dough with a wooden spoon until it comes together, then turn onto a lightly floured surface and knead by hand for 5-7 minutes until smooth and elastic. The entire process requires only basic kitchen tools, making it perfect for beginner bakers without specialized equipment.


 浙公网安备
33010002000092号
浙公网安备
33010002000092号 浙B2-20120091-4