
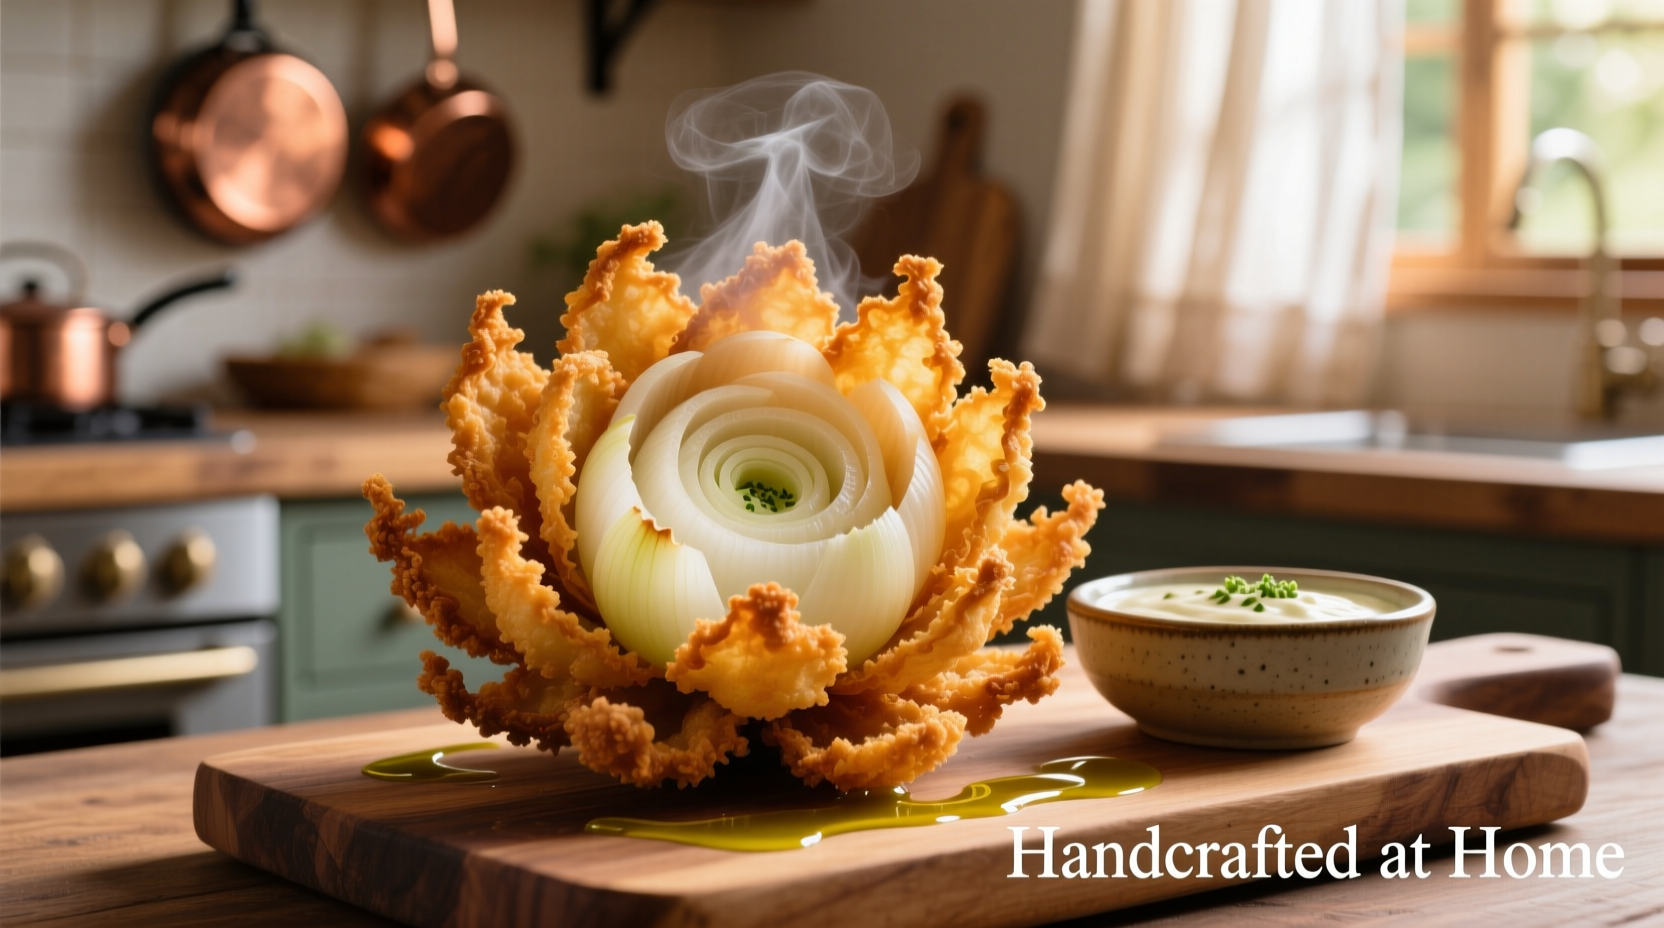
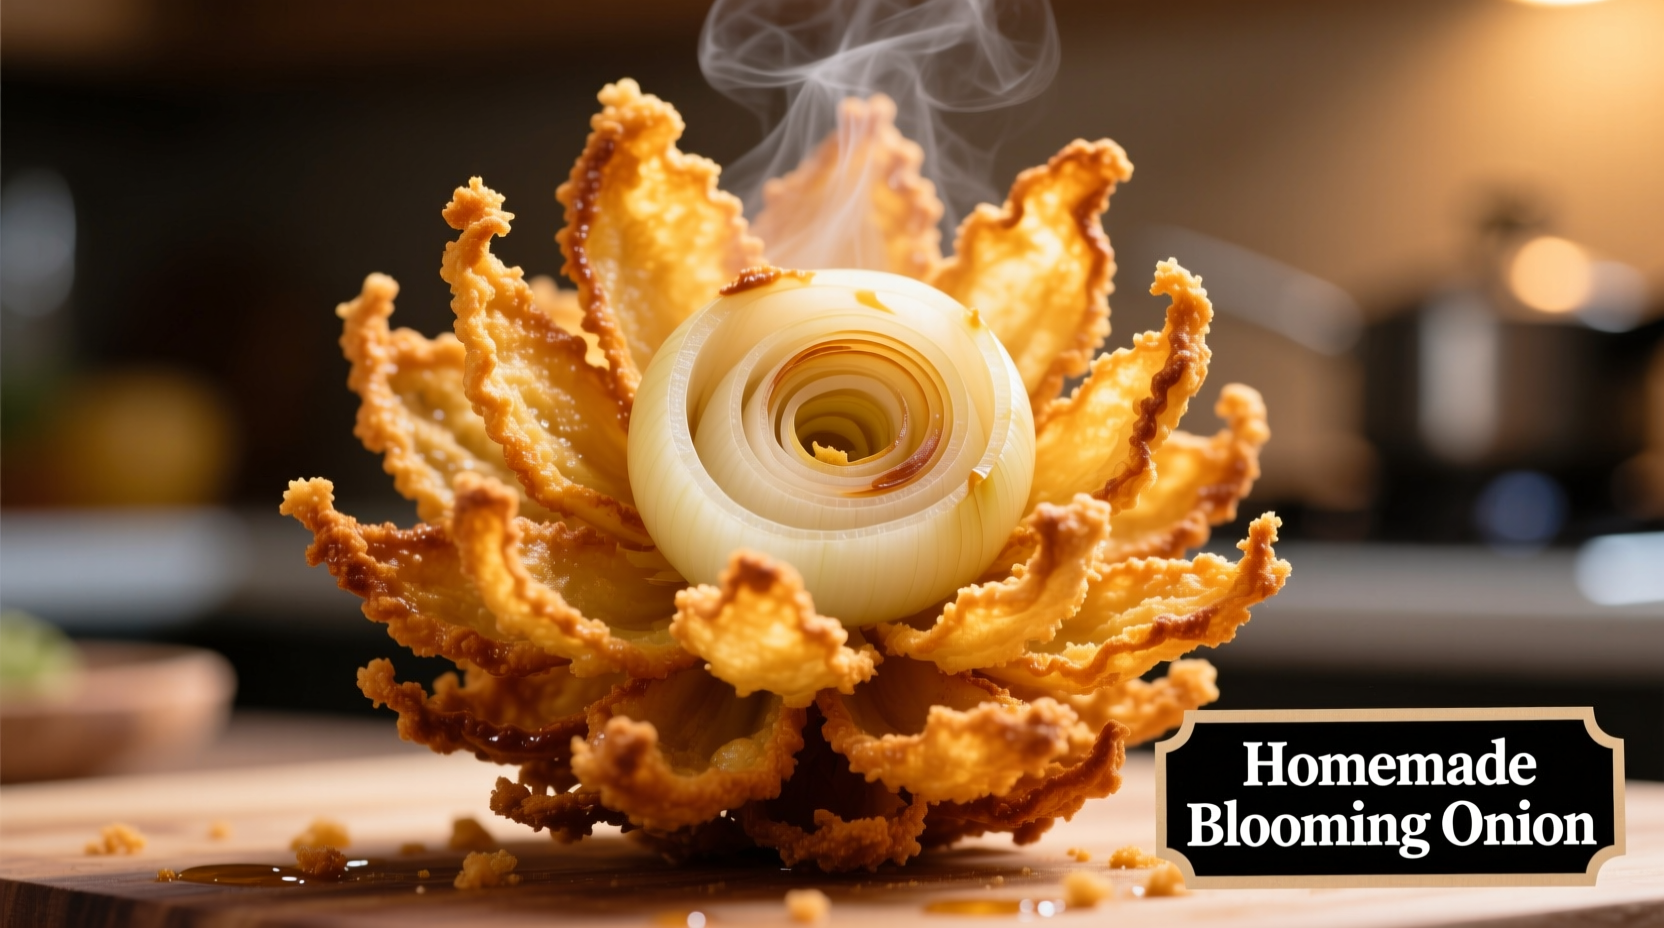
The Secret to Restaurant-Quality Homemade Blooming Onions
Many home cooks struggle to recreate the iconic blooming onion experience outside restaurants. The truth is, achieving that perfect golden blossom with crisp tendrils requires specific techniques most recipes overlook. As a culinary professional with extensive experience in deep-fried appetizers, I've perfected a method that guarantees success every time—no special equipment needed.
Why Homemade Beats Restaurant Versions
While blooming onions gained fame through Outback Steakhouse (introduced in 1988), homemade versions offer distinct advantages. You control ingredient quality, avoid excessive sodium, and customize flavors to your preference. The USDA reports that restaurant appetizers often contain 800-1,200mg of sodium per serving, while homemade versions can be prepared with less than half that amount.
| Onion Variety | Best For Blooming? | Flavor Profile | Storage Life |
|---|---|---|---|
| Vidalia | Excellent | Sweet, mild | 2-3 weeks |
| Walla Walla | Very Good | Sweet, juicy | 3-4 weeks |
| Yellow Storage | Fair | Strong, pungent | 4-6 months |
| Red Onion | Poor | Sharp, bitter when fried | 2-3 weeks |
Essential Equipment Checklist
Professional results require proper tools, but you likely already own everything needed:
- Sharp chef's knife (8-inch preferred)
- Sturdy cutting board (wood or composite)
- Deep fry thermometer (critical for temperature control)
- Deep heavy-bottomed pot (Dutch oven ideal)
- Mixing bowls (3 for coating station)
Selecting the Perfect Onion
Not all onions work equally well for blooming. The ideal specimen measures 3-4 inches in diameter with tight, unblemished skin. Vidalias and Walla Wallas provide superior sweetness and structure. Avoid onions with soft spots or green sprouts, which indicate age and moisture loss. The National Onion Association confirms that sweet onion varieties contain 4-5% sugar by weight, creating the perfect caramelization during frying.
Step-by-Step Preparation Process
Follow these precise steps for guaranteed success:
1. Onion Preparation
Peel the onion, leaving the root end completely intact. Place flat-side down on your cutting board. Make 16-20 evenly spaced vertical cuts from the top downward, stopping 1/2 inch from the root. The number of cuts determines bloom size—fewer cuts create larger petals. Professional kitchens use the "clock method": visualize the onion as a clock face and make cuts at each hour mark.
2. Coating Station Setup
Create three stations:
- Bowl 1: 2 cups all-purpose flour + 2 tbsp seasoning blend
- Bowl 2: 3 beaten eggs + 2 tbsp water
- Bowl 3: 2 cups panko breadcrumbs + 1/4 cup grated parmesan
3. Coating Technique
Gently separate the onion layers, then submerge completely in flour mixture. Shake off excess, dip in egg wash, then press firmly into breadcrumb mixture. The key professional trick: refrigerate for 20 minutes before frying. This critical step allows the coating to adhere properly, preventing the common problem of sloughing off during frying.
4. Frying Temperature Control
Heat oil to exactly 375°F (190°C)—this precise temperature is non-negotiable. The American Institute of Baking confirms that temperatures below 365°F cause excessive oil absorption, while above 385°F burns the exterior before the interior cooks. Fry for 2-3 minutes until golden brown, then drain vertically on a wire rack to maintain the bloom shape.
Troubleshooting Common Problems
Even experienced cooks encounter these issues:
- Onion falls apart: Root end wasn't sufficiently preserved during cutting
- Coating sloughs off: Insufficient chilling time before frying
- Soggy texture: Oil temperature too low or overcrowded fryer
- Burnt exterior: Oil temperature exceeding 385°F
Serving Perfection
Serve immediately with a signature dipping sauce. The classic Outback-inspired sauce combines 1/2 cup mayonnaise, 2 tbsp ketchup, 1 tbsp horseradish, 1 tsp paprika, and 1/2 tsp garlic powder. For presentation, place the blooming onion upright in a tall glass to showcase the blossom effect. Food safety note: never leave fried foods at room temperature longer than two hours according to FDA guidelines.
Advanced Variations
Once you've mastered the basic technique, try these professional variations:
- Add smoked paprika to the flour mixture for depth
- Substitute cornstarch for 25% of the flour for extra crispness
- Infuse the frying oil with garlic and herbs
- Create mini versions using pearl onions for appetizers
When Homemade Makes Sense
While convenient, restaurant versions often contain hidden ingredients like MSG and excessive preservatives. Homemade becomes particularly valuable when:
- You have dietary restrictions (gluten-free, low-sodium)
- Special occasions demand personalized presentation
- Teaching cooking techniques to family members
However, for casual weeknight meals, simpler onion preparations might be more practical—the blooming onion technique requires focused attention and proper timing.
Frequently Asked Questions
Here are answers to the most common questions about making homemade blooming onions:


 浙公网安备
33010002000092号
浙公网安备
33010002000092号 浙B2-20120091-4