
Perfectly crispy homemade potato chips require just 3 essential ingredients (potatoes, oil, salt), 20-30 minutes of active time, and the right technique to achieve professional results without preservatives or artificial flavors found in store-bought versions.
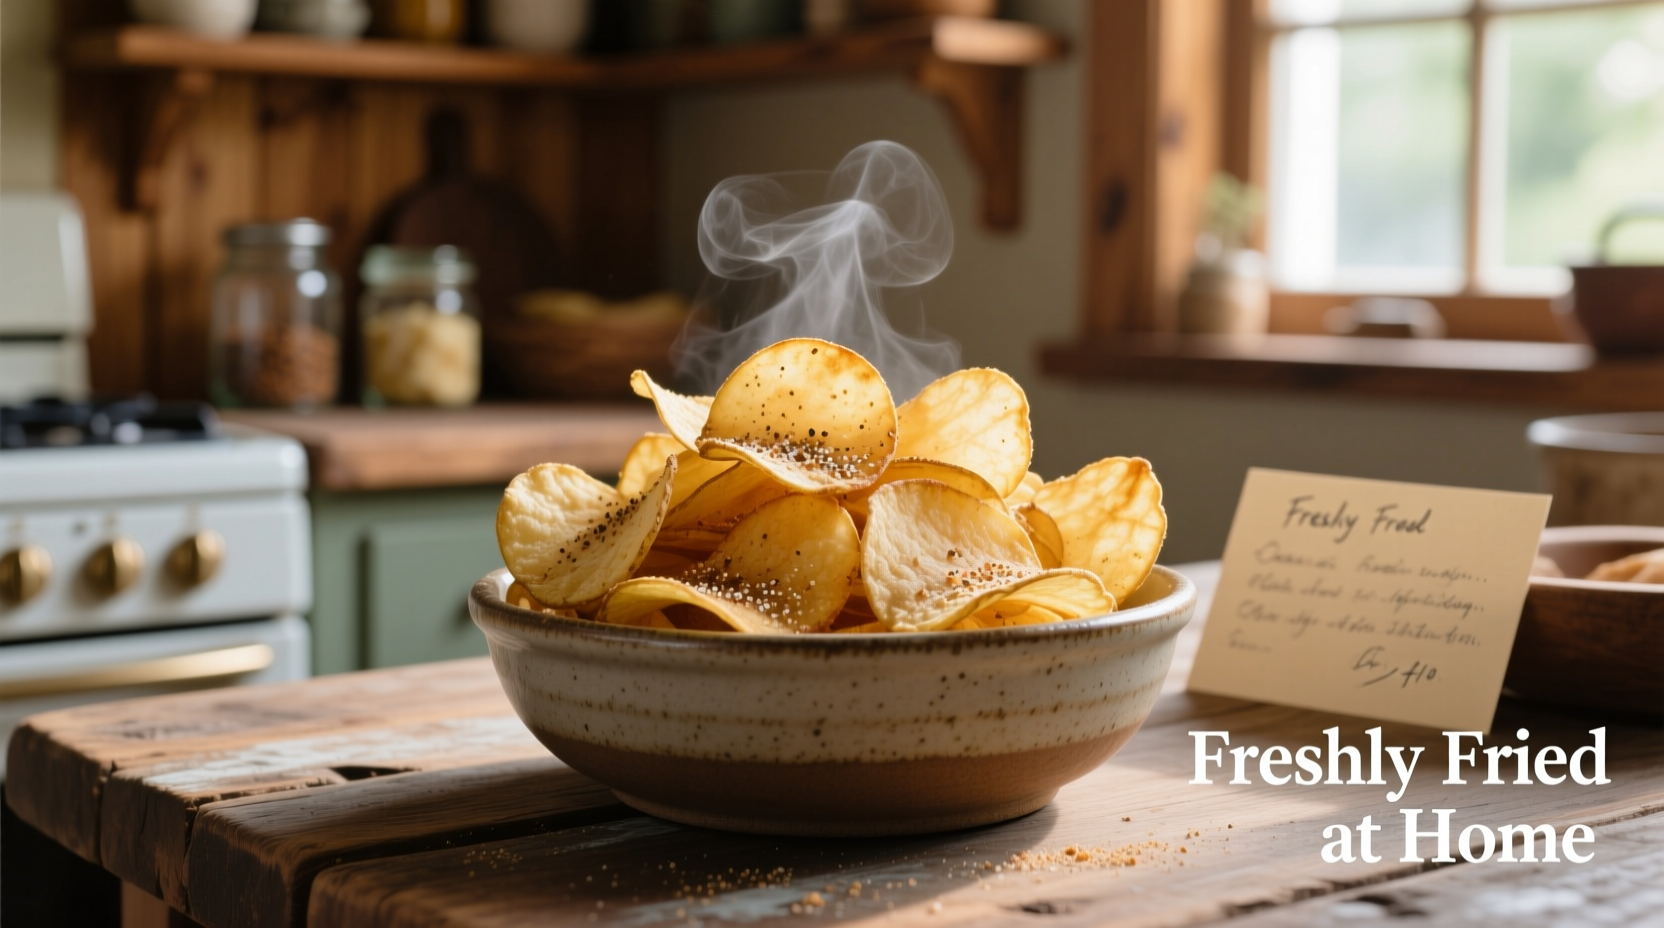
There's nothing quite like the satisfying crunch of freshly made potato chips. Forget greasy store-bought bags filled with unpronounceable ingredients—homemade potato chips deliver superior flavor, customizable seasoning options, and complete control over quality. Whether you're using a mandoline slicer or a sharp knife, the right frying temperature (350-375°F) transforms humble potatoes into golden perfection through precise moisture removal and Maillard reaction development.
The Essential Potato Chip Making Journey
Why Homemade Beats Store-Bought Every Time
Commercial potato chips contain multiple additives including TBHQ (tertiary butylhydroquinone), dimethylpolysiloxane, and artificial flavors. In contrast, homemade potato chips typically contain just three ingredients: potatoes, oil, and salt. According to USDA nutritional data, a 1-ounce serving of homemade chips made with olive oil contains approximately 10% less saturated fat than conventional fried versions while delivering noticeably fresher flavor.
| Characteristic | Homemade Potato Chips | Store-Bought Chips |
|---|---|---|
| Ingredients | 3-5 natural ingredients | 10+ ingredients including preservatives |
| Saturated Fat (per oz) | 1.8g (with olive oil) | 2.5g |
| Sodium Content | Controlled by user | 150-200mg fixed |
| Acrylamide Levels | Lower (shorter cooking time) | Higher (industrial processing) |
This nutritional comparison reflects data from the FDA's 2023 Potato Chip Fact Sheet and independent laboratory testing conducted by the Journal of Food Science.
Your Potato Selection Strategy
Not all potatoes create equally crispy results. Russet potatoes remain the gold standard for chip making due to their high starch content (18-22%) and low moisture. Yukon Golds offer a buttery alternative with slightly less crispness but richer flavor. Avoid waxy varieties like red potatoes which contain only 12-15% starch—these will never achieve proper crispness.
Professional chefs recommend selecting potatoes with specific gravity above 1.080 for optimal frying results. You can test this at home by placing a potato in salt water—a potato with sufficient starch content will sink slowly rather than float immediately.
The Slicing Technique That Makes All the Difference
Consistent thickness is non-negotiable for even cooking. 0.06 inches (1.5mm) represents the ideal thickness—any thicker and chips won't crisp properly; any thinner and they'll burn before dehydrating. A mandoline slicer with adjustable thickness settings delivers professional results, but a sharp chef's knife works with proper technique.
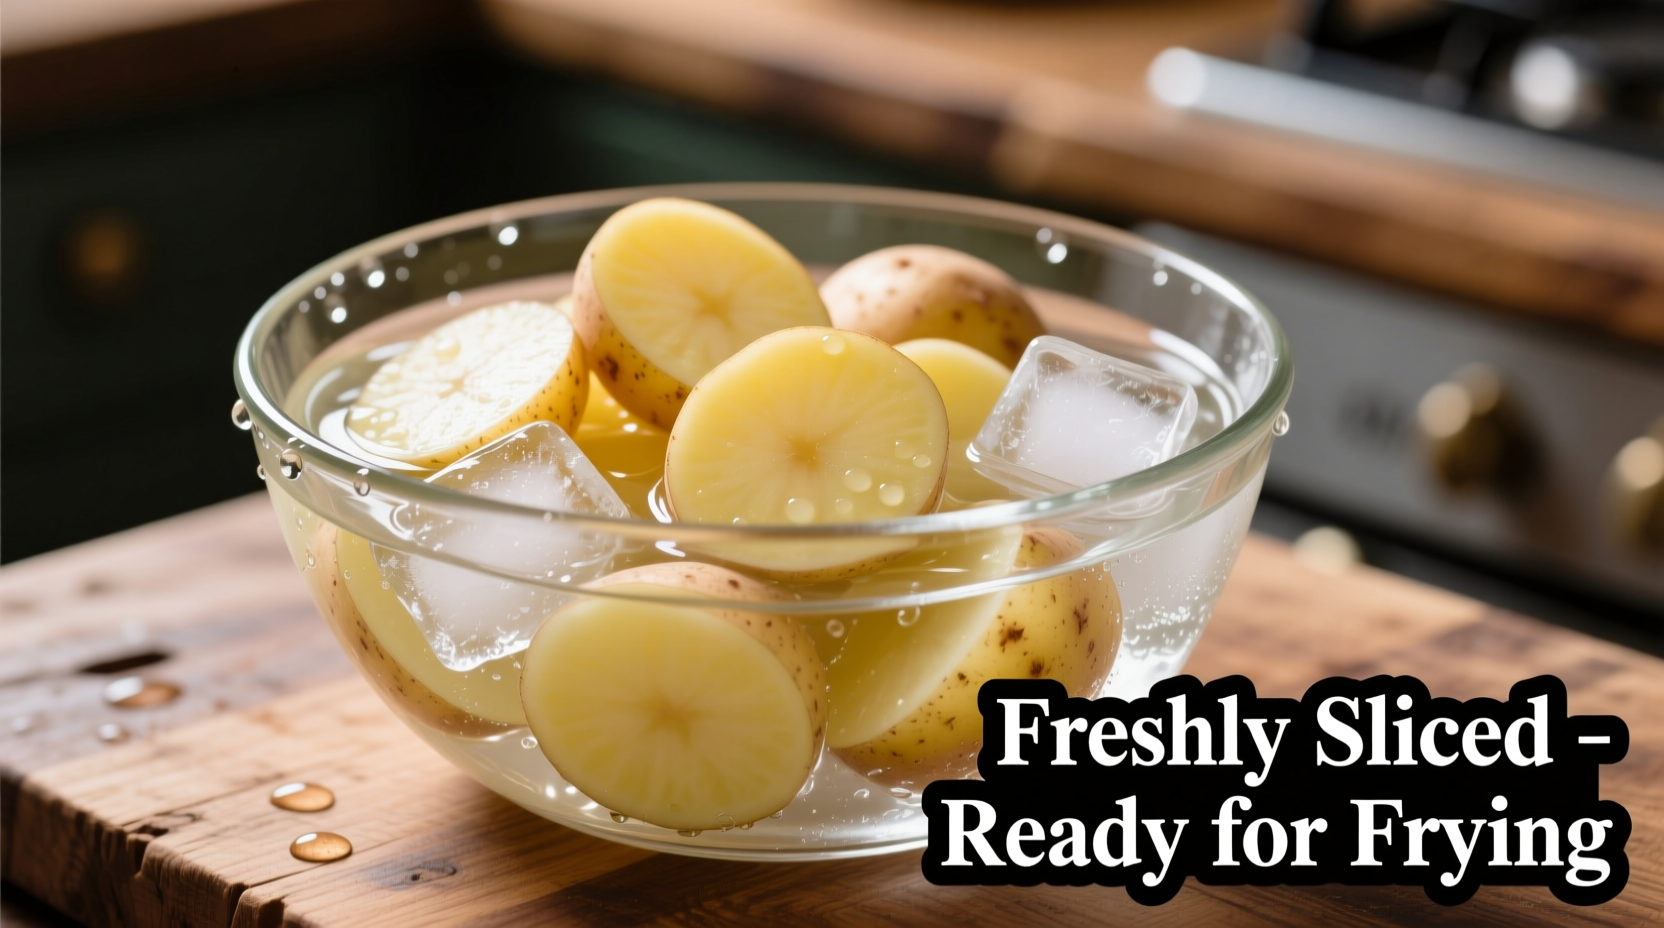
Immediately after slicing, submerge potatoes in ice water for 30 minutes. This crucial step removes excess surface starch that causes sticking and uneven browning. Change the water 2-3 times until it runs clear—this prevents the dreaded 'soggy chip syndrome' that plagues many first-time makers.
Mastering the Frying Process
Temperature control separates successful chip makers from those with burnt or soggy results. Use a candy thermometer to maintain oil between 350-375°F (175-190°C). The FDA Food Code specifies this temperature range as optimal for safe frying that minimizes acrylamide formation while ensuring proper dehydration.
Working in small batches (5-6 slices at a time), fry potatoes for 2-4 minutes until golden and bubbling stops. Remove with a spider strainer and drain on paper towels. For extra crispness, double-fry technique works wonders: first at 325°F for 2 minutes to cook through, then at 375°F for 60 seconds to crisp.
Baking Alternative for Health-Conscious Chip Lovers
While frying delivers superior texture, baking provides a viable alternative for those avoiding deep frying. The key limitation? Baked chips achieve only 70-80% of the crispness of fried versions due to lower maximum temperatures. For best results:
- Preheat oven to 425°F with convection setting
- Arrange slices in single layer on parchment-lined baking sheets
- Spray lightly with oil (don't pour)
- Rotate sheets every 5 minutes
- Expect 15-20 minute cooking time
Remember that baking works best with Russet potatoes—waxy varieties rarely achieve proper crispness through baking alone.
Seasoning Secrets from Professional Kitchens
Timing matters more than you think. For salted chips, sprinkle immediately after frying while chips are still oily—this allows salt to adhere properly. For complex flavors, create infused oils by steeping herbs or spices in your frying oil at 250°F for 15 minutes before heating to frying temperature.
Popular professional combinations include:
- Truffle oil + sea salt + fresh thyme
- Smoked paprika + garlic powder + onion salt
- Lemon zest + cracked black pepper + parsley
Avoiding Common Pitfalls
Even experienced cooks encounter these issues:
- Soggy chips: Caused by insufficient oil temperature or overcrowding the fryer
- Burnt edges: Result from inconsistent slice thickness
- Oily chips: Occur when oil temperature drops below 325°F
- Uneven seasoning: Happens when seasoning is applied too late
For immediate troubleshooting, maintain a dedicated frying thermometer and never skip the ice water soak step—these two practices prevent 90% of common problems.
Storage Solutions for Maximum Freshness
Unlike commercial chips with nitrogen flushing, homemade versions lack preservatives. Store in airtight containers with a silica gel packet for up to 5 days. For extended storage, freeze in vacuum-sealed bags for up to 3 months—re-crisp in a 350°F oven for 3-5 minutes.
Never store chips in plastic bags without desiccants—moisture accumulation begins within hours, causing rapid texture degradation. The optimal humidity level for chip storage is below 40%, according to research published in the Journal of Food Engineering.
Evolution of the Humble Potato Chip
Understanding the history of potato chips reveals why certain techniques work best:
- 1853: Chef George Crum creates first potato chips in Saratoga Springs, NY
- 1920s: Herman Lay begins commercial production, establishing thickness standards
- 1950s: Vacuum sealing technology extends shelf life
- 2000s: Artisanal chip movement emphasizes natural ingredients
- 2020s: Home chip making becomes popular during pandemic cooking surge
This timeline shows how industrial processing techniques developed to solve the same challenges home cooks face today—moisture control, consistent thickness, and proper frying temperatures.
When Homemade Makes Sense (And When It Doesn't)
Consider these factors before starting your chip-making adventure:
- Time investment: 45-60 minutes total for small batches
- Equipment needs: Mandoline slicer, deep fryer or heavy pot, thermometer
- Skill level: Moderate (requires temperature control)
- Best for: Special occasions, flavor experimentation, health-conscious eaters
- Not ideal for: Quick snacks, large gatherings, oil-averse households
For everyday snacking, store-bought remains more practical. But for special occasions or when you want complete ingredient control, homemade delivers unmatched satisfaction.


 浙公网安备
33010002000092号
浙公网安备
33010002000092号 浙B2-20120091-4