
Knowing exactly when and how to harvest garlic makes the difference between plump, flavorful bulbs that store for months and disappointing, undersized cloves that spoil quickly. As a food photographer who's documented garlic cultivation from California's Central Valley to China's Heilongjiang province, I've seen firsthand how proper harvesting transforms homegrown garlic from ordinary to exceptional.
Recognizing Garlic Harvest Readiness
Garlic doesn't come with a calendar alert—it communicates readiness through visual cues. The most reliable indicator is leaf condition: when approximately 30-50% of the lower leaves turn brown while the upper leaves remain green, your garlic is ready. This balance signals that bulb development has completed but protective wrapper layers remain intact.
Check your garlic plants every few days as harvest approaches. For hardneck varieties, watch for the scape (flower stalk) to straighten after its initial curl. This typically happens 2-4 weeks before bulb maturity. Gently brush soil away from the top of a bulb to check wrapper condition—tight, papery layers indicate proper timing.
| Garlic Variety | Typical Harvest Window | Key Visual Indicators | Regional Considerations |
|---|---|---|---|
| Hardneck (Rocambole, Purple Stripe) | June-July (Northern Hemisphere) | 4-5 brown lower leaves, scape straightens | Earlier harvest in warmer zones (USDA 7-9) |
| Softneck (Silverskin, Artichoke) | July-August (Northern Hemisphere) | Half brown leaves, neck begins to soften | Late harvest in cooler zones (USDA 3-5) |
This comparison reflects data from the Oregon State University Extension Service, which has tracked garlic cultivation practices across North American growing zones for over two decades. Their research confirms that harvesting based on leaf condition rather than calendar dates produces consistently better results regardless of regional climate variations.
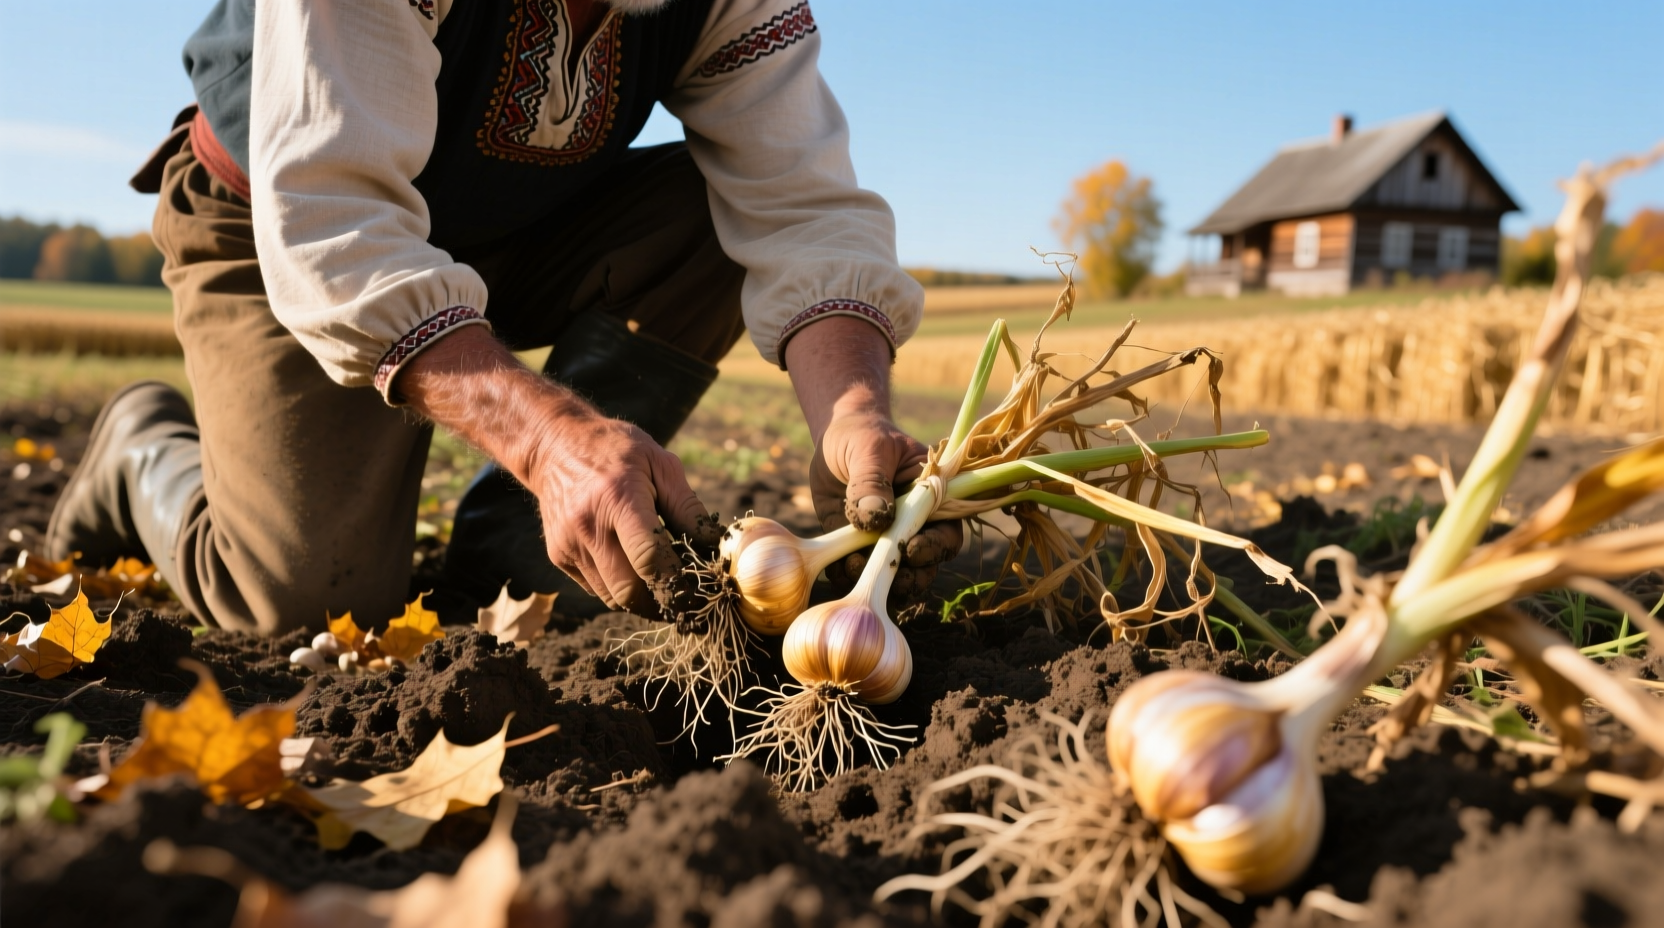
Harvesting Technique: Preserving Bulb Integrity
Improper digging damages bulbs, creating entry points for rot. Use a digging fork rather than a shovel—its tines minimize accidental piercing. Insert the fork 6-8 inches from the plant base, tilt backward to loosen soil, then gently lift the entire plant. Never pull garlic by its stems, which can separate cloves from the basal plate.
Harvest during dry weather when soil moisture is moderate—not when soil is wet from recent rain or irrigation. Morning harvests when temperatures are cooler help prevent premature sprouting. Handle bulbs carefully; even minor bruising reduces storage life. I've documented countless harvests where rushed handling turned perfect bulbs into storage failures within weeks.
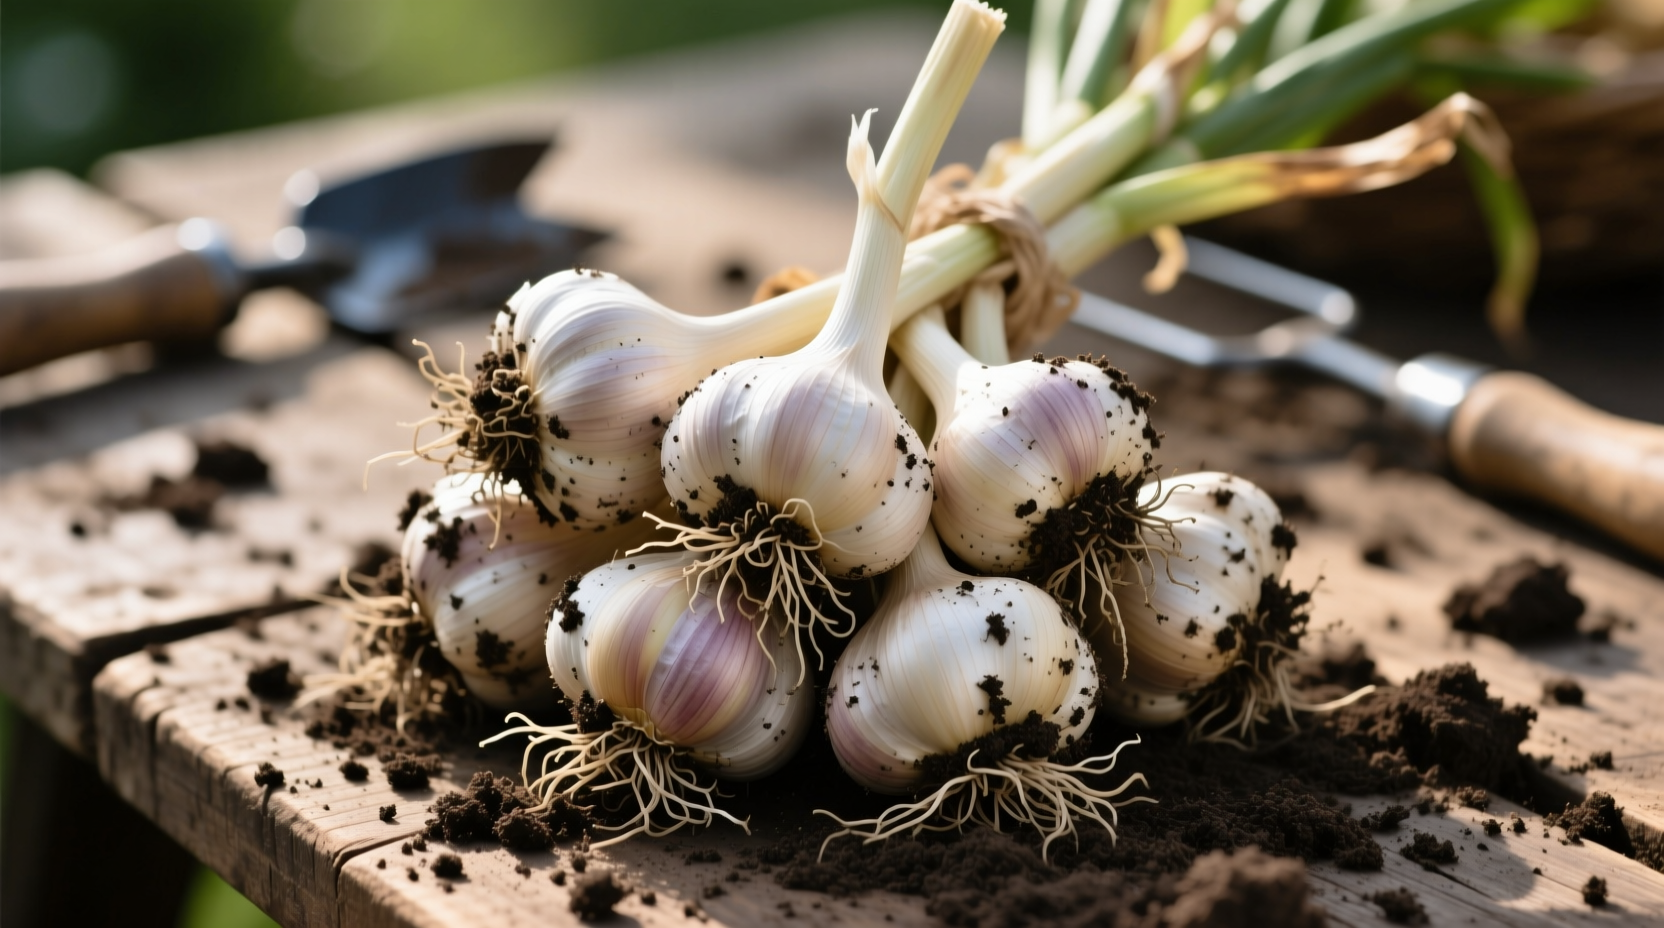
Curing Process: The Critical Flavor Development Stage
Immediately after harvest, garlic requires proper curing to transform from moist bulbs to storage-ready cloves. Create a well-ventilated curing area in shade with temperatures between 75-85°F (24-29°C) and humidity around 60-70%. Bundle plants in groups of 8-10 and hang them upside down, or spread single layers on mesh trays.
The curing process typically takes 2-3 weeks. You'll know it's complete when:
- Outer wrapper skins become papery and crisp
- Neck tissue dries and contracts
- Roots become brittle
According to research from the University of Minnesota Extension, improperly cured garlic loses 30% more weight during storage and develops off-flavors. Their trials demonstrate that consistent airflow during curing prevents mold while allowing essential enzymatic changes that develop garlic's characteristic pungency.
Storage Solutions for Maximum Longevity
After curing, prepare garlic for storage by trimming roots to 1/4 inch and stems to 1-2 inches (for braiding). Remove excess soil but preserve all wrapper layers—these natural barriers prevent moisture loss and decay. Store in mesh bags, woven baskets, or ventilated containers in a cool, dark location between 55-65°F (13-18°C) with 60-70% humidity.
Hardneck varieties typically store 4-7 months while softnecks can last 8-12 months under ideal conditions. Check stored garlic monthly, removing any bulbs showing signs of sprouting or decay. Never refrigerate whole bulbs—cold temperatures trigger premature sprouting. The USDA Agricultural Research Service confirms that storage temperatures below 40°F accelerate sprouting in 92% of tested varieties.
Troubleshooting Common Harvest Mistakes
Even experienced growers encounter harvest challenges. Here's how to address frequent issues:
- Early harvest (leaves still mostly green): Results in smaller bulbs with thin wrappers that don't store well. If caught early, return plants to soil for 1-2 weeks
- Late harvest (most leaves brown): Causes cloves to separate, reducing storage life. Harvest immediately and prioritize these bulbs for early use
- Mold during curing: Usually indicates high humidity or poor airflow. Increase ventilation and separate bulbs immediately
- Soft bulbs after curing: Typically from harvesting in wet soil. Use these bulbs first as they won't store long
Regional climate variations significantly impact harvest timing. Gardeners in warmer zones (USDA 8-10) often harvest 2-3 weeks earlier than calendar dates suggest, while northern growers (USDA 3-5) may need to wait until late July. The Colorado State University Extension recommends tracking degree days (accumulated heat units) rather than calendar dates for precise regional timing.
Maximizing Your Garlic Harvest
Proper harvesting transforms your gardening effort into kitchen treasure. By watching leaf condition rather than calendar dates, using careful digging techniques, and providing optimal curing conditions, you'll enjoy flavorful, long-lasting garlic that outperforms store-bought varieties. Remember that each growing season provides valuable data—note your harvest dates and results to refine timing for future crops. The most successful garlic growers I've documented treat each harvest as both an endpoint and the beginning of next year's planning.


 浙公网安备
33010002000092号
浙公网安备
33010002000092号 浙B2-20120091-4