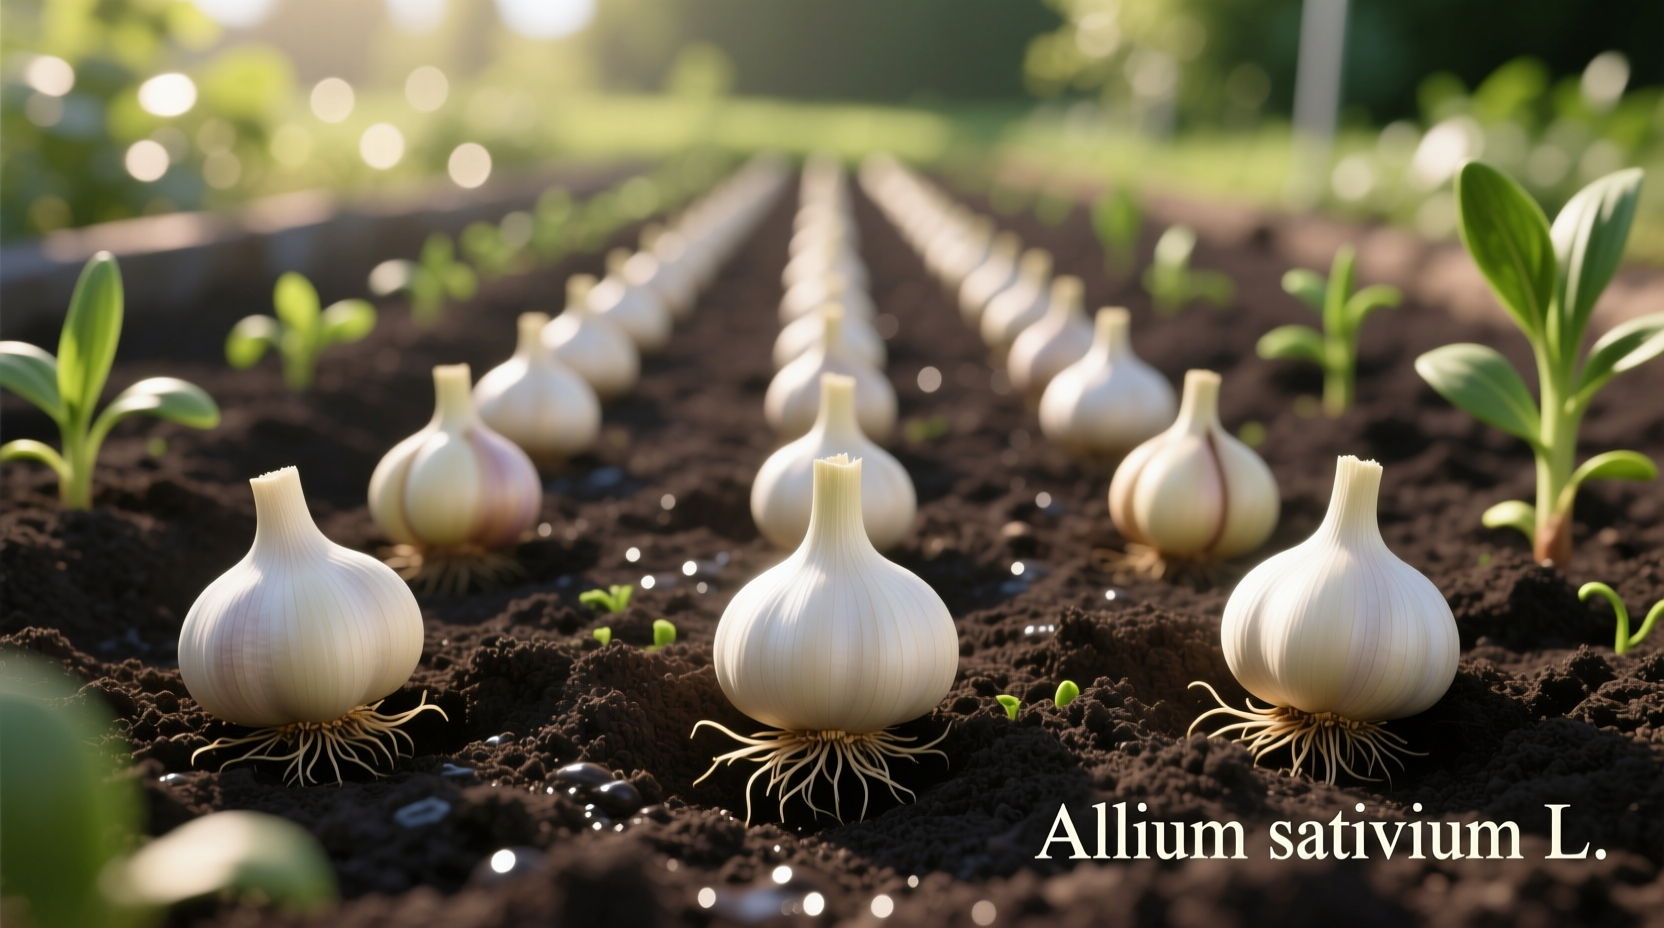
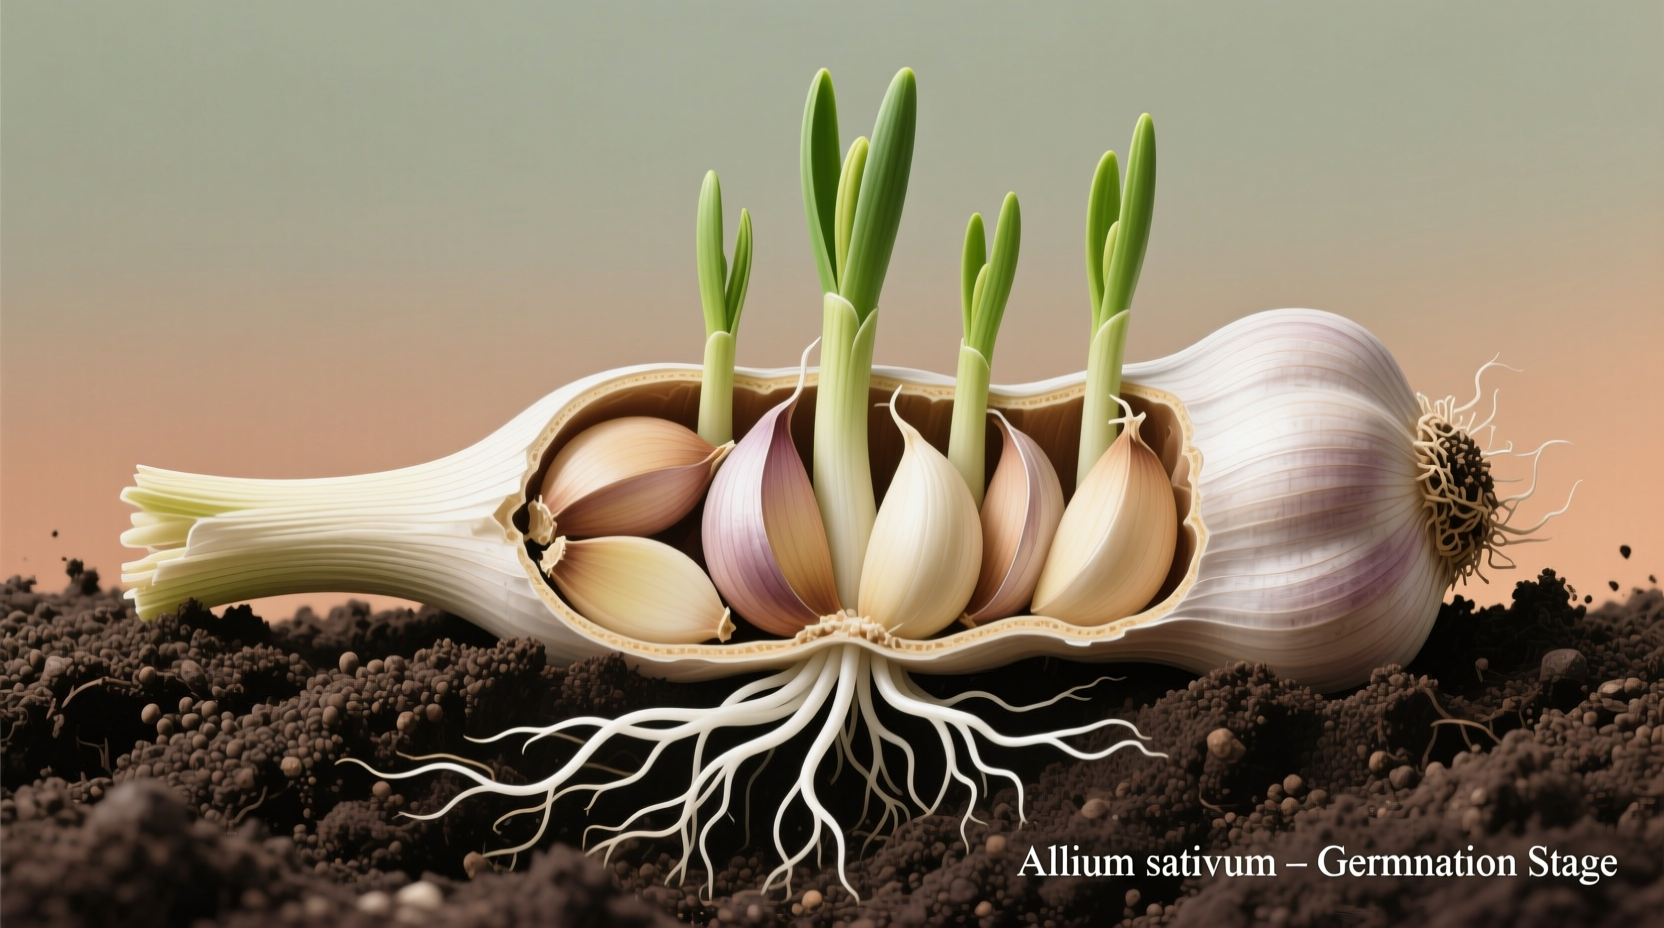
Ready to harvest your own flavorful garlic? Whether you're a beginner gardener or expanding your homegrown spice collection, this guide delivers exactly what you need to succeed. We've distilled decades of agricultural research and practical experience into a clear, step-by-step process that eliminates guesswork and maximizes your yield.
Planning Your Garlic Growing Journey
Timing makes all the difference when growing garlic from bulbs. Most gardeners achieve best results by planting in fall, approximately 4-6 weeks before your first expected frost. This timing allows cloves to develop strong root systems before winter dormancy, leading to larger bulbs come harvest time. In warmer climates (zones 8-10), you can plant as late as December or even early January.
| Garlic Type | Best Climate Zones | Flavor Profile | Storage Life |
|---|---|---|---|
| Hardneck Varieties | 3-7 | Stronger, more complex | 4-6 months |
| Softneck Varieties | 5-10 | Milder, more consistent | 9-12 months |
This comparison from Cornell University Cooperative Extension helps you select the right variety for your region. Hardnecks produce edible scapes and tolerate colder temperatures, while softnecks store longer and adapt better to warmer climates.
Soil Preparation: The Foundation for Success
Garlic thrives in well-draining soil rich in organic matter. Prepare your planting area 2-3 weeks before planting by:
- Removing all weeds and debris
- Amending soil with 3-4 inches of compost or well-rotted manure
- Testing pH (ideal range: 6.0-7.5) and adjusting if necessary
- Loosening soil to a depth of 8-12 inches
Avoid planting garlic in soil that previously grew onions, leeks, or other alliums to prevent disease buildup. Raised beds work exceptionally well for garlic, providing superior drainage that prevents bulb rot.
Planting Your Garlic Bulbs Correctly
Follow these precise steps for optimal planting:
- Separate bulbs into individual cloves 1-2 days before planting (keep papery husk intact)
- Select the largest, healthiest cloves for planting (save smaller ones for cooking)
- Plant cloves with pointed end up, 2 inches deep in heavy soil or 3 inches in sandy soil
- Space cloves 4-6 inches apart in rows 12-18 inches apart
- Cover with soil and apply 3-4 inches of mulch (straw or shredded leaves)

Pro tip: In colder climates, apply mulch after the ground cools but before hard freezes to protect cloves from temperature fluctuations.
Seasonal Care Timeline for Healthy Growth
Understanding garlic's growth cycle helps you provide appropriate care throughout the season:
| Season | Key Growth Stage | Care Requirements |
|---|---|---|
| Fall | Root development | Water after planting, apply mulch before freeze |
| Winter | Dormancy | Mulch maintains consistent soil temperature |
| Early Spring | Leaf growth | Remove mulch when shoots emerge, fertilize |
| Late Spring | Bulb formation | Consistent moisture, remove scapes on hardnecks |
| Early Summer | Maturity | Reduce watering, prepare for harvest |
This seasonal timeline, based on USDA gardening guidelines, shows how garlic develops through distinct growth phases requiring specific care. Hardneck varieties produce scapes (flower stalks) in late spring that should be removed to direct energy to bulb development.
Watering and Fertilizing for Maximum Bulb Size
Garlic needs consistent moisture but hates soggy conditions. Follow these watering guidelines:
- Water weekly during active growth (spring) if rainfall is less than 1 inch
- Reduce watering 2-3 weeks before harvest to allow bulbs to mature properly
- Stop watering completely when lower leaves begin to yellow
Fertilize garlic twice during the growing season:
- When shoots emerge in early spring: Use balanced fertilizer (10-10-10)
- 6 weeks later: Apply nitrogen-rich fertilizer to boost bulb development
Harvesting at the Perfect Moment
Timing your harvest correctly determines storage life and flavor quality. Watch for these signs:
- Lower third of leaves turn brown while upper leaves remain green
- Bulb wrappers become dry and papery
- Individual cloves fill out the wrapper
To harvest:
- Carefully loosen soil around plants with a garden fork
- Lift bulbs gently, avoiding damage to wrappers
- Brush off excess soil (don't wash)
- Leave stems attached for curing
Proper Curing and Storage Techniques
Curing properly extends garlic's shelf life dramatically. Follow these steps:
- Hang bulbs in a warm (70-80°F), dry, well-ventilated area for 2-3 weeks
- Turn occasionally for even drying
- When necks are completely dry and wrappers rustle, trim roots and stems
- Store in mesh bags or open containers in cool (55-65°F), dry location
Softneck varieties can be braided for attractive, space-saving storage. Properly cured garlic stores for 6-12 months depending on variety and storage conditions.
Troubleshooting Common Growing Challenges
Even experienced gardeners encounter issues. Here's how to address common problems:
- Small bulbs: Caused by late planting, poor soil, or overcrowding. Plant earlier, amend soil, and space properly.
- Mold or rot: Usually from excessive moisture. Improve drainage and avoid overhead watering.
- Yellowing leaves: Could indicate nutrient deficiency or pests. Test soil and inspect for onion thrips.
- No bulb formation: Often due to insufficient cold period. Choose appropriate variety for your climate zone.
According to University of California Agriculture and Natural Resources, regional variations significantly impact garlic success. In humid climates, focus on drainage and disease prevention, while arid regions require careful moisture management. Coastal gardeners should select varieties adapted to milder winters.
Maximizing Your Garlic Harvest
Your homegrown garlic offers culinary advantages store-bought can't match. Freshly harvested garlic has a more complex flavor profile that evolves as it cures. Save your largest bulbs for replanting next season to gradually adapt varieties to your specific growing conditions. Remember that garlic continues to develop flavor for several weeks after harvest, reaching peak taste about one month post-harvest.


 浙公网安备
33010002000092号
 浙B2-20120091-4