
Mastering onion gravy transforms ordinary meals into extraordinary experiences. This guide delivers restaurant-quality results using professional chef techniques adapted for home kitchens. You'll learn why slow caramelization creates deeper flavor, how to avoid common pitfalls like bitterness, and multiple variations for dietary needs.
The Science Behind Perfect Onion Gravy
Onion gravy's magic happens through the Maillard reaction and caramelization. When onions cook slowly, their natural sugars break down and recombine, creating over 500 flavor compounds. Professional chefs like those at the Culinary Institute of America emphasize that rushing this process causes bitterness instead of sweetness. The ideal temperature range is 285-320°F (140-160°C) - hot enough for browning but not burning.
| Onion Type | Sweetness Level | Best For Gravy? | Cooking Time |
|---|---|---|---|
| Yellow onions | Moderate | ✓ Ideal (balanced flavor) | 25-30 minutes |
| Vidalia onions | High | ✓ Excellent (sweeter profile) | 20-25 minutes |
| Red onions | Low | ✗ Not recommended | 30+ minutes (bitter) |
| Shallots | High | ✓ Good (delicate flavor) | 15-20 minutes |
Source: USDA Agricultural Research Service
Essential Ingredients Checklist
Quality ingredients make the difference between good and exceptional gravy:
- Onions: 3 large yellow onions (about 1.5 lbs), thinly sliced
- Fat: 3 tablespoons unsalted butter (or bacon fat for smokiness)
- Liquid: 1 cup quality beef broth (low-sodium preferred)
- Thickener: 2 tablespoons all-purpose flour
- Seasoning: 1 teaspoon fresh thyme, 1 bay leaf, salt and freshly ground black pepper
Equipment You'll Need
Having the right tools ensures consistent results:
- Heavy-bottomed skillet (cast iron or stainless steel)
- Wooden spoon or heatproof spatula
- Sharp chef's knife
- Cutting board
- Whisk
Step-by-Step Cooking Process
Preparation Phase (5 minutes)
Peel and thinly slice onions uniformly (1/8-inch thickness). Consistent sizing ensures even cooking. Professional chefs recommend using a mandoline for perfect slices, but a sharp knife works well too.
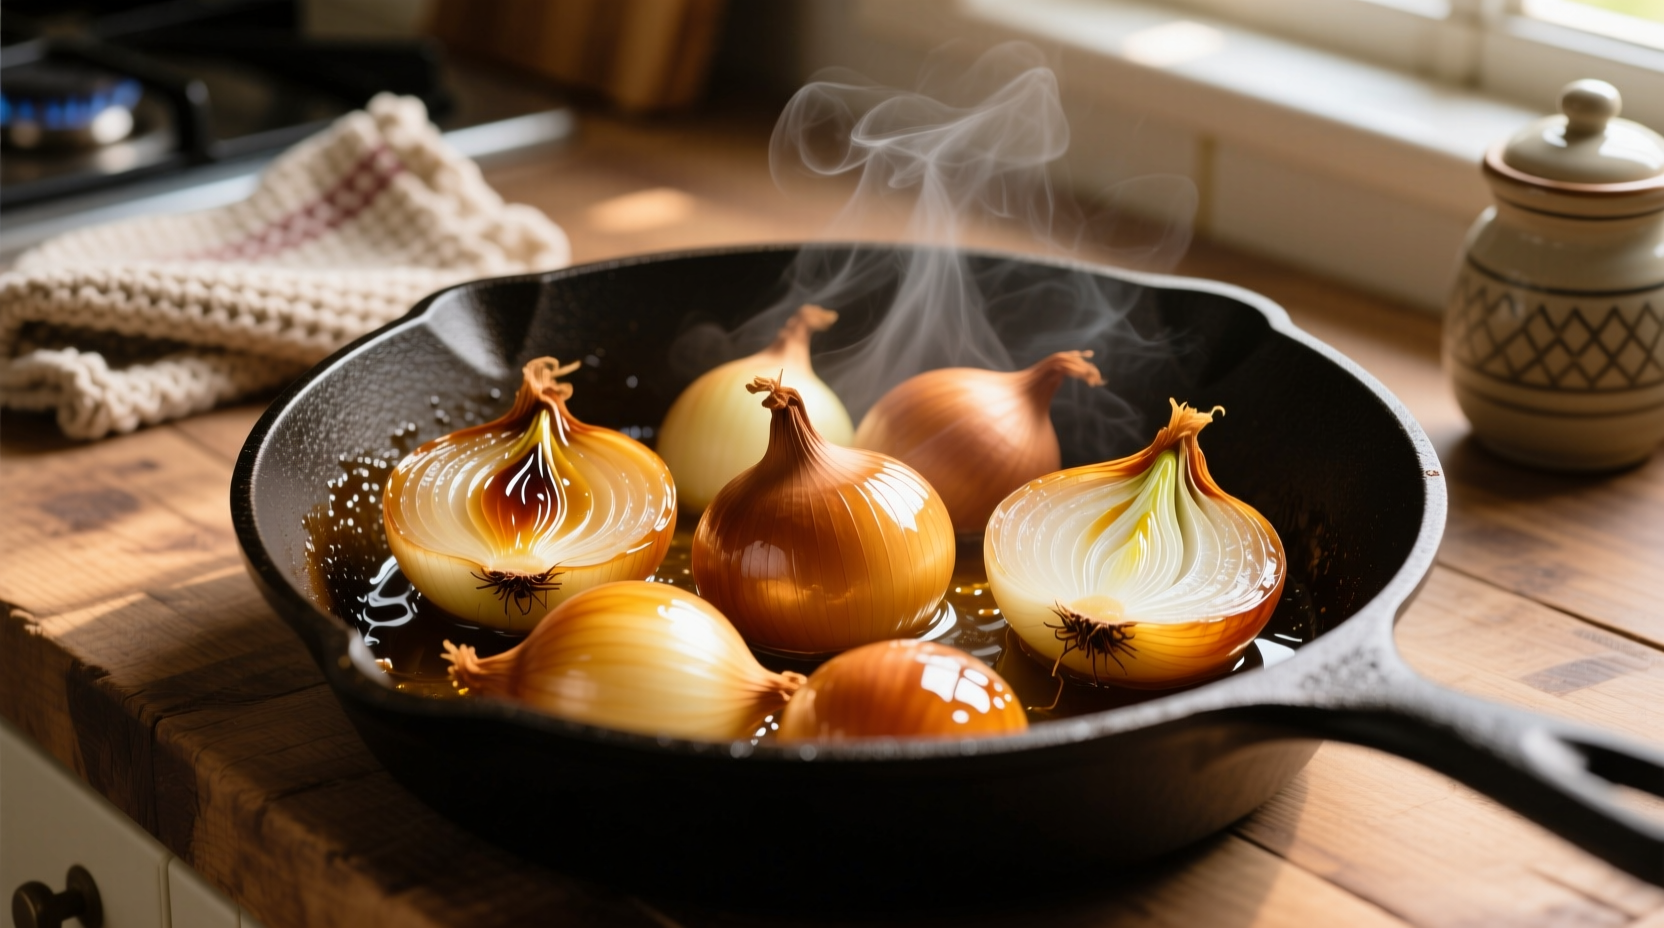
Caramelization Stage (25 minutes)
Melt butter in skillet over medium-low heat. Add onions and stir to coat. Cook uncovered, stirring every 5 minutes. The critical phase comes at 15-20 minutes when onions transition from translucent to golden brown. Never rush this stage - turning up the heat causes burning rather than proper caramelization.
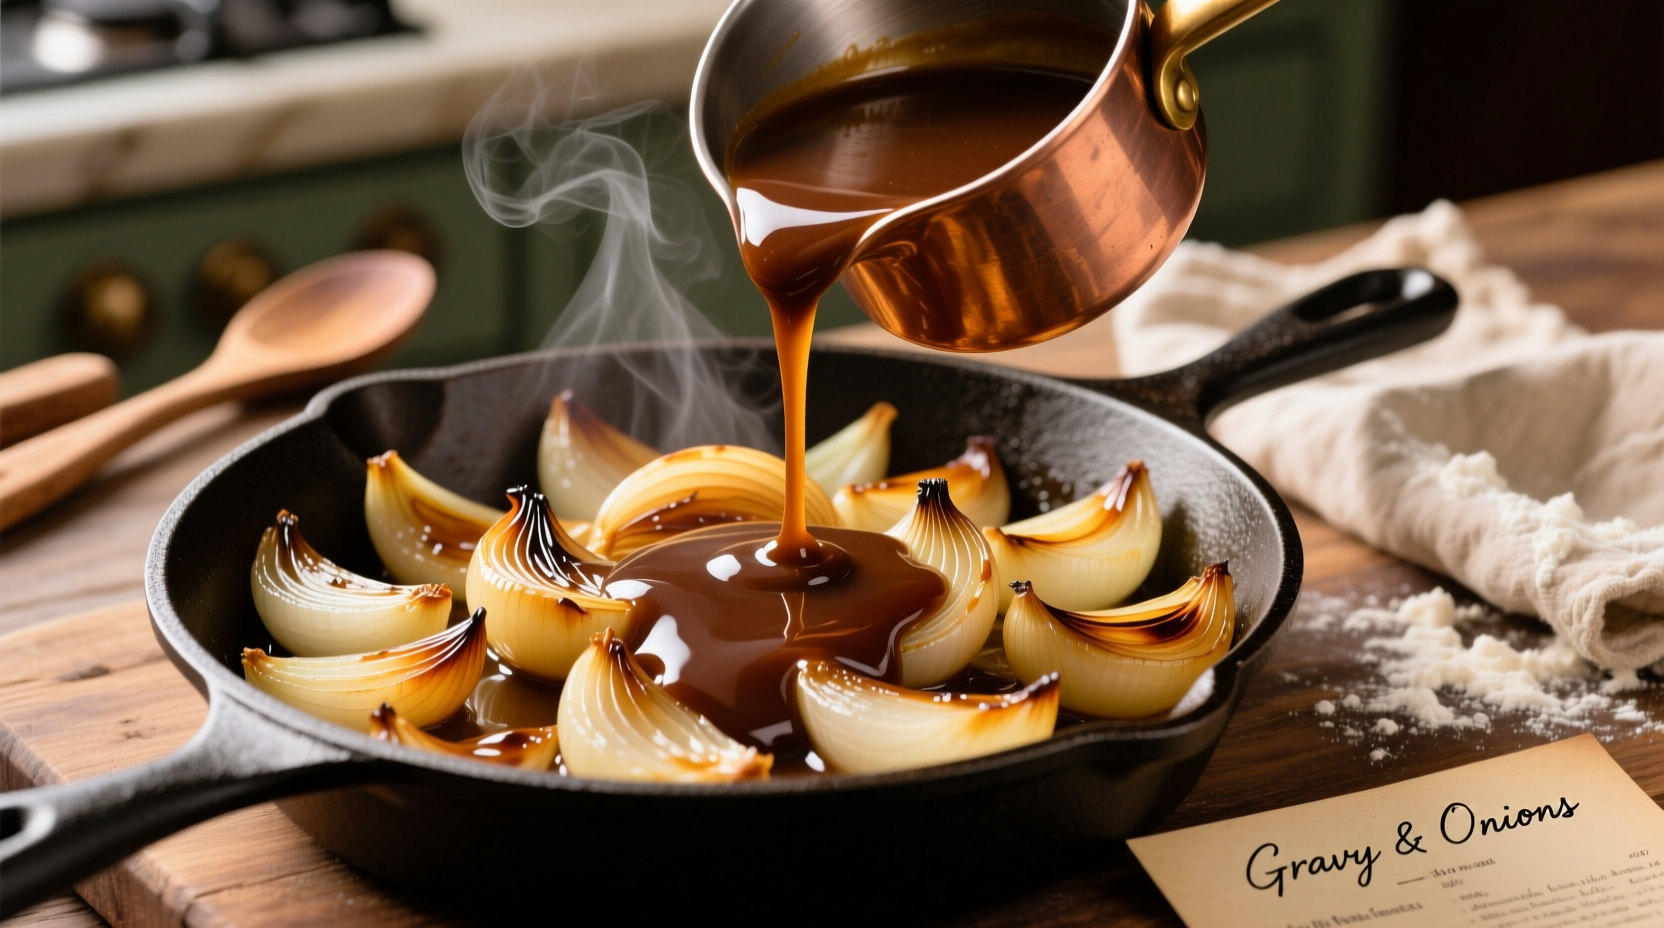
Deglazing and Thickening (5 minutes)
Once onions reach deep amber color, add broth to deglaze the pan, scraping up browned bits. Whisk flour into remaining butter to make a roux, then gradually incorporate into onion mixture. Add thyme and bay leaf. Simmer 3-5 minutes until thickened.
Avoid These Common Mistakes
| Mistake | Why It Happens | Professional Fix |
|---|---|---|
| Bitter gravy | Onions cooked too hot | Start over - burnt flavor can't be fixed |
| Watery consistency | Insufficient roux or too much liquid | Mix 1 tsp cornstarch with 1 tbsp cold water |
| Dull flavor | Not deglazing properly | Scrape all browned bits from pan bottom |
When This Recipe Works Best
Understanding context boundaries helps you use this gravy effectively:
- Ideal applications: Steak accompaniment, mashed potatoes topping, meatloaf enhancement, pot roast finishing sauce
- Not recommended for: Delicate fish dishes, light summer meals, or as standalone soup (too rich)
- Best served: Within 2 hours of preparation for optimal texture and flavor
Flavor Variations for Dietary Needs
Vegetarian Option
Substitute beef broth with mushroom broth and use olive oil instead of butter. Add 1 teaspoon soy sauce for umami depth.
Gluten-Free Version
Replace flour with 1.5 teaspoons cornstarch mixed with 2 tablespoons cold water. Add during final thickening stage.
Quick Weeknight Adaptation
Use pre-sliced onions and reduce cooking time to 15 minutes (less depth but still flavorful). Add 1/4 teaspoon onion powder to boost flavor.
Historical Evolution of Onion Gravy
Onion gravy has evolved significantly through culinary history:
- 1700s: British cooks developed early versions using beef drippings and onions as affordable flavor enhancer
- 1800s: French chefs refined techniques, introducing the roux method still used today
- Early 1900s: American home economists simplified recipes for busy households
- Modern era: Focus on slow caramelization techniques for maximum flavor development
Source: Northern Illinois University Culinary History Archives
Serving and Storage Tips
For best results, serve immediately while hot. Leftovers keep refrigerated for 3-4 days or frozen for up to 3 months. When reheating, add a splash of broth to restore consistency. Never microwave gravy - the uneven heating creates texture problems.
Perfect Pairings for Your Onion Gravy
This versatile sauce complements:
- Classic roast beef with Yorkshire pudding
- Smothered pork chops with apple sauce
- Mashed potatoes with roasted garlic
- Meatloaf with roasted vegetables
- Traditional poutine (French fries with cheese curds)


 浙公网安备
33010002000092号
浙公网安备
33010002000092号 浙B2-20120091-4