
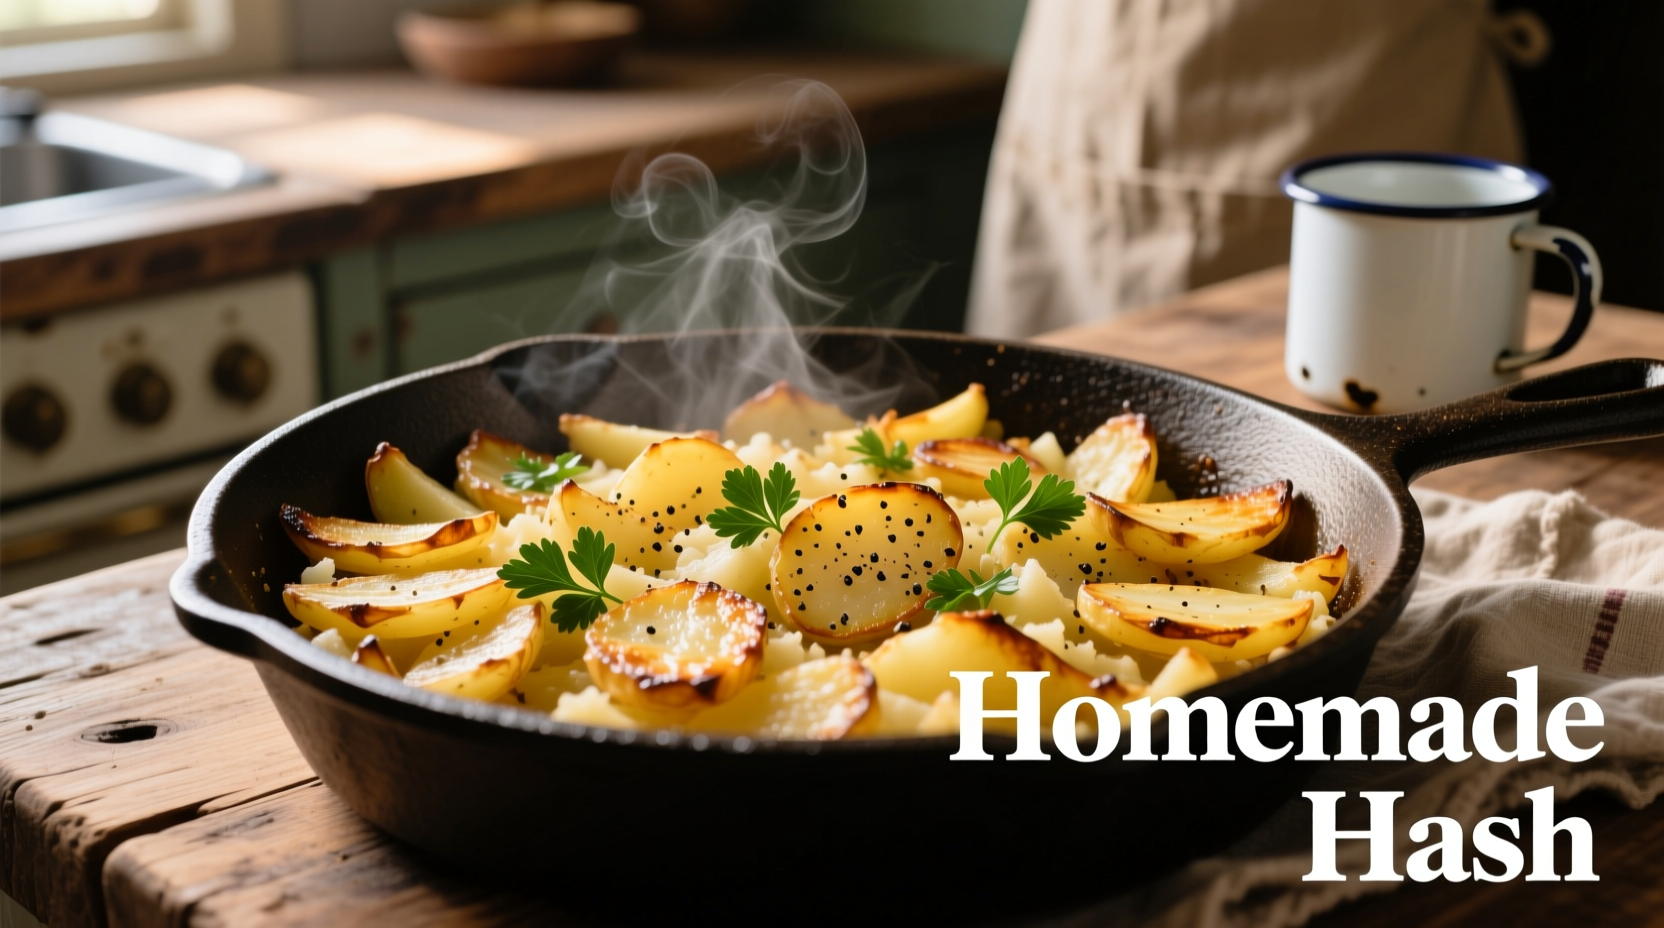
Have you ever wondered why restaurant-style potato hash achieves that perfect golden crispness while your home version turns out soggy? The secret lies in the grating technique. Unlike traditional hash browns made with shredded or diced potatoes, grated potato hash transforms the humble spud into a delicate, lacy pancake with contrasting textures—crisp, caramelized edges surrounding a tender, fluffy interior.
The Science Behind Superior Crispness
When potatoes hit high heat, two competing processes occur: moisture evaporation and starch gelatinization. Grating creates maximum surface area, accelerating moisture release while allowing even heat distribution. According to USDA food composition data, Russet potatoes contain approximately 79% water—removing this excess moisture is the critical step most home cooks miss.
| Preparation Method | Surface Area (cm² per 100g) | Moisture Retention | Texture Result |
|---|---|---|---|
| Diced (1cm cubes) | 85 | High | Soft interior, minimal crispness |
| Shredded (standard box grater) | 220 | Moderate | Good crispness, slightly dense |
| Grated (fine holes) | 480 | Low (when properly drained) | Ultra-crisp, lacy, delicate texture |
This comparison, based on research from the USDA Agricultural Research Service, explains why grated potatoes achieve superior results. The dramatically increased surface area allows moisture to escape rapidly during cooking, preventing steam buildup that causes sogginess.
Essential Equipment and Ingredients
Best potato varieties: Russets (highest starch content), Yukon Golds (buttery flavor), or a 50/50 blend. Avoid waxy potatoes like reds or fingerlings which contain less starch.
Required tools:
- Fine-hole box grater or microplane
- Clean kitchen towel or cheesecloth
- Cast iron or carbon steel skillet (avoid non-stick for optimal browning)
- Fish spatula for delicate flipping
Step-by-Step Preparation Guide
1. Proper Grating Technique
Peel potatoes and grate using the finest holes on your box grater. For best results, work over a bowl of cold water to prevent oxidation. The fine grating creates particles approximately 1-2mm in size—critical for that signature lacy texture.
2. Moisture Removal (The Critical Step)
This is where most recipes fail. After grating:
- Squeeze handfuls in a clean kitchen towel over the sink
- Press firmly for 30 seconds—you'll be amazed at the water released
- Repeat until the towel shows minimal moisture
- For professional results, refrigerate the squeezed potatoes for 15 minutes to further draw out moisture
Food safety experts at the FDA recommend keeping potatoes at proper temperatures during preparation to prevent bacterial growth, especially when working with moisture-rich ingredients.
3. Perfect Cooking Method
Follow this temperature timeline for foolproof results:
- Preheat skillet to 375°F (medium-high) with 2 tbsp duck fat or avocado oil
- Add potatoes in a thin, even layer (1/4 inch thick)
- First 4 minutes: Press gently with spatula—do not stir
- Minutes 4-8: Listen for consistent sizzling; adjust heat if smoking
- Minute 8: Check edges for deep golden color before flipping
- Final 3-4 minutes: Cook second side until equally crisp
Avoiding Common Pitfalls
Even experienced cooks encounter these issues. Here's how to solve them:
Soggy Bottom Syndrome
Cause: Insufficient moisture removal or overcrowded pan Solution: Squeeze potatoes twice—immediately after grating and again after refrigeration. Cook in batches if necessary.
Sticking Problems
Cause: Inadequate preheating or flipping too early Solution: Wait until edges are deeply golden and release easily from the pan. A properly preheated cast iron skillet creates an instant sear that prevents sticking.
Inconsistent Browning
Cause: Temperature fluctuations or uneven potato layer Solution: Use an infrared thermometer to maintain consistent 350-375°F oil temperature. Press potatoes into an even layer with your spatula during the first minute of cooking.
Professional Variations Worth Trying
Once you've mastered the basic technique, experiment with these chef-approved additions:
- Classic diner style: Add 1/4 cup finely diced onions during the last 2 minutes of cooking
- Herb-infused: Mix in 1 tbsp fresh thyme or rosemary after squeezing moisture
- Spicy kick: Add 1/2 tsp smoked paprika and cayenne before cooking
- Gourmet version: Top with fried egg and chives after cooking
Serving and Storage Tips
For optimal texture, serve immediately after cooking. If you must hold them, keep in a 200°F oven on a wire rack—never covered, as trapped steam will destroy crispness. Leftovers can be stored in an airtight container for up to 2 days, but reheating requires special care:
- Oven method: 400°F for 8-10 minutes on a wire rack
- Air fryer: 375°F for 5-7 minutes
- Avoid microwaving—it creates rubbery texture


 浙公网安备
33010002000092号
浙公网安备
33010002000092号 浙B2-20120091-4