
Growing your own ginger offers fresh, potent rhizomes for culinary and medicinal use while providing a rewarding gardening experience. This tropical perennial thrives in USDA zones 9-12 but can be cultivated indoors anywhere with proper care. Understanding ginger's unique growth cycle as a rhizome rather than a true root is essential for successful cultivation. Unlike many vegetables, ginger requires patience, as it needs 8-10 months of consistent care before harvest. This comprehensive guide covers everything from selecting quality rhizomes to harvesting and storing your homegrown ginger, ensuring you can enjoy this versatile spice right from your garden.
Understanding Ginger Plant Biology
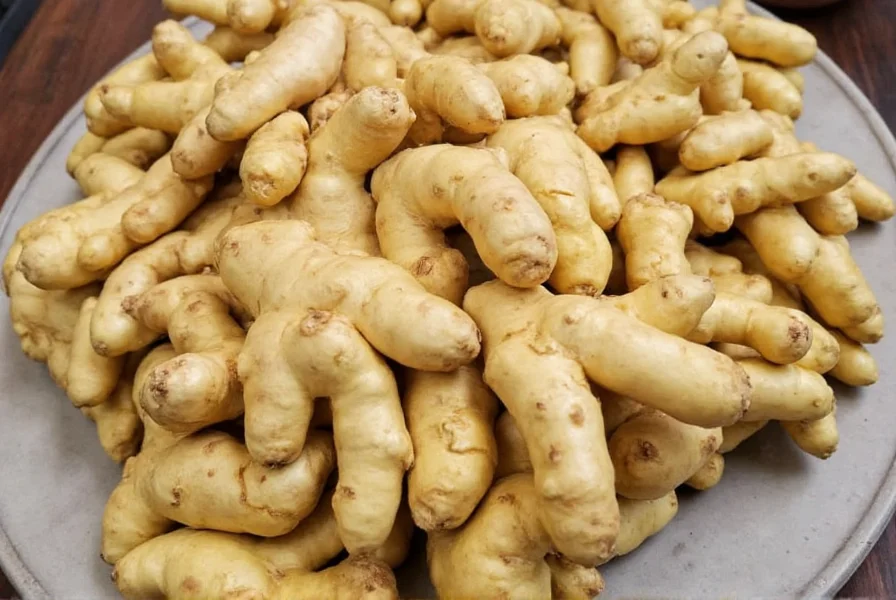
Ginger grows from rhizomes—underground horizontal stems that produce roots and shoots. This distinction matters because planting techniques differ from true root crops. Healthy ginger rhizomes have multiple 'eyes' or growth buds, which determine your potential yield. When selecting ginger for planting, choose plump, firm rhizomes with visible buds, preferably from organic sources to avoid growth inhibitors commonly used in commercial produce.
Optimal Climate and Location Requirements
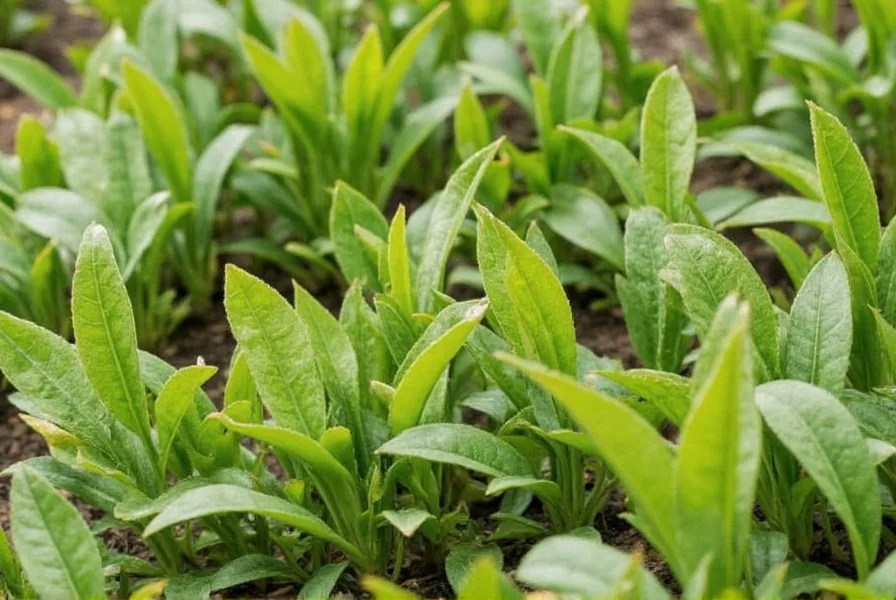
Ginger thrives in warm, humid environments with temperatures between 70-90°F (21-32°C). It cannot tolerate frost, making container growing essential in temperate climates. In tropical regions, ginger grows best with 2-5 hours of morning sun followed by afternoon shade. For container cultivation, east-facing windows provide ideal light conditions. The plant's large leaves indicate its preference for partial shade, as direct afternoon sun can scorch foliage and stress the developing rhizomes.
Soil Preparation for Maximum Yield
The best soil for ginger cultivation combines excellent drainage with moisture retention. Create an ideal growing medium by mixing:
| Soil Component | Percentage | Purpose |
|---|---|---|
| Compost or well-rotted manure | 30% | Nutrient provision and soil structure |
| Coconut coir or peat moss | 25% | Moisture retention |
| Perlite or coarse sand | 20% | Drainage improvement |
| Garden soil or potting mix | 25% | Base structure |
Maintain a slightly acidic to neutral pH between 5.5 and 6.5. Test your soil before planting and amend as needed with sulfur to lower pH or agricultural lime to raise it. Proper soil preparation for ginger growing significantly impacts final rhizome size and quality.
Step-by-Step Planting Process
Follow these steps for successful ginger planting:
- Prepare rhizomes: Cut purchased ginger into 1-2 inch sections, ensuring each piece has 1-2 growth buds. Allow cut surfaces to dry for 24-48 hours to prevent rot.
- Timing: Plant ginger 2-4 weeks before your last expected frost date when soil temperatures reach at least 70°F (21°C).
- Planting depth: Place rhizome sections 2-4 inches deep with growth buds facing upward.
- Spacing: Space sections 8-12 inches apart in rows 18-24 inches apart for in-ground planting. For containers, use pots at least 12 inches deep with adequate drainage.
- Initial watering: Water thoroughly after planting, then maintain consistent moisture without saturation.
Essential Care Throughout the Growing Season
Proper ginger plant care involves consistent attention to moisture, nutrients, and environmental conditions:
- Watering requirements: Keep soil consistently moist but not waterlogged. Water when the top inch of soil feels dry. During hot periods, you may need to water daily. Reduce watering as harvest approaches.
- Fertilization schedule: Apply balanced organic fertilizer (10-10-10) monthly during active growth. Alternatively, use compost tea every 2-3 weeks for chemical-free nutrition.
- Mulching benefits: Apply 2-3 inches of organic mulch to maintain soil moisture, regulate temperature, and suppress weeds.
- Container considerations: When growing ginger in containers, ensure pots have adequate drainage and monitor moisture levels closely as containers dry out faster than garden beds.
Managing Pests and Diseases
Ginger generally resists most pests but can encounter these common issues:
- Rhizome rot: Caused by overwatering or poor drainage. Prevent by ensuring proper soil structure and avoiding waterlogged conditions.
- Leaf spot diseases: Appear as brown spots on foliage. Remove affected leaves and improve air circulation.
- Root-knot nematodes: Can damage rhizomes. Prevent with crop rotation and soil solarization.
- Spider mites: Common in dry indoor conditions. Treat with insecticidal soap or neem oil solutions.
Organic pest control methods work best for home ginger growing, preserving the plant's culinary safety. Regular inspection helps catch problems early before they affect your entire crop.
Harvesting Ginger at Peak Quality
Timing your ginger harvest correctly determines flavor intensity and storage potential:
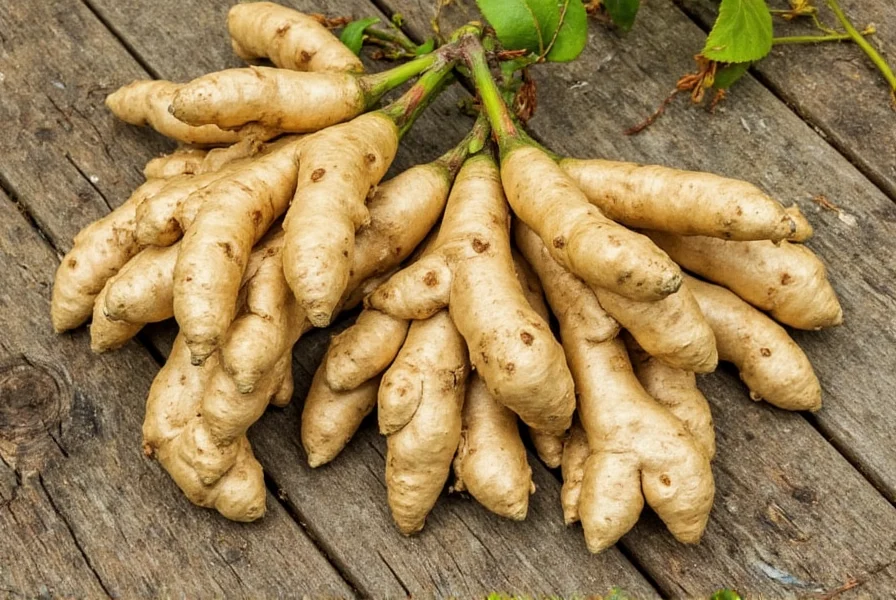
- Young ginger harvest: At 4-6 months, ginger has thinner skin and milder flavor. Carefully dig around plants to harvest partial rhizomes while allowing the plant to continue growing.
- Full maturity harvest: At 8-10 months, when leaves yellow and die back naturally. This ginger has thicker skin and more intense flavor.
- Harvest technique: Use a garden fork to gently loosen soil around plants before carefully lifting rhizomes to avoid damage.
When growing ginger in containers, you can often extend the growing season by moving pots indoors before frost. Understanding when to harvest ginger rhizomes ensures optimal flavor and storage characteristics.
Post-Harvest Handling and Storage
Proper storage maximizes the shelf life of your homegrown ginger:
- Cleaning: Gently brush off soil without washing, as moisture promotes spoilage. Allow to air dry completely before storage.
- Short-term storage: Store in a paper bag in the refrigerator crisper drawer for up to 3 weeks.
- Long-term storage: Freeze whole or sliced ginger in airtight containers for up to 6 months.
- Drying method: Slice thinly and dehydrate at 135°F (57°C) for 8-12 hours for preserved ginger.
For continuous harvest, save some healthy rhizomes with multiple eyes for replanting your next crop. This practice ensures you always have planting material without needing to purchase new ginger.
Troubleshooting Common Ginger Growing Problems
Address these frequent issues in home ginger cultivation:
- Slow growth: Often caused by cool temperatures or insufficient nutrients. Move to warmer location and apply balanced fertilizer.
- Yellowing leaves: Can indicate overwatering or nutrient deficiency. Check soil moisture and adjust watering schedule.
- No rhizome development: Typically results from insufficient growing time or poor light conditions. Ensure 8+ months of growth and proper partial shade.
- Small rhizomes: May occur with overcrowding or depleted soil. Space plants properly and amend soil with compost before planting.
Successful ginger growing requires patience and attention to these specific cultural requirements. By understanding the complete growth cycle from planting to harvest, you can consistently produce high-quality rhizomes.
Frequently Asked Questions
How long does it take to grow ginger from planting to harvest?
Ginger typically requires 8-10 months of growing time before harvest. Some gardeners harvest young ginger at 4-6 months for a milder flavor and more tender texture, but full maturity with maximum flavor development occurs at 8-10 months when the leaves naturally yellow and die back.
Can I grow ginger indoors year-round?
Yes, ginger grows well indoors as a container plant. Choose a pot at least 12 inches deep with good drainage, place in bright indirect light (east-facing window ideal), and maintain consistent moisture and humidity. Indoor ginger may grow more slowly than outdoor plants but can be cultivated year-round with proper care.
What's the best way to prepare soil for ginger cultivation?
The ideal soil mix for ginger contains 30% compost, 25% coconut coir, 20% perlite, and 25% potting mix. This combination provides excellent drainage while retaining necessary moisture. The soil should be slightly acidic with a pH between 5.5 and 6.5. Amending garden soil with generous amounts of organic matter before planting significantly improves ginger growth and rhizome development.
Why are my ginger plant leaves turning yellow?
Yellowing leaves can indicate several issues: overwatering (most common cause), nutrient deficiency, or natural senescence as the plant approaches harvest time. Check soil moisture first—it should be consistently moist but not soggy. If overwatering isn't the issue, apply a balanced fertilizer. If yellowing occurs after 8+ months of growth with leaf dieback, it likely signals natural maturity and harvest time.
How do I know when ginger is ready to harvest?
Mature ginger is ready for harvest when the leaves turn yellow and begin to die back naturally, typically 8-10 months after planting. The soil around the plant may crack as rhizomes expand. For young ginger, you can harvest at 4-6 months when leaves are still green but the rhizomes have developed sufficient size. The best indicator is the plant's natural growth cycle—when top growth begins to decline, underground rhizomes have reached maturity.


 浙公网安备
33010002000092号
浙公网安备
33010002000092号 浙B2-20120091-4