
Here's a proven homemade ginger ale recipe that creates a naturally carbonated, refreshing beverage with no artificial ingredients. This traditional fermented ginger ale recipe uses fresh ginger, sugar, lemon, and a natural starter culture to produce a probiotic-rich drink with customizable spice levels. The entire process takes about 5-7 days with minimal hands-on time, yielding a healthier alternative to commercial ginger ales that contains live cultures and no preservatives.
Making authentic ginger ale at home connects you with a centuries-old tradition of fermented beverages. Unlike store-bought versions filled with high fructose corn syrup and artificial flavors, this natural ginger ale recipe harnesses the power of wild yeast and beneficial bacteria to create a gently carbonated drink with digestive benefits. The fermentation process breaks down sugars while preserving ginger's natural compounds that support digestion and reduce nausea.
The Science Behind Traditional Ginger Ale
True ginger ale differs significantly from modern commercial versions. Authentic ginger ale undergoes a natural fermentation process where wild yeast consumes sugar, producing carbon dioxide (for fizz) and trace amounts of alcohol (typically less than 0.5%). This biological process creates complex flavors and beneficial compounds you won't find in artificially carbonated beverages.
The key to successful homemade ginger ale lies in understanding the ginger bug starter—a simple mixture of fresh ginger, sugar, and water that cultivates natural yeast and bacteria. This living culture transforms sweet ginger water into a probiotic beverage through controlled fermentation.
| Ingredient | Amount | Purpose |
|---|---|---|
| Fresh ginger root | 1½ cups, grated | Provides gingerol compounds and natural yeast |
| Organic cane sugar | 1 cup | Feeds fermentation microbes |
| Lemon juice | ½ cup | Adds acidity and flavor complexity |
| Filtered water | 8 cups | Base liquid (chlorine-free) |
| Ginger bug starter | ½ cup | Natural fermentation culture |
Creating Your Ginger Bug Starter
Before making the ginger ale itself, you'll need to prepare a ginger bug—a natural fermentation starter that typically takes 3-5 days to develop:
- Combine 2 tablespoons grated ginger, 2 tablespoons sugar, and 1 cup filtered water in a clean jar
- Cover with cheesecloth and secure with a rubber band
- Stir twice daily and feed with additional 1 tablespoon ginger and 1 tablespoon sugar
- After 3-5 days, you'll see bubbles forming and the mixture will become slightly fizzy
- Your starter is ready when it consistently produces bubbles within hours of feeding
This natural fermentation culture contains wild yeast and beneficial bacteria that will transform your ginger mixture into authentic ginger ale. The ginger bug method avoids commercial yeast while creating complex flavors through natural microbial activity.
Complete Homemade Ginger Ale Recipe
Once your ginger bug is active, follow these steps for perfect ginger ale:
Step 1: Prepare the Ginger Base
Peel and coarsely grate 1½ cups of fresh ginger root. In a saucepan, combine the grated ginger with 2 cups of filtered water. Bring to a simmer (do not boil), then remove from heat. Let steep for 20 minutes to extract maximum flavor and beneficial compounds.
Step 2: Create the Simple Syrup
Add 1 cup of organic cane sugar to the ginger-infused water and return to low heat, stirring until completely dissolved. Remove from heat and stir in ½ cup fresh lemon juice. This gentle heating preserves ginger's volatile compounds better than boiling.
Step 3: Fermentation Process
Pour the cooled ginger syrup into a clean 1-gallon glass container. Add 5½ cups filtered water and ½ cup active ginger bug starter. Stir gently to combine. Cover with breathable cloth and store at room temperature (68-75°F) away from direct sunlight.
Stir twice daily for 2-3 days, tasting periodically. The ideal fermentation time depends on your environment—warmer temperatures accelerate the process. The ginger ale is ready when it reaches your preferred sweetness level and shows visible carbonation when stirred.
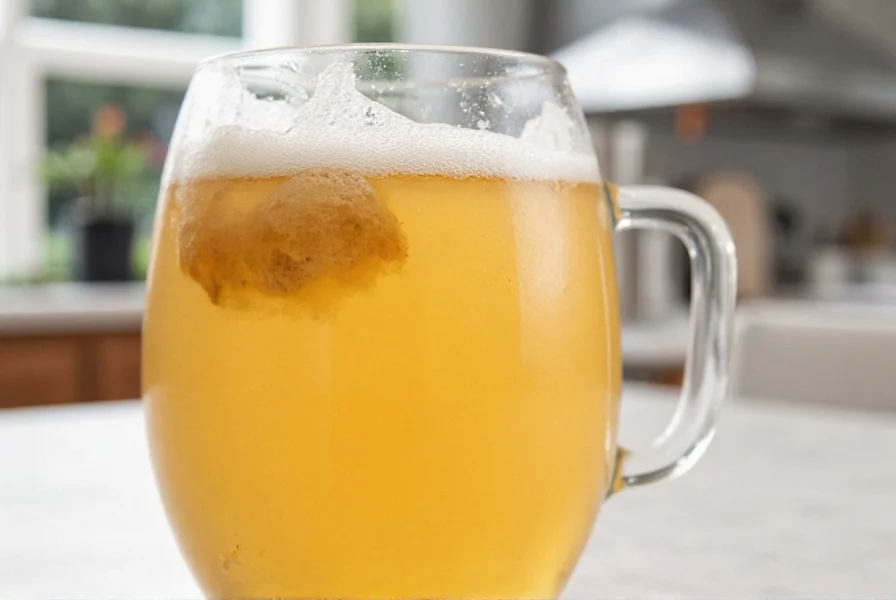
Step 4: Bottling for Carbonation
Strain the ginger ale through cheesecloth into clean, airtight bottles (swing-top glass bottles work best). Leave 1-2 inches of headspace. Store bottles at room temperature for 12-24 hours to build carbonation, then refrigerate to slow fermentation.
Safety note: Always open bottles over a sink and point away from your face. Excessive pressure can cause bottles to explode. Burp bottles daily during the first week by slightly loosening the cap to release excess pressure.
Troubleshooting Common Ginger Ale Issues
Even experienced home fermenters encounter challenges. Here's how to address common problems:
- Flat ginger ale: Extend primary fermentation by 12-24 hours. Ensure your ginger bug was active before adding. Check that bottles are airtight.
- Too spicy: Reduce ginger quantity in next batch or strain more thoroughly before bottling. The heat mellows slightly with refrigeration.
- Overly sweet: Ferment longer during the primary stage. Warmer temperatures accelerate sugar consumption.
- Mold development: Discard immediately if you see any mold. Always use clean equipment and filtered water to prevent contamination.
Health Benefits of Homemade Ginger Ale
Naturally fermented ginger ale offers several advantages over commercial versions. The live cultures support gut health, while fresh ginger provides gingerols and shogaols—compounds with anti-inflammatory and digestive properties. Without artificial preservatives, your homemade version retains ginger's natural benefits that often get destroyed in commercial processing.
For those seeking digestive relief, this traditional ginger ale recipe delivers therapeutic compounds in a palatable form. The natural carbonation can help settle an upset stomach, while the ginger content stimulates digestive enzymes. Unlike sugary sodas, this version contains beneficial microbes and significantly less sugar after fermentation.
Customizing Your Ginger Ale
One of the greatest advantages of making ginger ale at home is customization. Try these variations:
- Spicy version: Add 1-2 thinly sliced jalapeños during the steeping process
- Tart variation: Replace half the lemon juice with lime or cranberry juice
- Herbal infusion: Steep with mint, basil, or lemongrass during cooling
- Fruit-enhanced: Add ½ cup mashed berries or pineapple juice before bottling
For an alcohol-free version (under 0.5% ABV), refrigerate after 2 days of primary fermentation. For a slightly alcoholic ginger beer (1-2% ABV), extend fermentation to 4-5 days before bottling.
Storage and Serving Recommendations
Properly stored in the refrigerator, homemade ginger ale maintains quality for 3-4 weeks. The flavor continues to develop, becoming less sweet and more complex over time. Always keep bottles upright to minimize sediment disturbance.
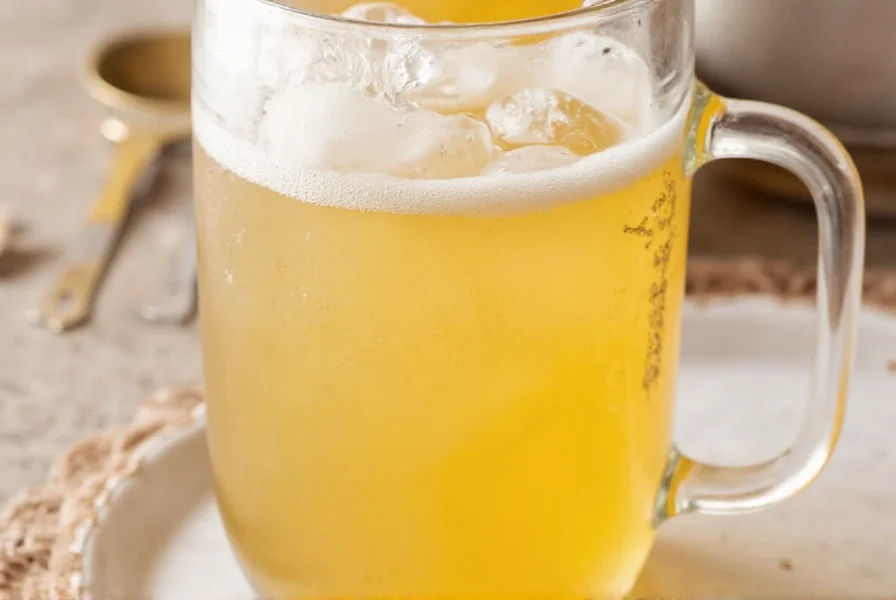
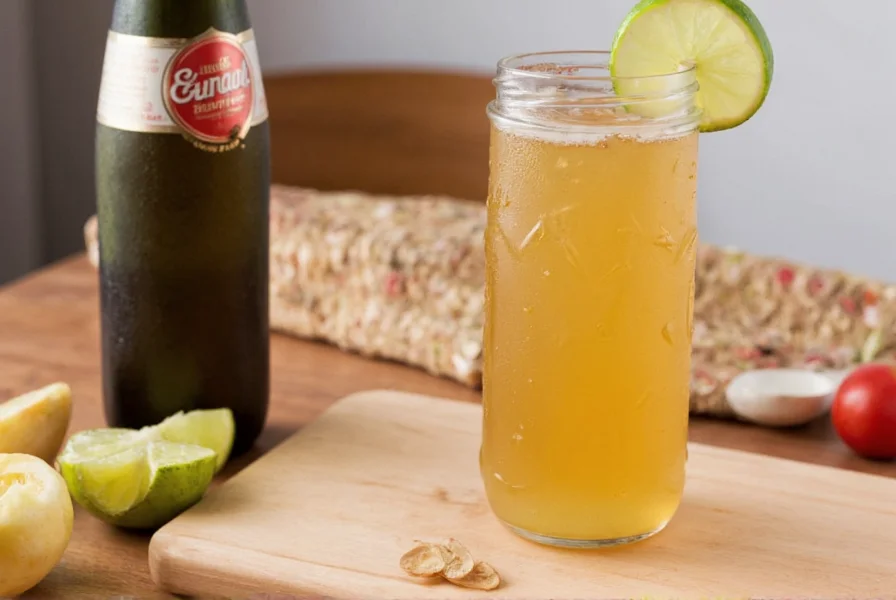
Serve chilled in a tall glass with a lemon wedge. For a sophisticated cocktail mixer, this natural ginger ale pairs beautifully with bourbon or dark rum. The absence of artificial flavors allows the ginger's true character to shine through in mixed drinks.
Frequently Asked Questions
How long does homemade ginger ale last in the refrigerator?
Properly stored in airtight bottles, homemade ginger ale maintains optimal quality for 3-4 weeks in the refrigerator. The flavor continues to develop over time, becoming less sweet and more complex. Always check for any off smells or mold before consuming, and discard if you notice these signs. The carbonation level may decrease slightly over time.
Can I make ginger ale without a ginger bug starter?
Yes, you can make a quick version without a ginger bug by using ¼ teaspoon of bread yeast instead. However, this won't produce the same complex flavors or probiotic benefits as the traditional fermented method. The ginger bug creates a more authentic flavor profile with natural carbonation and beneficial microbes that commercial yeast cannot replicate.
Why is my homemade ginger ale not carbonating properly?
Insufficient carbonation usually occurs when the ginger bug wasn't fully active, temperatures were too cold, or bottles weren't sealed properly. Ensure your starter shows consistent bubbling before use, maintain room temperature (68-75°F) during fermentation, and use airtight bottles. Adding 1 teaspoon of sugar to each bottle before sealing can also boost carbonation.
Is homemade ginger ale alcoholic?
Traditional fermented ginger ale contains trace amounts of alcohol (typically under 0.5% ABV) as a natural byproduct of fermentation. The alcohol content depends on fermentation time—longer fermentation produces more alcohol. For virtually alcohol-free ginger ale, refrigerate after 2 days of primary fermentation. Commercial 'ginger beer' often has higher alcohol content (up to 4-5% ABV) than traditional ginger ale.
What's the difference between ginger ale and ginger beer?
Traditional ginger beer undergoes longer fermentation (5-7 days) resulting in stronger ginger flavor, higher carbonation, and slightly more alcohol (0.5-4% ABV). Ginger ale typically ferments for 2-3 days, producing a milder, sweeter beverage with less carbonation and minimal alcohol. Commercially, the terms are often used interchangeably, but authentic versions differ significantly in preparation method and flavor profile.


 浙公网安备
33010002000092号
浙公网安备
33010002000092号 浙B2-20120091-4