
Giardiniera Gone Wild: 10 Zesty Tips for Crafting the Perfect Italian Pickled Veggie Medley
If you've ever bitten into a jar of tangy, crunchy Italian giardiniera and thought, 'I wish I could make this at home,' you're not alone. Giardiniera isn’t just a side dish—it's a flavor bomb that transforms sandwiches, salads, charcuterie boards, and even Bloody Marys into something magical.
In this article, we’ll take you through everything you need to know about making your own Italian giardiniera from scratch—from choosing the right vegetables and spices to mastering the perfect vinegar-to-water ratio. Along the way, we'll sprinkle in some fun facts, quirky comparisons, and practical pro tips so both beginners and spice-savvy enthusiasts can enjoy the ride.
Table of Contents
- What Exactly Is Giardiniera?
- Why Make Your Own Giardiniera?
- Essential Ingredients for a Flavorful Batch
- Step-by-Step Method: How to Make Italian Giardiniera
- Pro Tips for Crispy, Tangy Perfection
- Spice Variations: From Mild to Wild
- Buying Guide: Tools & Jars You’ll Need
- Frequently Asked Questions
- Conclusion: Your Kitchen Just Got a Whole Lot More Flavorful
What Exactly Is Giardiniera?
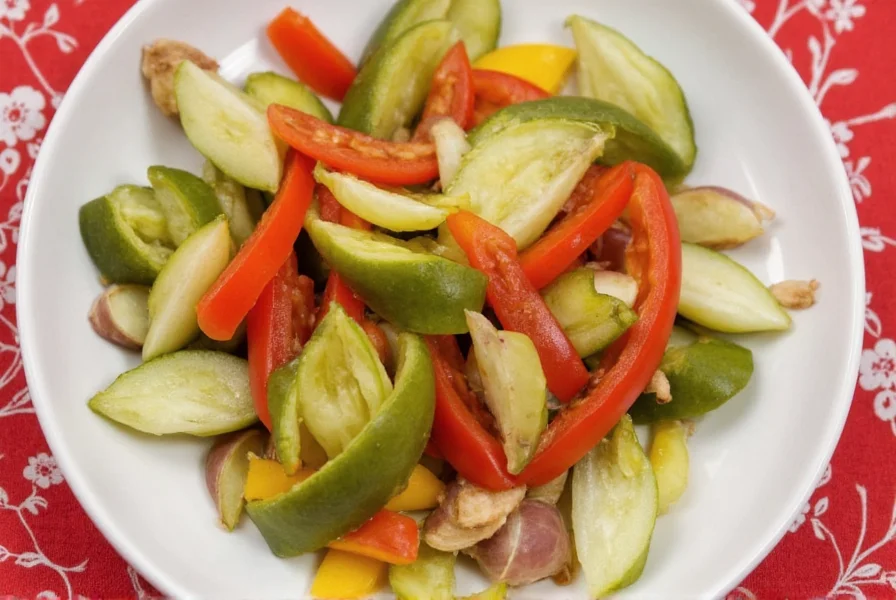
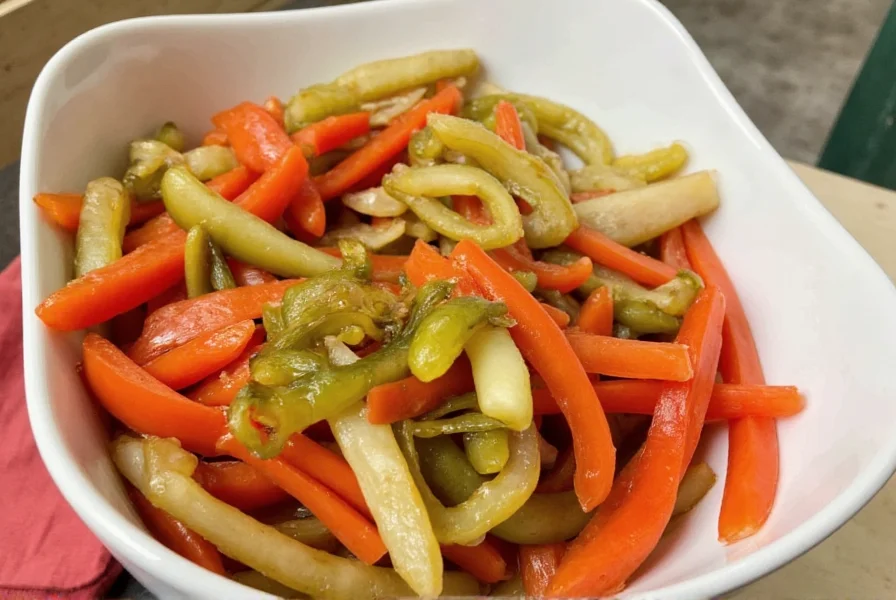
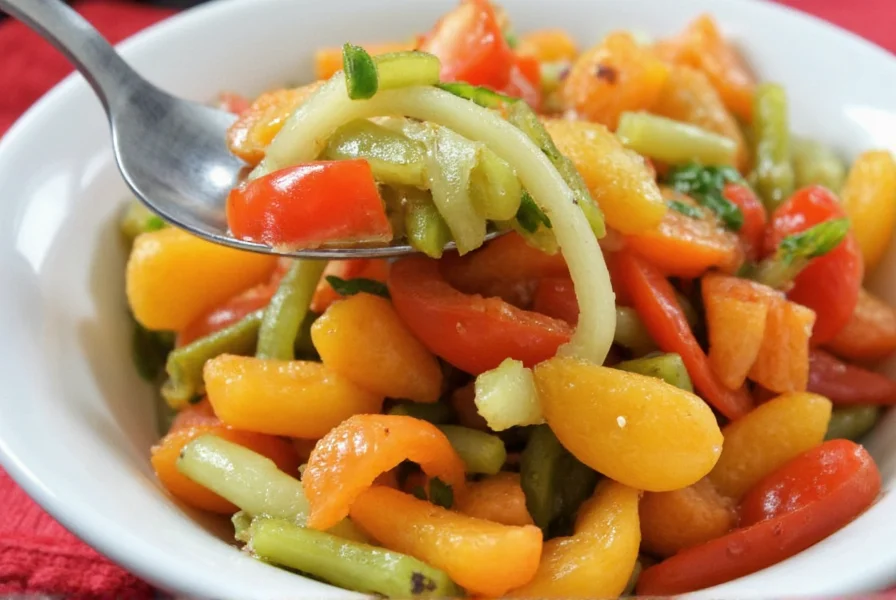
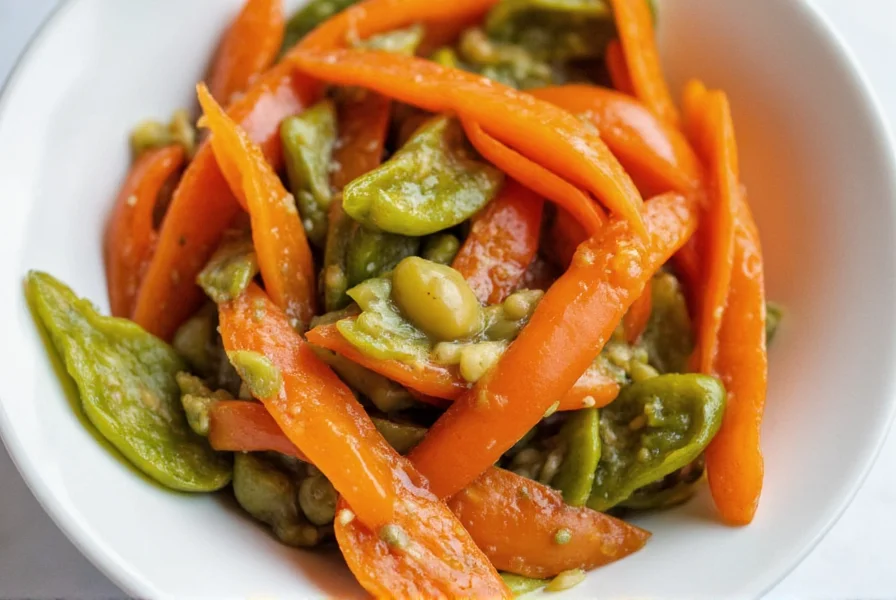
Giardiniera (pronounced jahr-də-NEER-ə) is an Italian pickled vegetable medley that’s as vibrant on the plate as it is bold in flavor. Originating in Italy and later popularized in Chicago-style delis, this zesty mixture typically includes cauliflower, carrots, celery, bell peppers, and chili peppers preserved in a spiced vinegar brine.
It comes in two styles: mild giardiniera, which focuses more on herbs like oregano and bay leaves, and hot giardiniera, which packs a punch with chili flakes or whole hot peppers. Both versions are delicious, but the real magic lies in customizing it to suit your taste.
Why Make Your Own Giardiniera?
While store-bought giardiniera is convenient, making your own offers several benefits:
- Fresher ingredients: You control what goes into the jar—no preservatives or weird additives.
- Customizable heat level: Love spicy? Add jalapeños or habaneros. Prefer mild? Stick with sweet peppers.
- Cheaper in bulk: Buying vegetables and spices separately often costs less than premium pre-made jars.
- Fun kitchen project: It’s satisfying to create something from scratch and impress your friends with homemade condiments!
| Feature | Store-Bought Giardiniera | Homemade Giardiniera |
|---|---|---|
| Taste | Middle-of-the-road | Fully customizable |
| Ingredients | Potentially artificial preservatives | All natural, no additives |
| Price | $3–$8 per jar | ~$5–$6 total for a large batch |
| Prep Time | Instant | 1 hour + marination time |
| Satisfaction Level | Meh | Off-the-charts |
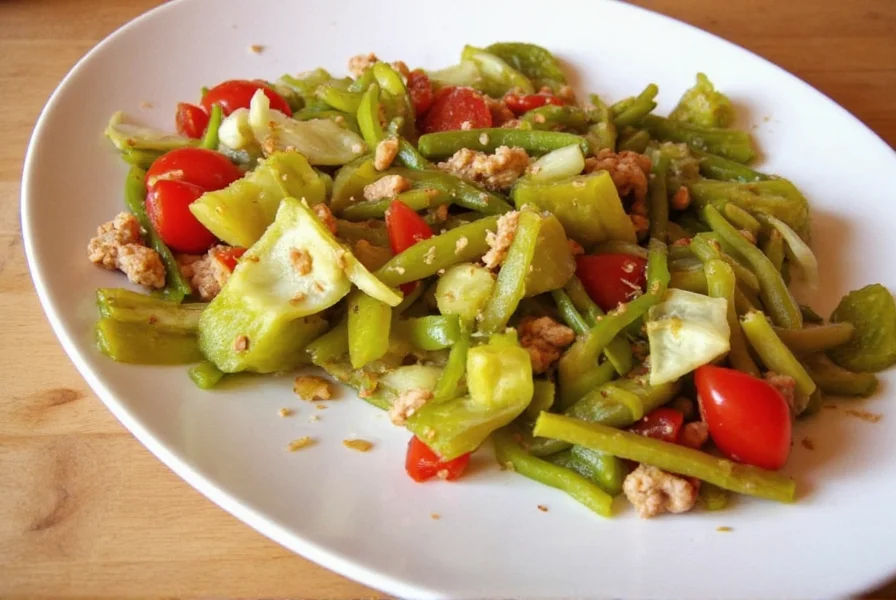
Essential Ingredients for a Flavorful Batch
The beauty of giardiniera lies in its versatility. Here’s a list of essential and optional components to get started:
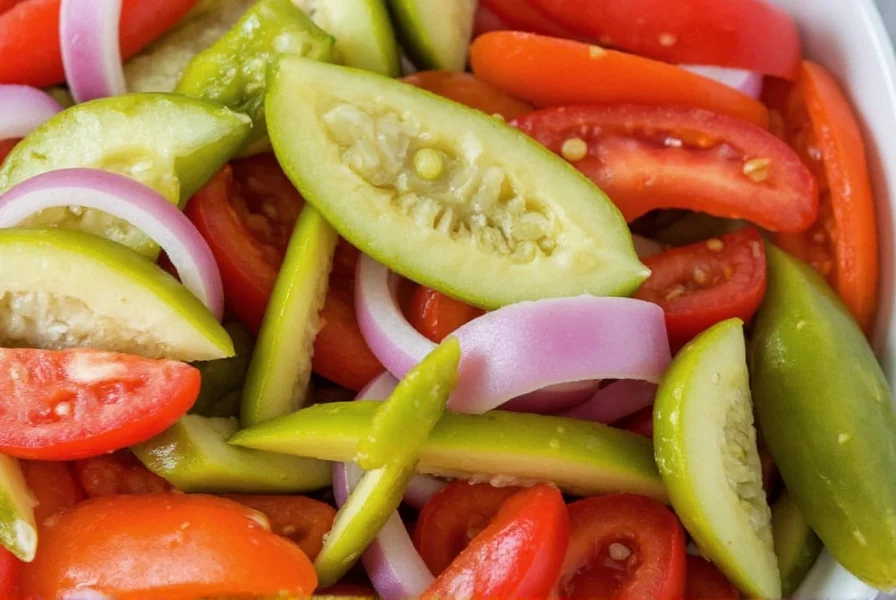
- Veggies (the base):
- Cauliflower florets
- Julienned carrots
- Diced celery stalks
- Bell peppers (any color)
- Onions (sweet or red)
- Chili peppers (optional for heat)
- Brine (where the flavor lives):
- White vinegar
- Water
- Salt
- Sugar (optional for balance)
- Garlic cloves
- Oregano
- Black peppercorns
- Bay leaves
- Mustard seeds
- Coriander seeds
- Red pepper flakes (adjust to taste)
You can also add olives, green beans, pearl onions, or even broccoli for extra texture and depth.
Step-by-Step Method: How to Make Italian Giardiniera
Making giardiniera is straightforward once you’ve got the right tools and ingredients. Follow these steps to create a flavorful, crisp pickled veggie mix.
- Wash and chop your veggies: Cut all vegetables into uniform sizes to ensure even pickling. Blanch them briefly in boiling water for 1–2 minutes to soften slightly while retaining crunch.
- Prepare the brine: In a saucepan, combine 2 cups white vinegar, 2 cups water, 1 tbsp salt, 1 tsp sugar (optional), 4 garlic cloves (crushed), 1 tbsp dried oregano, 1 tbsp black peppercorns, 1 bay leaf, 1 tsp mustard seeds, 1 tsp coriander seeds, and red pepper flakes to taste. Bring to a boil, then reduce to a simmer for 5 minutes.
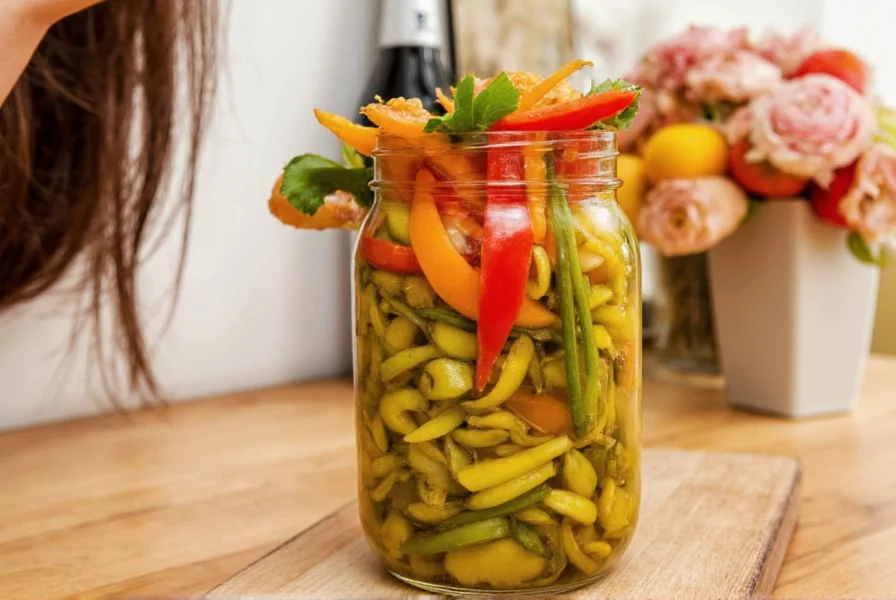
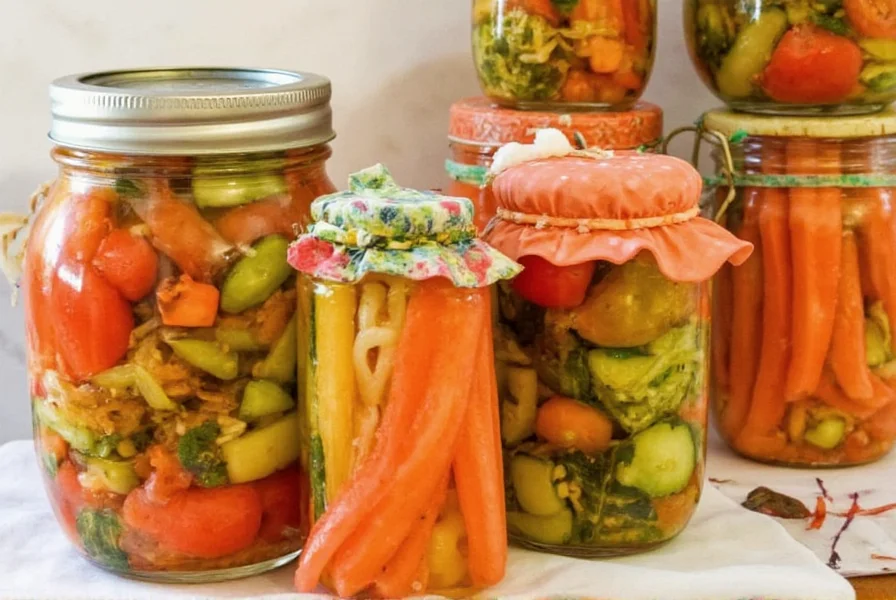
- Pack the jars: Place your prepared veggies into sterilized mason jars. Pack tightly but not crushed.
- Pour in the brine: Fill the jars with hot brine, leaving about ½ inch headspace at the top. Use a wooden spoon to release any air bubbles.
- Seal and cool: Wipe the rims clean, place lids on jars, and let them cool to room temperature before refrigerating or processing for shelf storage.
- Let it sit: For best flavor, wait at least 48 hours before diving in. The longer it sits (up to a month), the more intense the flavors become.
Pro Tips for Crispy, Tangy Perfection
If you want your giardiniera to be the star of the show rather than just background flavor, here are 10 pro tips that separate the amateurs from the giardiniera gurus:
- Use small-batch jars: Smaller jars mean quicker flavor infusion and easier gift-giving!
- Don’t skip the blanching: This step ensures crispness without bitterness. Skipping it might lead to soggy results.
- Use distilled white vinegar: It provides a clean, sharp bite without overpowering other flavors. Avoid apple cider vinegar unless you’re going for a sweeter, fruitier version.
- Add fresh herbs: While dried oregano is traditional, adding a sprig of fresh thyme or rosemary can give your giardiniera an aromatic twist.
- Rinse your veggies well: Any residual dirt or wax can interfere with proper pickling and shorten shelf life.
- Go wild with heat: Try ghost peppers, Serrano chilies, or even a dash of Tabasco for extreme heat lovers.
- Use sea salt instead of table salt: It dissolves better and has a cleaner taste without anti-caking agents.
- Don’t overcrowd the jars: Leave enough space for the brine to flow freely around each veggie piece.
- Experiment with vinegar blends: Mix equal parts white wine vinegar and white vinegar for a more complex base.
- Label and date your jars: Even though it’s tempting to hide your masterpiece, labeling helps avoid confusion and keeps things organized.
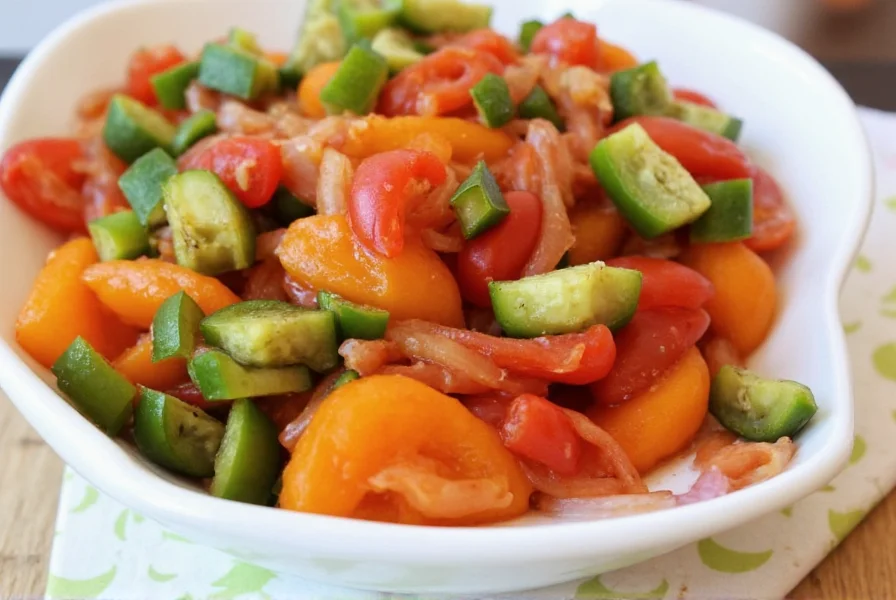
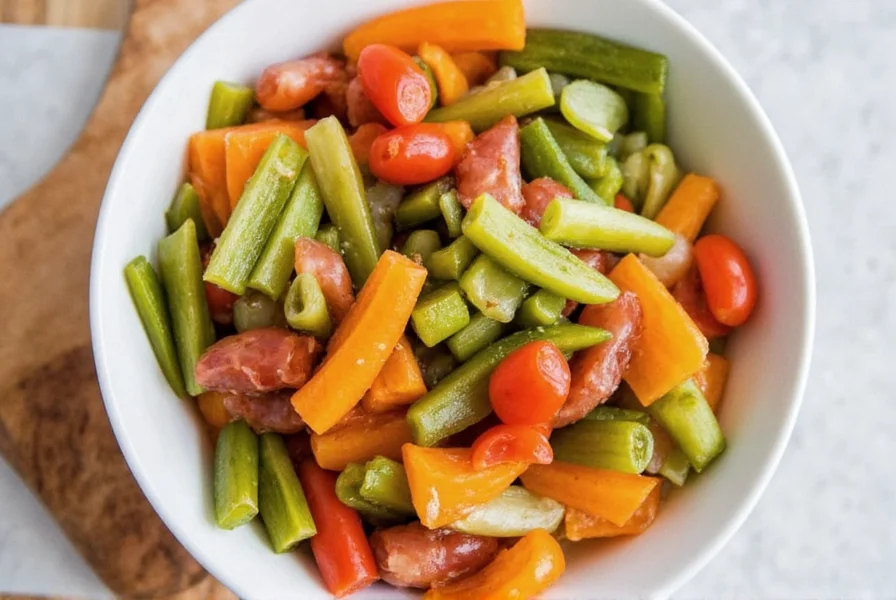
Spice Variations: From Mild to Wild
One of the most exciting aspects of giardiniera is how easily it adapts to different flavor profiles. Whether you prefer a subtle herbal blend or a fiery explosion of heat, here are a few spice variations to try:
- Mediterranean Twist: Add Kalamata olives, lemon zest, fennel seeds, and thyme.
- Mexican Fiesta: Toss in sliced radishes, corn kernels, cumin, cilantro, and lime juice.
- Asian Fusion: Swap white vinegar for rice vinegar, add ginger slices, lemongrass, and a splash of soy sauce.
- Classic Hot: Double the red pepper flakes, add whole serrano or jalapeño peppers, and throw in some pickling spice.
- Herb Garden: Fresh dill, tarragon, parsley, and chives bring a bright, earthy dimension.
Buying Guide: Tools & Jars You’ll Need
If you’re serious about making giardiniera regularly—or just want to do it right the first time—you may want to invest in some quality equipment. Here’s a breakdown of must-have items and our top picks:
| Item | Product Name | Features | Best For |
|---|---|---|---|
| Jars | Kerr Quart Mason Jars | Re-sealable, BPA-free, easy to sterilize | Storage and gifting |
| Lids & Bands | Kerr Lid and Band Set | Airtight seal, reusable bands | Water bath canning |
| Vegetable Chopper | OXO Good Grips Veggicide | Adjustable slicing discs, ergonomic handle | Consistent veggie cuts |
| Large Saucepan | All-Clad Stainless Steel Pan | Even heat distribution, durable | Brine preparation |
| Thermometer | ThermoPro TP03 Digital Thermometer | Accurate readings, waterproof | Monitoring brine temperature |
| Labels | Avery Removable Labels | Write-on surface, peel off easily | Tracking batches and expiration dates |
Frequently Asked Questions
How long does homemade giardiniera last?
In the refrigerator, it stays fresh and crunchy for up to 2 months. If properly sealed using a water bath canning method, it can last up to a year unopened.
Can I reuse the brine?
Yes! As long as the brine is still clear and doesn’t smell off, you can strain and reuse it for another batch or even as a marinade for tofu or chicken.
What should I serve giardiniera with?
Try it on Italian beef sandwiches, antipasto platters, alongside grilled meats, or stirred into grain bowls for a flavor kick.
Can I use different vinegars?
Absolutely. Experiment with red wine vinegar for richness, apple cider vinegar for sweetness, or balsamic for a deep, syrupy note.
Is giardiniera good for you?
Yes! It’s low in calories, rich in fiber, and packed with probiotic-like benefits thanks to fermentation. Plus, those colorful veggies deliver antioxidants and vitamins A and C.
Conclusion: Your Kitchen Just Got a Whole Lot More Flavorful
Now that you’ve mastered the art of making Italian giardiniera, it’s time to put your new skills to the test. With just a few simple ingredients and a bit of patience, you can transform your pantry into a flavor-packed haven of homemade goodness.
Whether you go for classic mild, full-on fiery, or experiment with global twists, giardiniera is a versatile, crowd-pleasing addition to any meal. And let’s be honest—nothing beats the pride of handing someone a jar of your own creation and watching their eyes light up at the first bite.
So grab those veggies, fire up the vinegar, and start pickling. Your future self—and your taste buds—will thank you!


 浙公网安备
33010002000092号
浙公网安备
33010002000092号 浙B2-20120091-4