
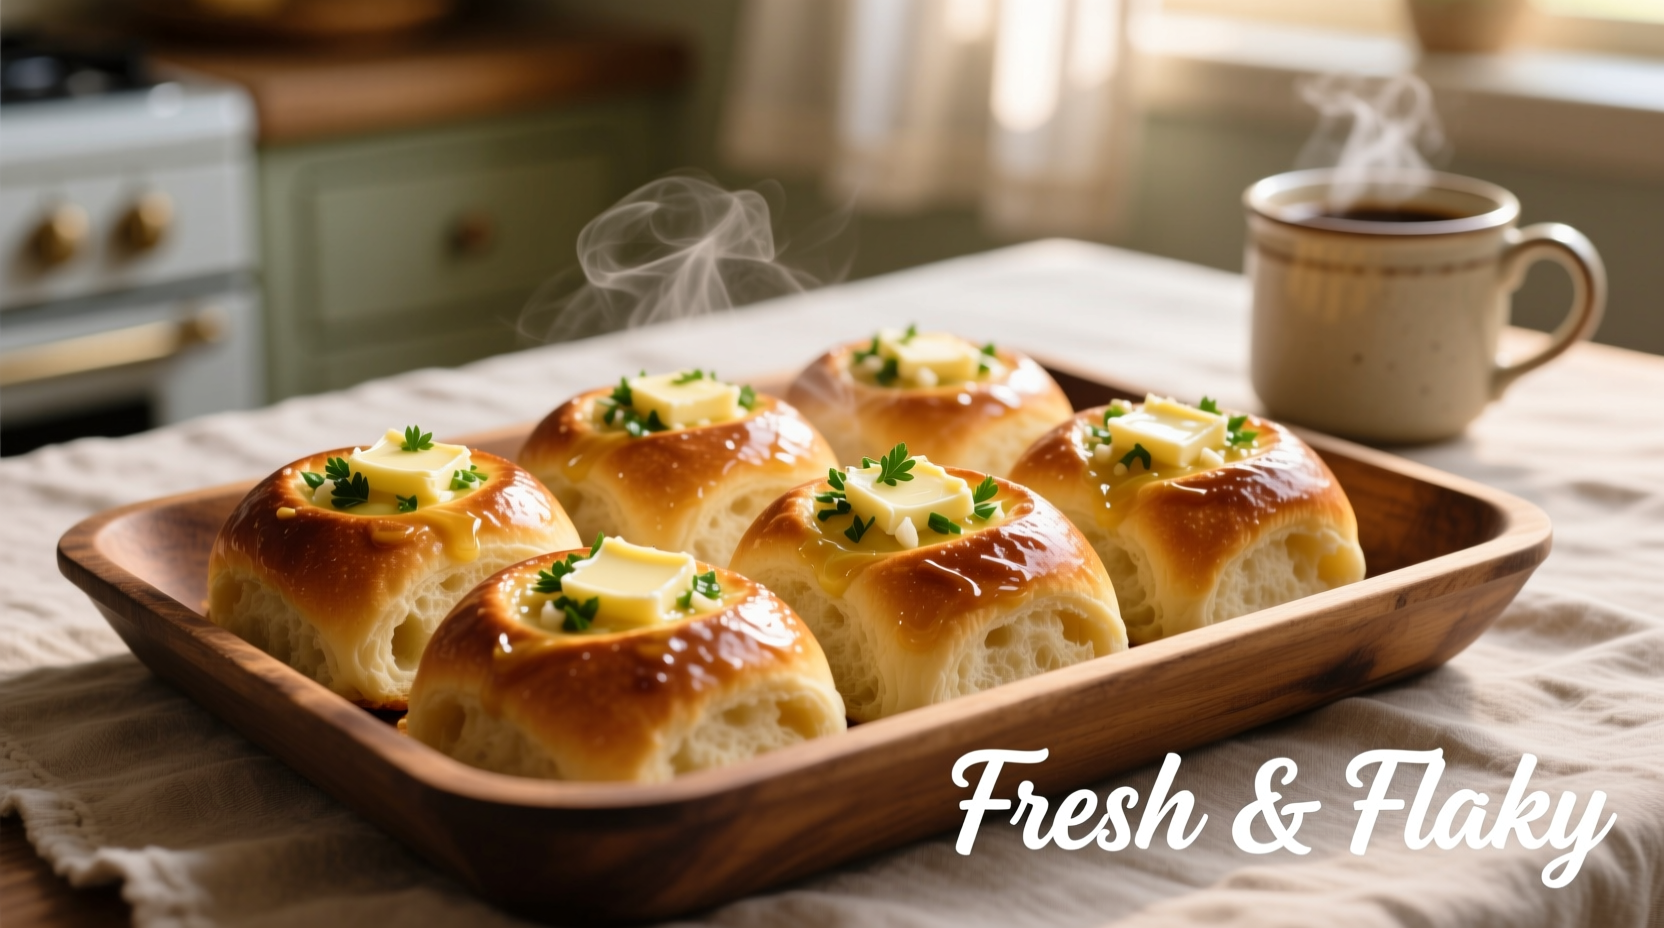
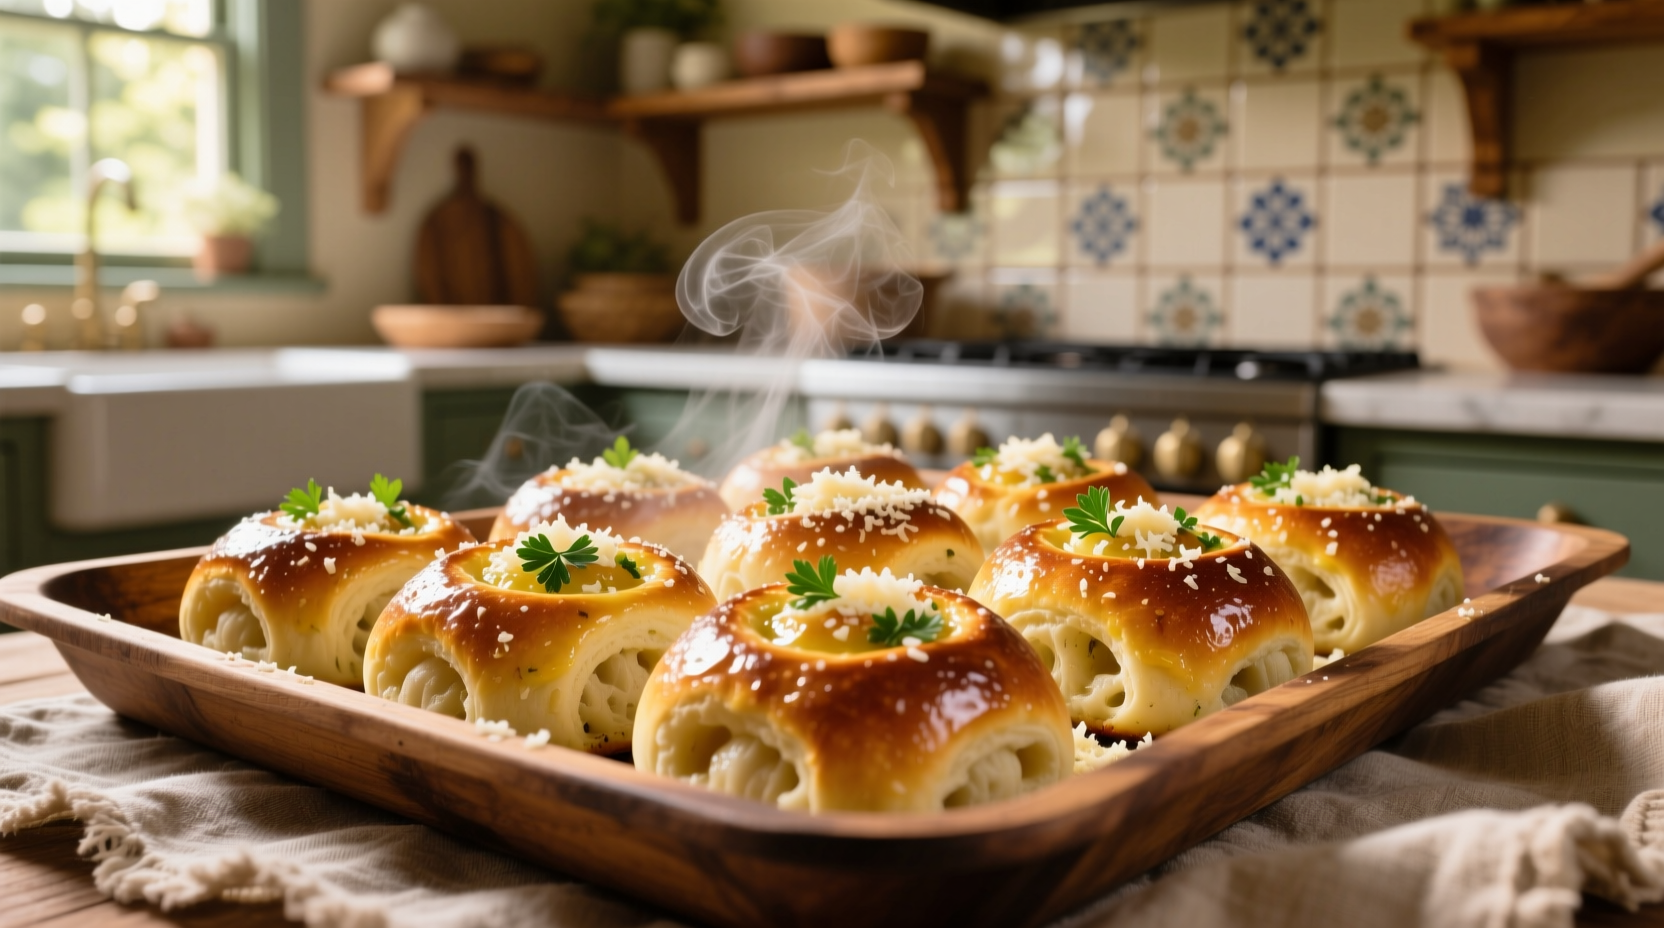
Garlic yeast rolls are soft, fluffy dinner rolls infused with aromatic garlic flavor, created through a precise balance of yeast fermentation and garlic infusion techniques. This guide delivers a professional-tested recipe with scientific insights to achieve perfect golden-brown rolls with balanced garlic notes every time—no more dense or overly pungent results.
The Science Behind Perfect Garlic Yeast Rolls
Understanding the chemistry transforms your baking. Yeast (Saccharomyces cerevisiae) consumes sugars to produce carbon dioxide and alcohol during fermentation. The key to light rolls lies in controlling this process:
| Factor | Optimal Range | Effect on Rolls |
|---|---|---|
| Water temperature | 105°-115°F (40°-46°C) | Activates yeast without killing it |
| First rise time | 60-90 minutes | Develops gluten structure and flavor |
| Garlic addition point | After first rise | Preserves volatile flavor compounds |
Garlic's allicin compound creates that signature aroma when crushed, but degrades at high temperatures. Adding garlic butter after the first rise preserves optimal flavor while preventing yeast inhibition. According to the King Arthur Baking Company's research, yeast becomes dormant below 70°F and dies above 140°F—critical knowledge for timing your garlic incorporation.
Essential Equipment Checklist
Professional results require proper tools:
- Digital kitchen scale (for precise flour measurement)
- Stand mixer with dough hook (hand-kneading requires 15+ minutes)
- Oven thermometer (oven dials are often inaccurate)
- 9x13 inch baking pan (prevents overcrowding during second rise)
Avoid common mistakes like using liquid measuring cups for flour (creates 20% variation) or metal bowls that can react with yeast. The FDA's food safety guidelines recommend keeping garlic in oil mixtures below 40°F to prevent botulism risk during preparation.
Professional-Tested Recipe
This refined method solves common home baking failures. Yields 12 perfect rolls.
Ingredients
- 1 cup whole milk, warmed to 110°F
- 2 1/4 tsp active dry yeast (1 packet)
- 1/4 cup granulated sugar
- 1 large egg, room temperature
- 1/4 cup unsalted butter, melted
- 3 1/2 cups bread flour, plus more for dusting
- 1 1/2 tsp salt
Garlic Butter
- 1/2 cup unsalted butter, softened
- 4 large garlic cloves, finely minced
- 2 tbsp fresh parsley, chopped
- 1/4 tsp salt
Step-by-Step Instructions
- Activate yeast: Combine warm milk, yeast, and 1 tsp sugar. Wait 5-10 minutes until foamy.
- Mix dough: In stand mixer, combine yeast mixture, remaining sugar, egg, melted butter, 2 cups flour, and salt. Mix on low.
- Knead: Gradually add remaining flour until dough pulls away from bowl. Knead 5-7 minutes until smooth and elastic.
- First rise: Place in greased bowl, cover, and let rise at 75°F for 60-90 minutes until doubled.
- Prepare garlic butter: Mix all garlic butter ingredients. Refrigerate until needed.
- Shape rolls: Punch down dough, divide into 12 equal pieces. Roll each into smooth ball.
- Second rise: Place rolls in greased 9x13 pan, cover, rise 30-45 minutes until nearly doubled.
- Bake: Preheat oven to 375°F. Bake 18-22 minutes until golden brown (internal temp 190°F).
- Finish: Immediately brush with garlic butter. Cover loosely with foil if browning too quickly.
Troubleshooting Common Issues
Even experienced bakers encounter problems. Here's how to fix them:
Dense Rolls
Cause: Over-flouring or under-proofing Solution: Measure flour by weight (454g for 3 1/2 cups) and verify dough has doubled in size before baking. The University of Minnesota Extension confirms proper proofing creates the air pockets that yield light texture.
Weak Garlic Flavor
Cause: Adding garlic too early or using pre-minced products Solution: Use fresh garlic minced within 10 minutes of mixing (allicin degrades quickly). Add garlic butter after baking for maximum aroma impact.
Burnt Bottoms
Cause: Oven hot spots or dark pans Solution: Place baking sheet on rack below rolls, use light-colored pans, and rotate pan halfway through baking.
Serving and Storage Tips
Enjoy rolls at their peak within 2 hours of baking. For best results:
- Serve warm with additional garlic butter for dipping
- Store leftovers in airtight container at room temperature for up to 2 days
- Reheat in 300°F oven for 5-7 minutes (microwaving creates rubbery texture)
- Freeze unbaked rolls: After second rise, freeze on baking sheet, then transfer to freezer bags. Bake from frozen, adding 5-8 minutes to baking time.
Professional bakers at Baking Business Magazine recommend this timeline for optimal freshness:
| Storage Method | Best Flavor Window | Texture Quality |
|---|---|---|
| Room temperature | 0-12 hours | Excellent |
| Refrigerated | 12-24 hours | Good (slightly firm) |
| Frozen (baked) | 1-3 months | Fair (requires proper reheating) |
Frequently Asked Questions
Can I use instant yeast instead of active dry?
Yes, substitute equal amounts. Instant yeast doesn't require activation, so mix it directly with dry ingredients. Reduce rise time by 15-20% since instant yeast works faster.
Why did my garlic yeast rolls turn out dry?
Dry rolls typically result from overbaking or excessive flour. Bake until internal temperature reaches 190°F (88°C), not just by color. Measure flour by weight (120g per cup) rather than scooping to prevent excess.
How can I make garlic yeast rolls without a stand mixer?
Absolutely. Mix ingredients in a large bowl until shaggy, then turn onto floured surface. Knead 12-15 minutes until smooth and passes windowpane test (stretch a small piece thin enough to see light through without tearing).
Can I prepare garlic yeast rolls ahead of time?
Yes—shape rolls and place in pan, then cover and refrigerate overnight. Remove 1 hour before baking to complete second rise. This cold fermentation actually enhances flavor development according to professional baking science.


 浙公网安备
33010002000092号
浙公网安备
33010002000092号 浙B2-20120091-4