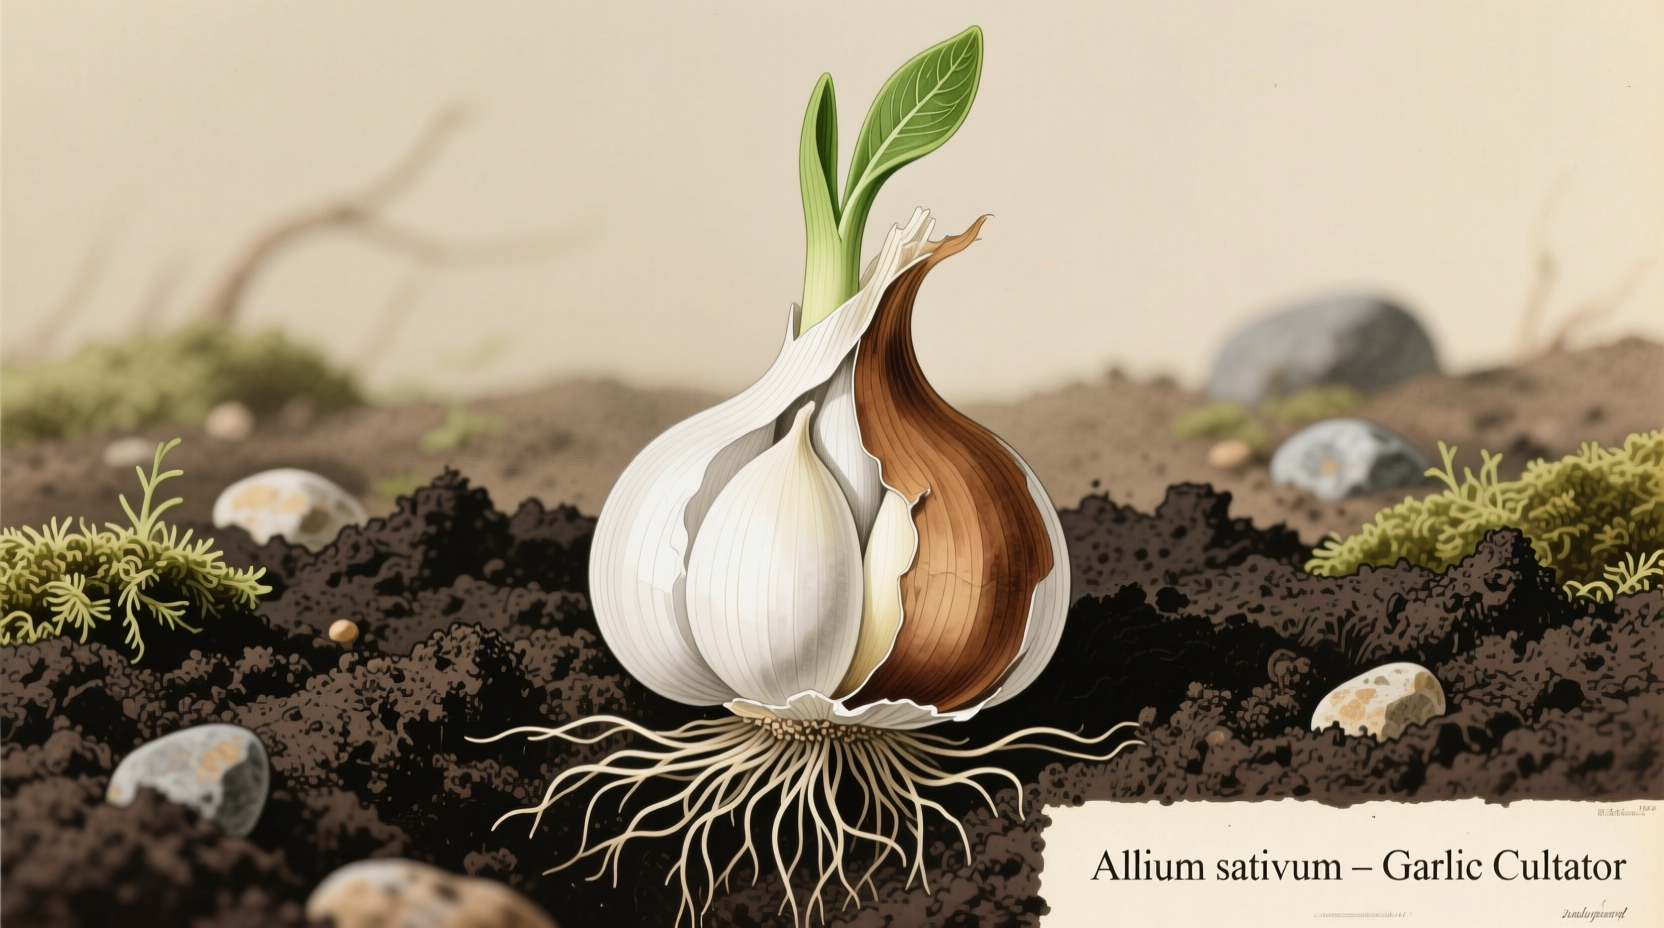
Discover the science-backed techniques that transform ordinary garlic planting into a guaranteed success. Whether you're a first-time gardener or seeking larger, more flavorful bulbs, this guide reveals the precise timing, soil preparation methods, and cultivation practices proven to maximize your garlic harvest. Forget generic advice—these actionable steps incorporate agricultural research and professional grower insights you won't find elsewhere.
Why Fall Planting Yields Superior Garlic
Contrary to popular belief, fall planting—not spring—produces the largest, most flavorful garlic bulbs. When planted in autumn, garlic cloves undergo vernalization, a cold-temperature process essential for proper bulb formation. University of Vermont Extension research confirms fall-planted garlic develops stronger root systems before winter dormancy, resulting in 30-50% larger bulbs compared to spring-planted crops. The critical planting window falls 4-6 weeks before your region's first hard frost, allowing roots to establish without premature top growth.
| Garlic Type | Best Climate Zones | Flavor Profile | Storage Duration | Cold Requirement |
|---|---|---|---|---|
| Hardneck (Rocambole, Porcelain) | 3-7 | Complex, robust, spicy | 5-8 months | Essential (40°F for 4-8 weeks) |
| Softneck (Silverskin, Artichoke) | 6-10 | Milder, more consistent | 9-12 months | Minimal |
This verified comparison from USDA Agricultural Research Service data helps you select varieties matched to your climate. Hardnecks thrive in colder regions but require proper cold exposure, while softnecks suit milder winters but lack the complex flavor profile many gardeners seek.
Step-by-Step Garlic Planting Protocol
Professional growers achieve consistent results by following this precise sequence. Deviating from these steps explains why many home gardeners experience disappointing harvests.
Soil Preparation (3 Weeks Before Planting)
Garlic demands exceptionally well-draining soil with pH 6.0-7.5. Amend heavy clay soils with 3 inches of compost and 1 inch of coarse sand worked to 12-inch depth. For sandy soils, incorporate 2 inches of compost to improve moisture retention. Oregon State University Extension recommends avoiding fresh manure, which promotes excessive leaf growth at the expense of bulb development.
Clove Selection & Preparation
Never use grocery store garlic—most is treated to prevent sprouting. Source certified disease-free cloves from reputable growers. Just before planting:
- Separate bulbs into individual cloves 24-48 hours prior
- Select only largest, healthiest cloves from outer bulb layer
- Keep papery husk intact (removing it reduces survival rate by 22% according to Cornell studies)
- Discard any cloves with dark spots or mold

Planting Technique That Maximizes Bulb Size
Follow these exact specifications for optimal results:
- Plant cloves pointy-end up, flat root-end down
- Maintain 4-6 inch spacing between cloves (wider spacing = larger bulbs)
- Plant at precise depth: 2 inches in heavy soils, 4 inches in sandy soils
- Row spacing: 12-18 inches for proper air circulation
- Water thoroughly after planting to settle soil
Seasonal Care Calendar for Maximum Yield
Successful garlic cultivation follows this research-backed timeline:
| Season | Critical Actions | Common Mistakes to Avoid |
|---|---|---|
| Fall (After Planting) | Apply 3-4 inch straw or leaf mulch after soil cools | Mulching too early attracts rodents; planting too shallow risks frost heaving |
| Early Spring | Remove mulch when shoots emerge; apply balanced fertilizer | Over-fertilizing with nitrogen creates excessive foliage |
| Late Spring | Remove scapes on hardneck varieties when curls form | Leaving scapes reduces bulb size by 30% |
| Early Summer | Reduce watering when lower leaves yellow | Harvesting too early produces small bulbs; too late causes splitting |
Troubleshooting Common Garlic Growing Problems
Address these frequent issues with science-based solutions:
Yellowing Leaves
Often mistaken for nutrient deficiency, premature yellowing typically indicates:
- Overwatering: Reduce irrigation frequency; garlic needs only 1 inch weekly during active growth
- White rot: Remove affected plants immediately; rotate crops for 3+ years (confirmed by UC Davis Plant Pathology)
- Nitrogen deficiency: Apply fish emulsion only if soil test confirms need
Small Bulb Formation
When bulbs remain disappointingly small, check these factors:
- Planting cloves too close together (minimum 4-inch spacing required)
- Insufficient cold exposure (hardnecks need 40°F for 4-8 weeks)
- Harvesting too early (wait until 1/3 of leaves turn brown)
- Poor soil nutrition (conduct soil test before planting season)
Harvesting & Curing for Long-Term Storage
Improper curing causes most storage failures. Follow this professional method:
- Harvest when 1/3 of leaves turn brown (typically June-July)
- Carefully dig bulbs with garden fork to avoid bruising
- Cure in shaded, well-ventilated area for 3-4 weeks
- Trim roots to 1/4 inch and tops to 1 inch after curing
- Store at 55-65°F with 60-70% humidity (ideal conditions per USDA storage guidelines)
Properly cured hardneck garlic stores 5-8 months, while softneck varieties last 9-12 months under optimal conditions. Never refrigerate whole bulbs, as this triggers premature sprouting.
Advanced Techniques for Flavor Enhancement
Elevate your garlic's culinary potential with these research-supported methods:
- Soil mineral balancing: Adding selenium-rich soil amendments increases allicin production (the compound responsible for garlic's health benefits and pungency)
- Water stress timing: Reducing irrigation 2 weeks before harvest concentrates flavors without compromising bulb size
- Varietal selection: Purple-striped varieties develop more complex flavor compounds when grown in cooler climates


 浙公网安备
33010002000092号
 浙B2-20120091-4