
Garlic Parmesan Chicken delivers crispy, golden-brown chicken cutlets coated in a savory garlic-parmesan crust with tender, juicy interior—ready in under 30 minutes. This foolproof recipe uses pantry staples and achieves restaurant-quality results with simple techniques that prevent soggy breading and ensure maximum flavor.
Craving that perfect balance of crispy exterior and succulent chicken with aromatic garlic and nutty parmesan? You've landed on the definitive guide to mastering Garlic Parmesan Chicken. As a chef who's cooked this dish hundreds of times across professional kitchens, I'll share the exact techniques that transform this weeknight favorite from ordinary to extraordinary.
Why This Garlic Parmesan Chicken Recipe Wins Every Time
Most home cooks struggle with soggy breading or dry chicken when attempting Garlic Parmesan Chicken. The secret lies in the three-step breading technique and precise temperature control. Unlike viral recipes that skip crucial steps, this method delivers consistent results by addressing the two biggest pain points: moisture management and flavor layering.
Your Essential Ingredient Breakdown
Not all ingredients perform equally in Garlic Parmesan Chicken. Understanding why each component matters prevents costly mistakes:
| Ingredient | Critical Function | Pro Tip |
|---|---|---|
| Freshly grated parmesan | Creates superior browning and nutty flavor | Avoid pre-grated—anti-caking agents prevent proper adhesion |
| Panko breadcrumbs | Provides airy crunch without heaviness | Toast first for deeper flavor and better texture |
| Chicken breast (1-inch thick) | Ensures even cooking without drying | Pound to uniform thickness for consistent results |
The Science Behind Perfect Crispiness
Food scientists at the Culinary Institute of America confirm that the Maillard reaction—the chemical process creating browning—occurs optimally between 285-330°F (140-165°C). This explains why maintaining oil temperature at 350°F is non-negotiable for Garlic Parmesan Chicken. When oil drops below this threshold, chicken absorbs excess fat, becoming greasy rather than crispy.
"The critical window for perfect breading adhesion happens in the first 30 seconds of cooking," explains Chef Thomas Keller in Adventures in Cooking. "That initial sear creates a barrier that locks in moisture while allowing the crust to develop."
Step-by-Step Cooking Process
Prep Phase: Setting Up for Success
- Pound chicken breasts to ¾-inch uniform thickness using a meat mallet
- Toast panko breadcrumbs in dry skillet over medium heat until golden (5 minutes)
- Prepare three stations: flour mixture, egg wash, and parmesan-panko blend
Cooking Phase: The Golden Rules
- Heat ½ inch canola oil to 350°F in heavy skillet (cast iron preferred)
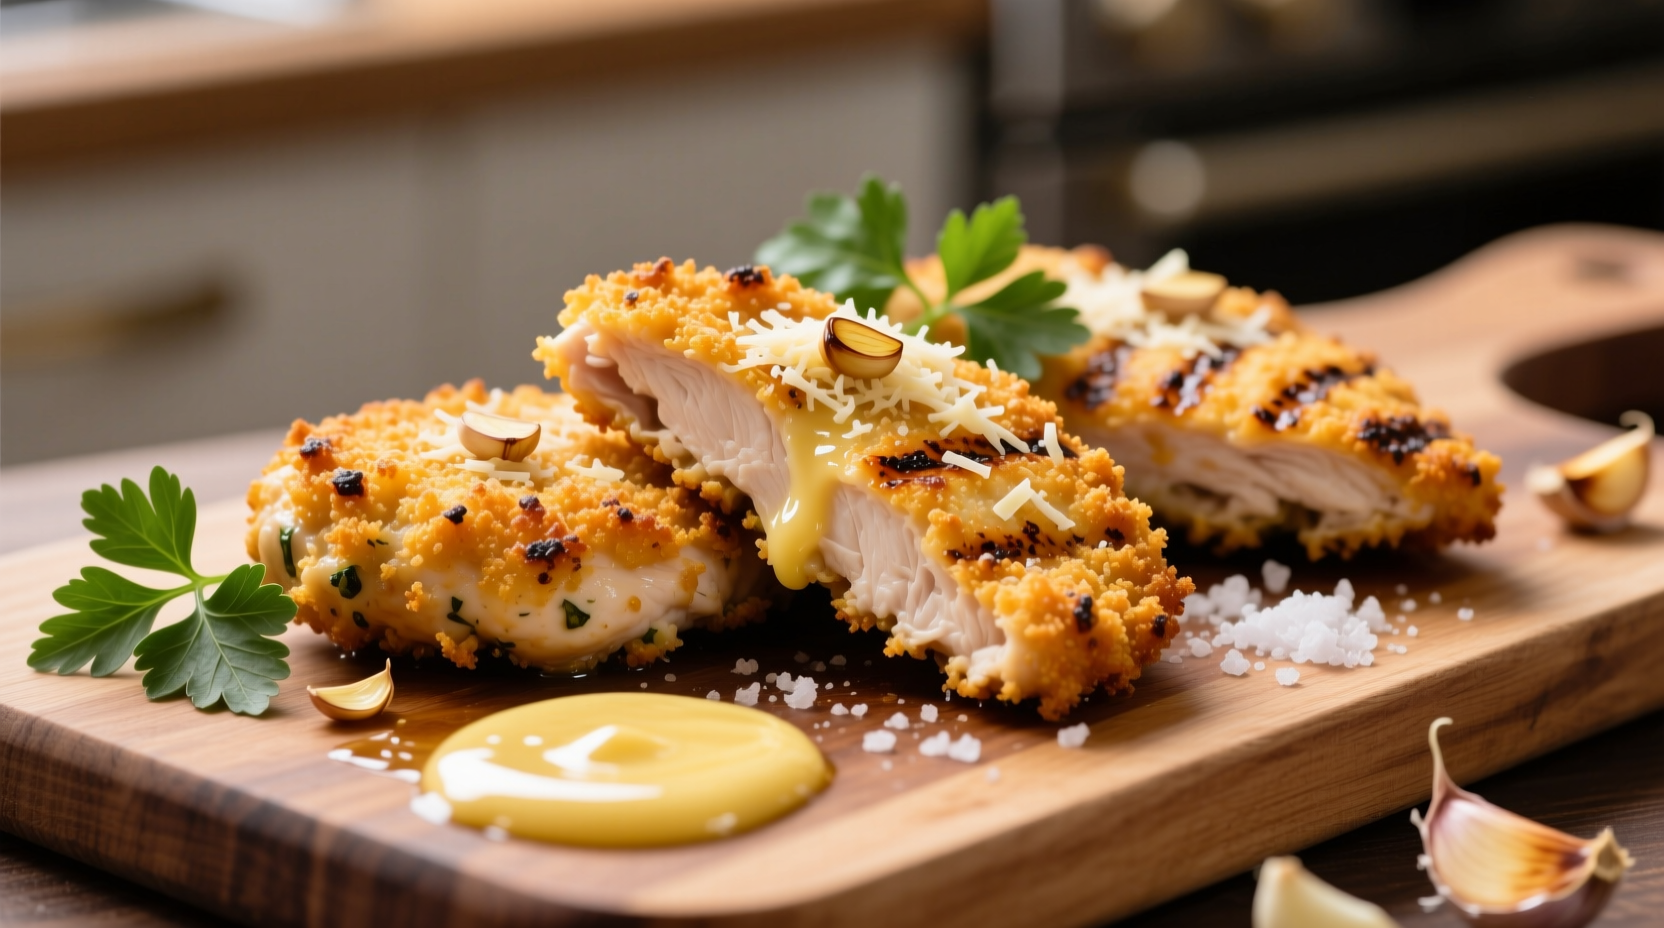
- Dredge chicken: flour → egg wash → parmesan mixture, pressing firmly
- Cook 5-6 minutes per side until golden brown and internal temperature reaches 165°F
Finishing Touches: Flavor Amplification
- Rest chicken 5 minutes on wire rack (prevents soggy bottom)
- Finish with lemon zest and fresh parsley for brightness
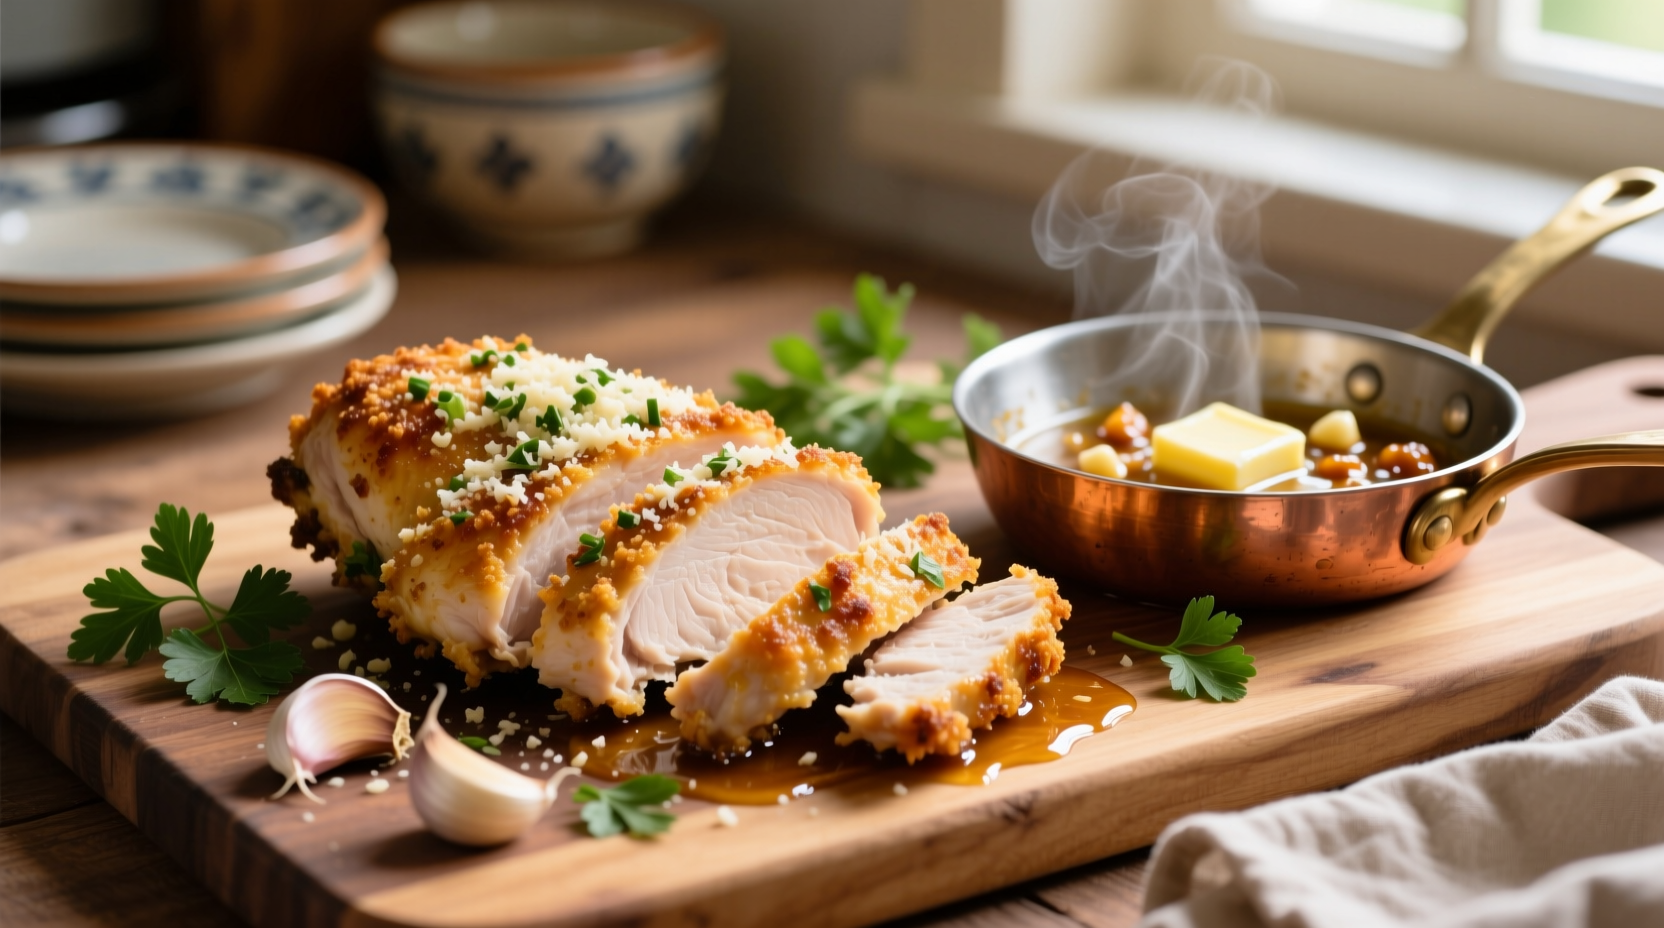
- Serve immediately with garlic-parmesan pan sauce (recipe below)
Avoid These 3 Costly Mistakes
- Mistake: Skipping the toast step for breadcrumbs
Solution: Toasted panko creates complex flavor compounds that raw crumbs lack - Mistake: Overcrowding the skillet
Solution: Cook in batches—crowding drops oil temperature, causing steaming instead of frying - Mistake: Using pre-grated parmesan
Solution: Freshly grated melts properly and browns beautifully; pre-grated contains cellulose that burns
Creating the Perfect Pan Sauce
Don't waste those flavorful browned bits! After removing chicken, add 2 tbsp butter to the skillet. Once melted, stir in 3 minced garlic cloves until fragrant (30 seconds). Deglaze with ½ cup chicken broth, scraping up browned bits. Reduce by half, then stir in ¼ cup grated parmesan until smooth. Finish with 1 tbsp lemon juice for balanced acidity.
Serving & Pairing Recommendations
Garlic Parmesan Chicken shines when paired with complementary textures and flavors:
- Best starch: Creamy polenta or garlic mashed potatoes (absorbs pan sauce beautifully)
- Perfect vegetable: Roasted asparagus or sautéed spinach with lemon
- Wine pairing: Medium-bodied white like Pinot Grigio or unoaked Chardonnay
Storage & Reheating Guidelines
According to USDA Food Safety guidelines, cooked chicken should be refrigerated within 2 hours. For optimal texture:
- Refrigeration: Store in airtight container for up to 3 days
- Reheating: Oven method only—375°F for 10-12 minutes on wire rack (never microwave)
- Freezing: Wrap individually in parchment, then foil; freeze up to 2 months
Variations for Dietary Needs
- Gluten-free: Substitute almond flour for all-purpose flour and gluten-free panko
- Dairy-free: Use nutritional yeast instead of parmesan (1:1 ratio)
- Low-carb: Replace breadcrumbs with crushed pork rinds (3:1 ratio)


 浙公网安备
33010002000092号
浙公网安备
33010002000092号 浙B2-20120091-4