
Master Garlic Farming: From Planting to Perfect Harvest
Successful garlic farming combines precise timing with soil science. Unlike many crops, garlic requires fall planting for optimal bulb development. This comprehensive guide walks through each phase of garlic cultivation with actionable techniques verified by agricultural research institutions.
Your Complete Garlic Growing Timeline
Understanding garlic's growth cycle prevents common mistakes that reduce bulb size. The University of California Cooperative Extension confirms garlic needs 8-9 months from planting to harvest, with critical phases determining final quality:
| Season | Key Activities | Critical Timing |
|---|---|---|
| Fall (Sept-Nov) | Plant cloves, apply mulch | 6-8 weeks before first frost |
| Winter | Maintain mulch layer | Keep soil covered during freezes |
| Spring | Fertilize, remove scapes | When shoots reach 6 inches |
| Summer | Monitor harvest readiness | When 40% of leaves yellow |
This timeline reflects research from Cornell University's College of Agriculture, which shows fall-planted garlic develops stronger root systems than spring-planted crops, leading to 30% larger bulbs on average.
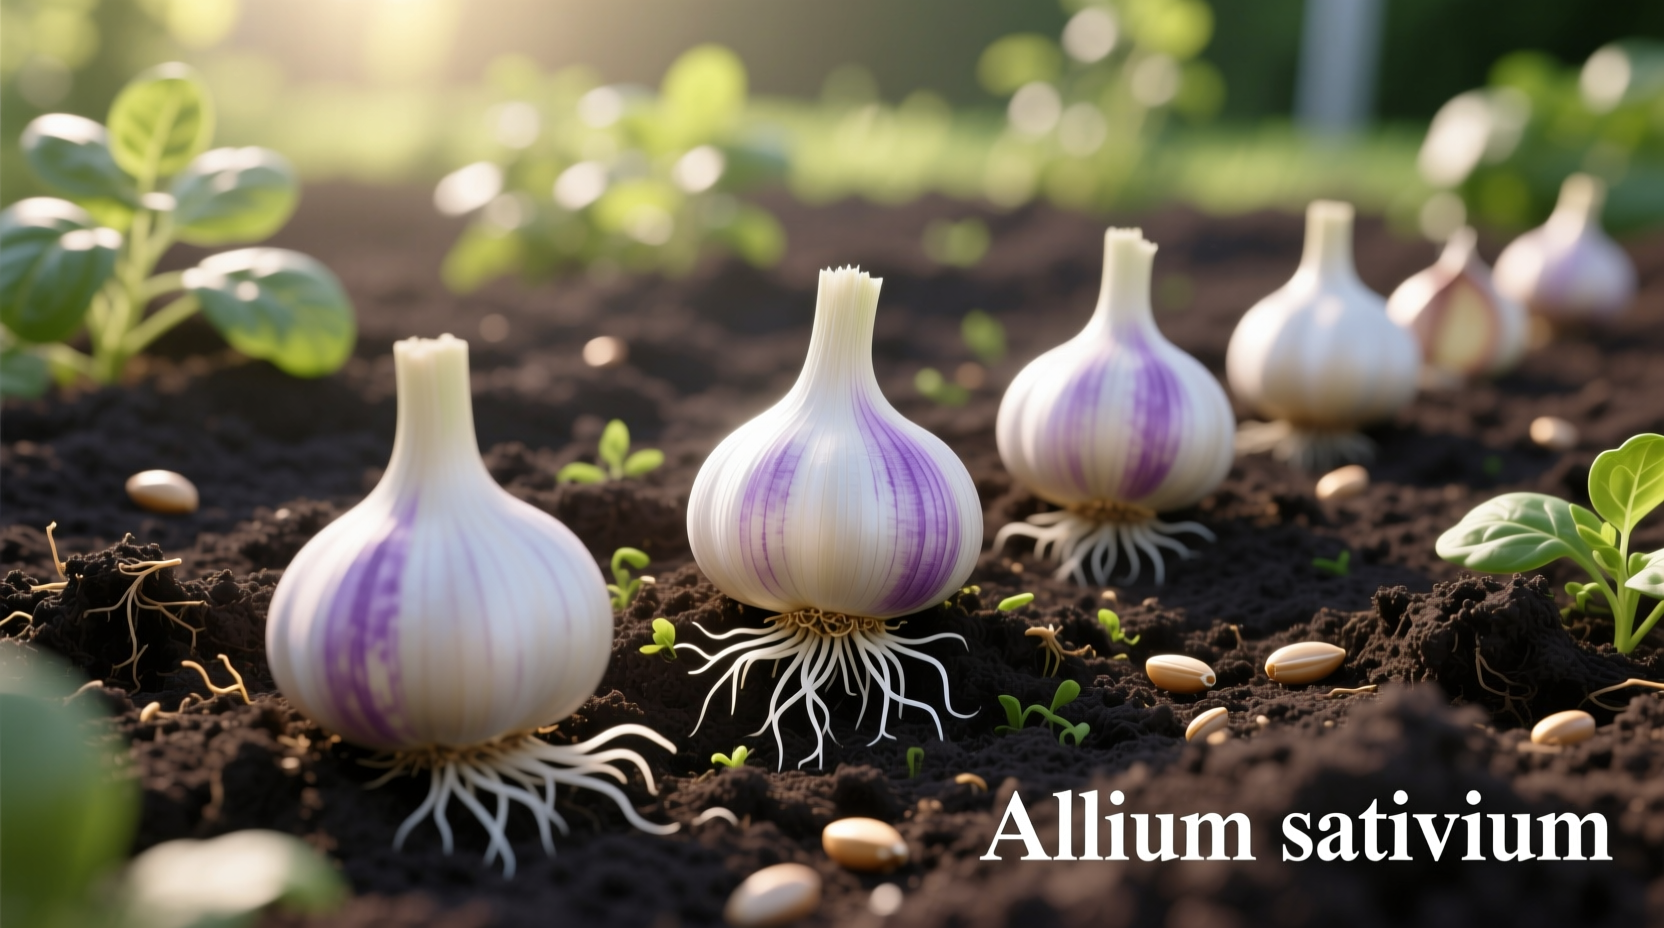
Choosing Your Garlic Variety: Hardneck vs Softneck
Selecting the right garlic type determines your success. USDA Agricultural Research Service identifies two main categories with distinct growing requirements:
- Hardneck varieties (Rocambole, Porcelain): Thrive in cold climates (USDA zones 1-6), produce edible scapes, store 4-6 months
- Softneck varieties (Silverskin, Artichoke): Better for warmer regions (zones 7-10), longer storage (9-12 months), no scapes
For northern growers, German Extra Hardy (a hardneck type) delivers reliable performance according to USDA zone recommendations. Southern farmers achieve best results with Inchelium Red (softneck), which tolerates milder winters.
Soil Preparation: The Foundation of Quality Bulbs
Garlic demands specific soil conditions that many beginners overlook. Penn State Extension research shows improper soil preparation causes 60% of garlic farming failures. Follow these evidence-based steps:
- Test soil pH 4-6 weeks before planting (ideal range: 6.0-7.5)
- Amend with 3 inches of compost and 5-10-10 fertilizer
- Create raised beds 6 inches high for optimal drainage
- Apply 3-4 inches of straw mulch after planting
"Garlic roots struggle in compacted soil," explains Dr. Mary Ann Perry of Rutgers Agricultural Research. "Raised beds improve drainage while maintaining consistent moisture levels critical for bulb formation."
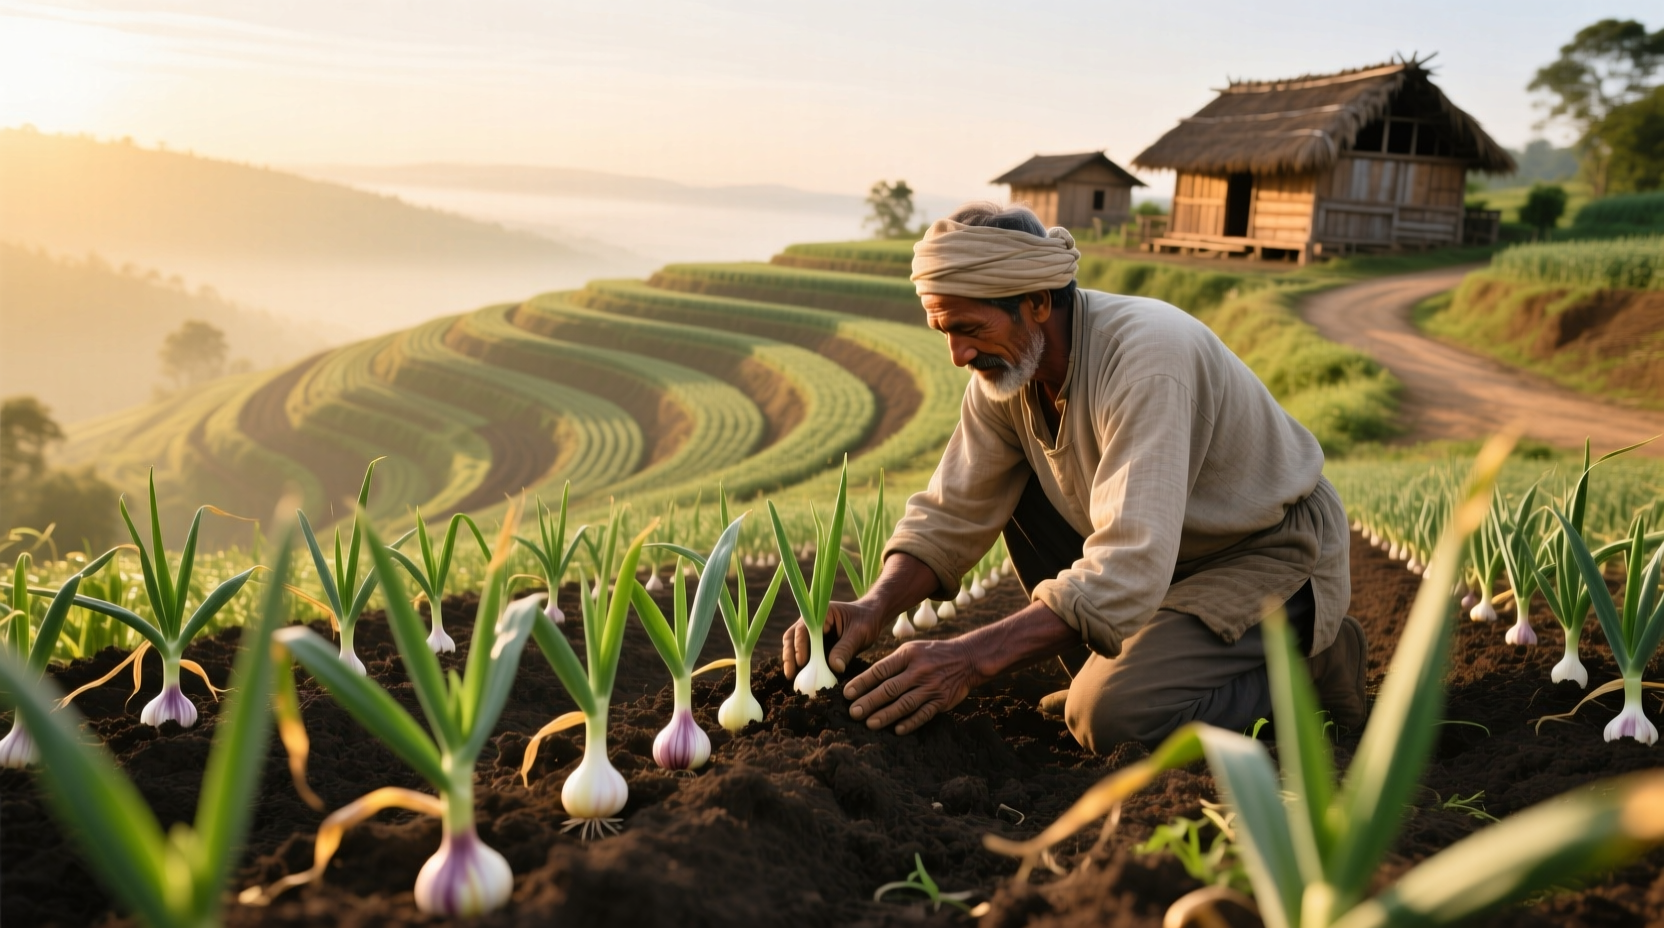
Planting Techniques That Maximize Yield
Proper planting technique directly impacts bulb size and quality. Follow these research-verified methods:
- Separate cloves from bulb 24 hours before planting
- Plant cloves 2 inches deep, pointed end up
- Space plants 4-6 inches apart in rows 12-18 inches apart
- Water thoroughly after planting
Research from Oregon State University shows planting depth affects bulb development significantly. Cloves planted too shallowly (less than 1.5 inches) produce smaller bulbs with higher disease susceptibility, while those planted too deep (over 3 inches) show delayed emergence.
Seasonal Care: Watering and Fertilizing Schedule
Maintain consistent care throughout the growing season with this evidence-based schedule:
Winter Maintenance
Keep mulch layer intact during freezes. Remove excess snow to prevent rot. No additional watering needed.
Spring Care
- Apply nitrogen fertilizer when shoots reach 6 inches
- Remove flower stalks (scapes) from hardneck varieties
- Water 1 inch per week during active growth
Summer Preparation
Reduce watering 2-3 weeks before harvest to improve storage quality. Stop watering completely when lower leaves begin yellowing.
Harvesting and Curing: Preserving Your Crop
Timing your harvest correctly prevents common storage issues. The University of Maine Cooperative Extension recommends harvesting when:
- 5-6 leaves remain green (40% yellowing)
- Bulb wrappers are tight and dry
- Individual cloves fill their skins
Follow this professional curing process:
- Dig carefully with garden fork to avoid bulb damage
- Brush off excess soil (don't wash)
- Cure in shaded, well-ventilated area for 3-4 weeks
- Trim roots and tops when completely dry
"Proper curing doubles storage life," states the USDA National Agricultural Library. "Bulbs cured at 75-80°F with 70-80% humidity develop protective outer layers that prevent mold and sprouting."
Troubleshooting Common Garlic Farming Issues
Address these frequent problems with research-backed solutions:
White Rot Prevention
This fungal disease causes yellowing leaves and mushy bulbs. Prevent with 4-year crop rotation and soil solarization. The University of California reports infected soil remains contagious for 20+ years.
Nematode Control
Use certified disease-free seed stock. Plant marigolds as companion plants to reduce nematode populations by 50% according to USDA studies.
Poor Bulb Development
Causes include late planting, insufficient nutrients, or premature scape removal. Plant cloves 6-8 weeks before first frost and maintain consistent moisture during bulbing phase (May-June).
Storage Techniques for Long-Term Quality
Proper storage maintains garlic quality for months. Follow these evidence-based methods:
- Store at 55-65°F with 60-70% humidity
- Use mesh bags or open containers for air circulation
- Check monthly for sprouting or mold
- Hardneck varieties last 4-6 months, softneck 9-12 months
The USDA Agricultural Marketing Service confirms storing garlic below 40°F triggers premature sprouting, while temperatures above 70°F accelerate drying and quality loss.


 浙公网安备
33010002000092号
浙公网安备
33010002000092号 浙B2-20120091-4