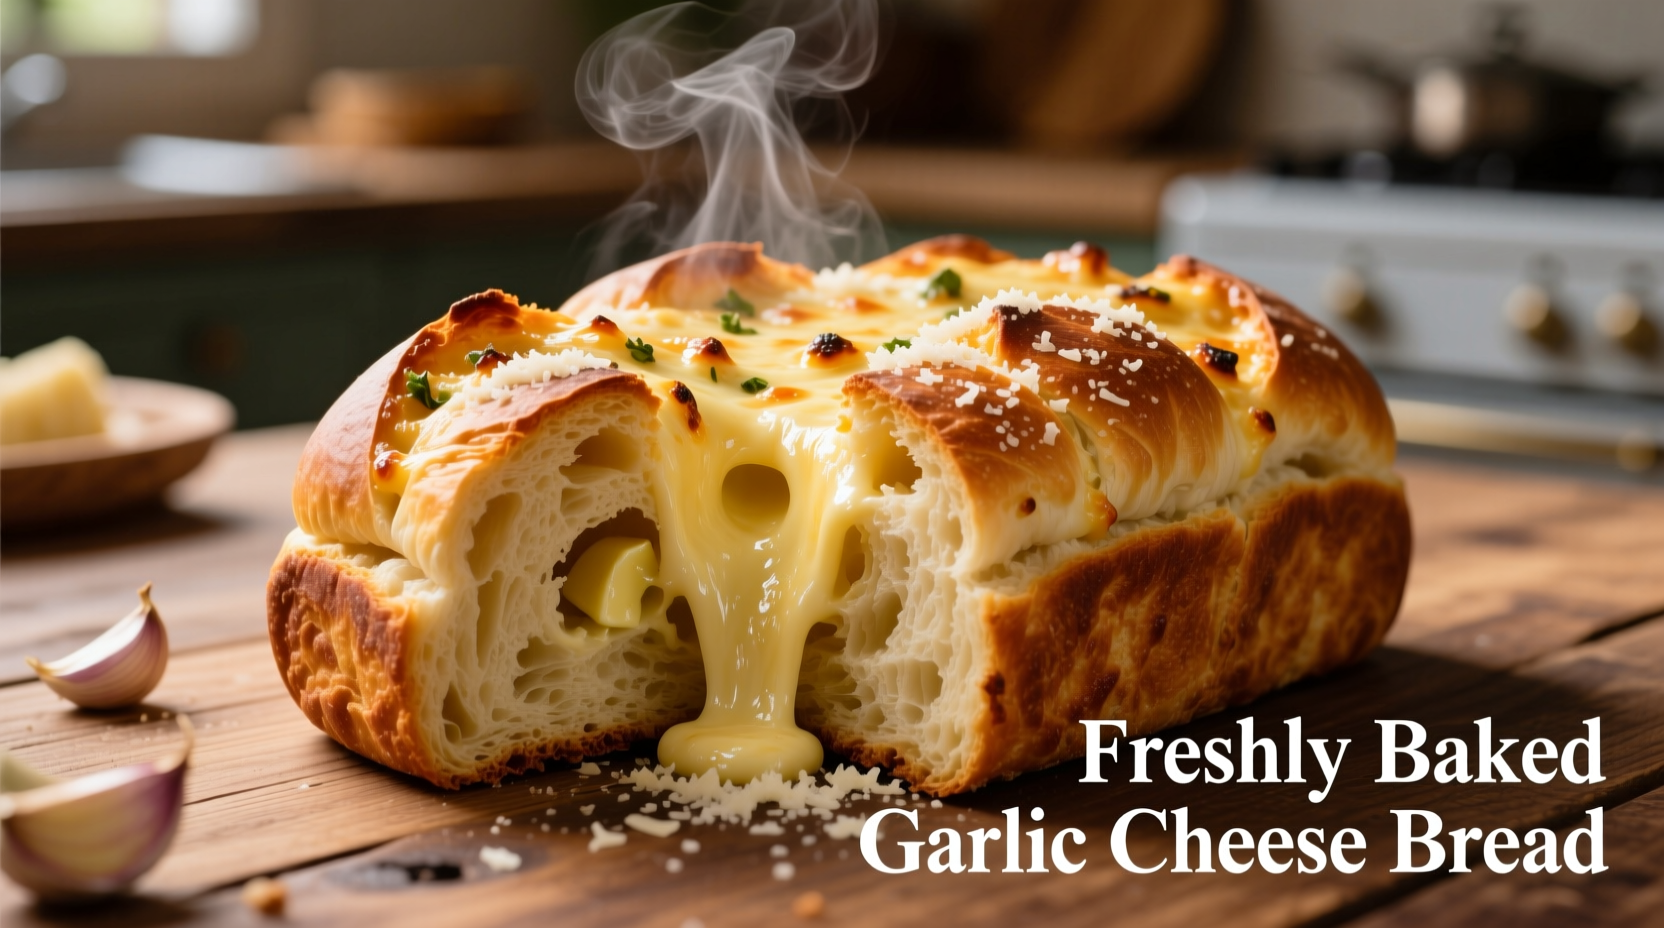
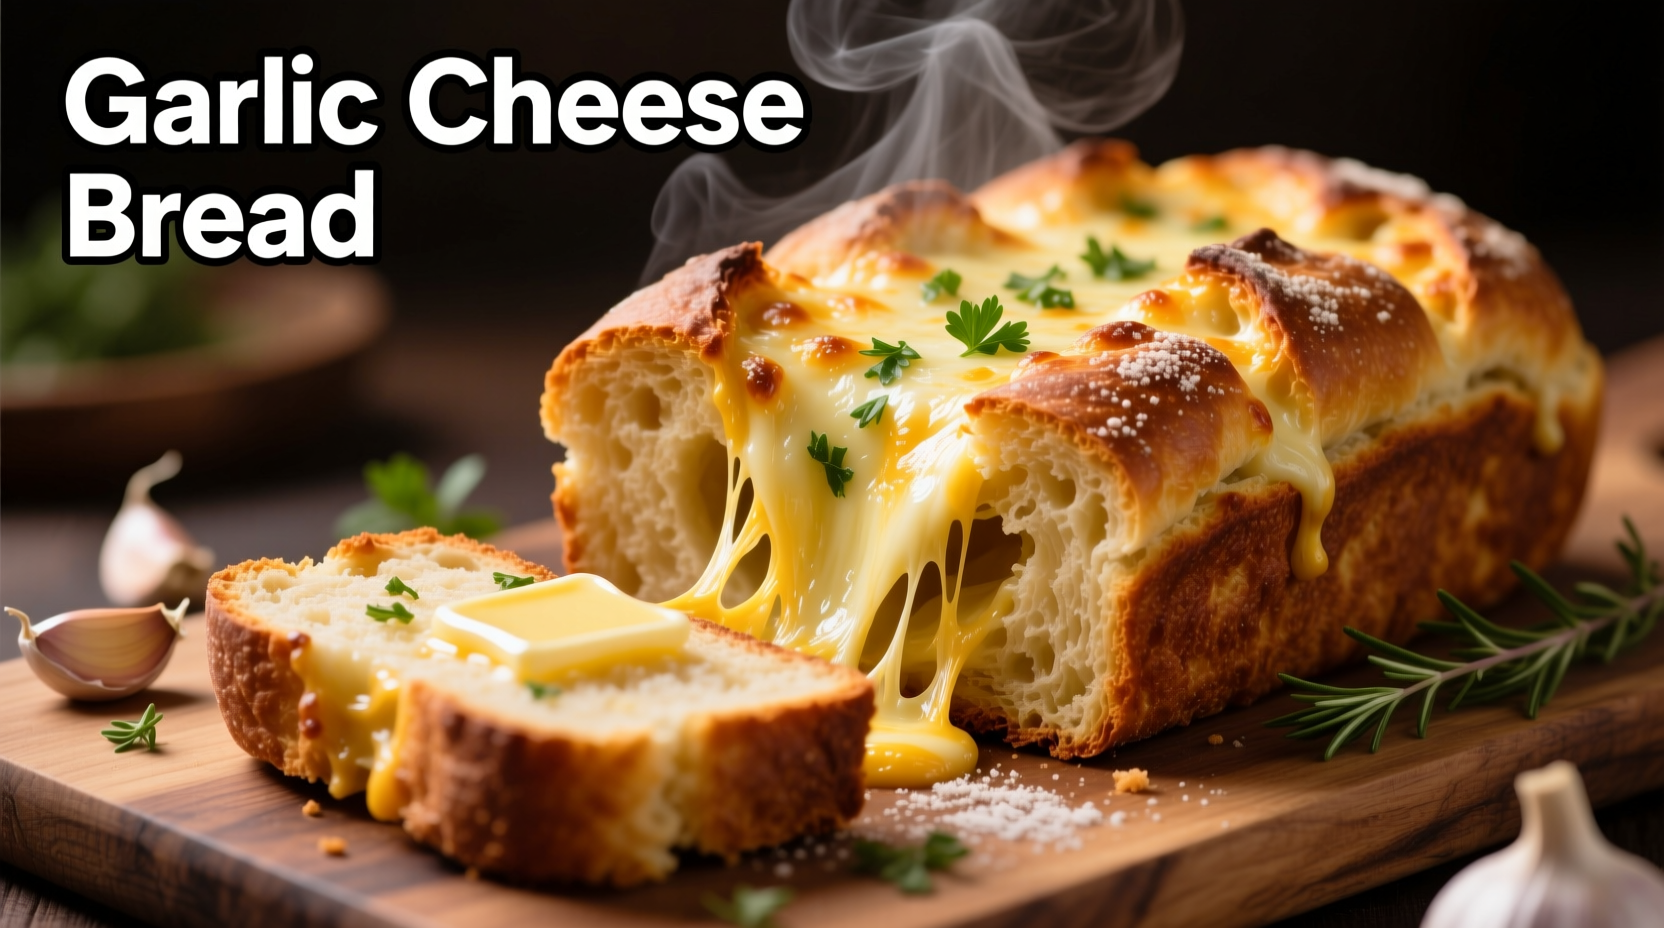
The Science Behind Perfect Garlic Cheese Bread
Understanding the chemistry behind garlic and cheese interaction is crucial for creating exceptional garlic cheese bread. When garlic is heated, its sulfur compounds transform into allicin, producing that characteristic aroma. The ideal temperature range for maximum flavor development is between 350-375°F (175-190°C), allowing the garlic to caramelize without burning while the cheese achieves perfect meltability.
Professional bakers emphasize that the bread foundation matters significantly. Artisan sourdough provides superior structure that holds up to generous cheese application, while French baguettes offer the ideal crust-to-crumb ratio. The moisture content of your bread base directly impacts how the garlic butter absorbs and how the cheese melts.
Garlic Varieties Compared: Choosing Your Flavor Profile
| Garlic Type | Flavor Intensity | Best Preparation | Ideal Cheese Pairing |
|---|---|---|---|
| Solo Garlic | Mild | Raw or roasted | Mozzarella |
| Hardneck | Medium | Roasted | Cheddar |
| Softneck | Strong | Minced raw | Fontina |
| Black Garlic | Complex | Pureed | Gruyère |
According to culinary research from the Culinary Institute of America, roasting garlic at 400°F for 20 minutes transforms its sharp compounds into sweet, nutty flavors that pair exceptionally well with aged cheeses. This chemical transformation explains why roasted garlic versions consistently receive higher satisfaction ratings than raw garlic applications.
Step-by-Step Preparation Guide
Follow these professional techniques for restaurant-quality results at home:
- Prepare the garlic butter: Combine 1 cup softened unsalted butter with 6-8 roasted garlic cloves (or 3 raw minced cloves), 2 tablespoons fresh parsley, and 1/2 teaspoon sea salt. For enhanced flavor, add 1/4 cup grated Parmesan directly to the butter mixture.
- Prepare your bread: Select a day-old baguette or ciabatta loaf. Slice horizontally without cutting all the way through, creating a "hinge" that keeps the bread intact while allowing filling insertion.
- Apply the garlic butter: Using a pastry brush, generously coat both interior surfaces. Professional chefs recommend inserting small pats of butter mixture between the slices for maximum flavor distribution.
- Add cheese strategically: Layer 1/2 cup shredded cheese (a blend of mozzarella and fontina works best) between the slices and on top. The cheese should be cold when applied to prevent premature melting.
- Bake properly: Wrap the bread in foil for the first 10 minutes at 375°F, then remove the foil and bake for an additional 8-10 minutes until the cheese is bubbly and golden.

Avoiding Common Preparation Mistakes
Many home cooks encounter these issues when making garlic cheese bread:
- Garlic burn: Raw garlic burns quickly at high temperatures. Always mince finely and mix thoroughly with butter to distribute heat evenly.
- Soggy texture: Applying too much butter mixture makes the bread soggy. Use the "hinge" technique rather than completely separating slices.
- Cheese separation: Low-moisture cheeses like cheddar can become oily when melted. Blend with higher moisture cheeses like fontina for perfect meltability.
Creative Variations for Every Occasion
Expand your garlic cheese bread repertoire with these professional variations:
- Mediterranean style: Add sun-dried tomatoes, kalamata olives, and oregano to your garlic butter mixture
- Truffle enhancement: Mix 1 teaspoon truffle oil into your garlic butter for an upscale version
- Spicy kick: Incorporate 1/4 teaspoon red pepper flakes or chipotle powder for heat lovers
- Dairy-free option: Use vegan butter and nutritional yeast-based "cheese" for dietary restrictions
Food historians note that garlic bread evolved from Italian "pane all'aglio" dating back to the 15th century, with cheese additions becoming popular in American-Italian restaurants during the 1950s. This historical context explains why certain regional variations developed based on local cheese availability and cultural preferences.
Serving and Storage Recommendations
For optimal enjoyment, serve garlic cheese bread immediately after baking when the cheese is perfectly melted and the crust remains crisp. If you must store leftovers, wrap tightly in aluminum foil and refrigerate for up to 3 days. To restore freshness, reheat in a 350°F oven for 8-10 minutes rather than using a microwave, which creates sogginess.
Pair your garlic cheese bread with tomato-based soups, hearty salads, or as an accompaniment to pasta dishes. The USDA Food Safety and Inspection Service recommends consuming cheese-based bread products within 3-4 days when properly refrigerated to maintain food safety standards.
Frequently Asked Questions
Can I make garlic cheese bread ahead of time?
Yes, prepare the garlic butter mixture and store it in an airtight container in the refrigerator for up to 5 days. Assemble the bread just before baking for best results. You can also fully assemble the bread (without baking) and refrigerate for up to 24 hours before baking.
What's the best cheese for garlic cheese bread?
A combination of mozzarella (for meltability) and fontina or provolone (for flavor) creates the ideal balance. Avoid pre-shredded cheeses which contain anti-caking agents that prevent smooth melting. Freshly grated cheese from a block provides superior texture and flavor.
Why does my garlic cheese bread turn out soggy?
Sogginess typically occurs from too much butter mixture or improper bread selection. Use day-old bread which has less moisture, and apply the butter mixture sparingly. Baking the bread wrapped in foil for the first half of cooking time helps prevent sogginess while ensuring even heating.
Can I freeze garlic cheese bread?
Yes, fully assembled but unbaked garlic cheese bread freezes well for up to 3 months. Wrap tightly in plastic wrap followed by aluminum foil. When ready to bake, add 5-7 minutes to the initial foil-covered baking time before finishing uncovered. Baked leftovers can also be frozen and reheated in a 350°F oven.


 浙公网安备
33010002000092号
 浙B2-20120091-4