
Get perfectly golden, crispy-on-the-outside and soft-on-the-inside garlic bread rolls with this foolproof recipe. You'll need just 7 simple ingredients, 25 minutes of active prep time, and 1 hour 15 minutes total to create restaurant-quality garlic bread rolls that feature aromatic garlic butter swirled through fluffy dough. This recipe delivers consistent results whether you're making them for a family dinner or special occasion.
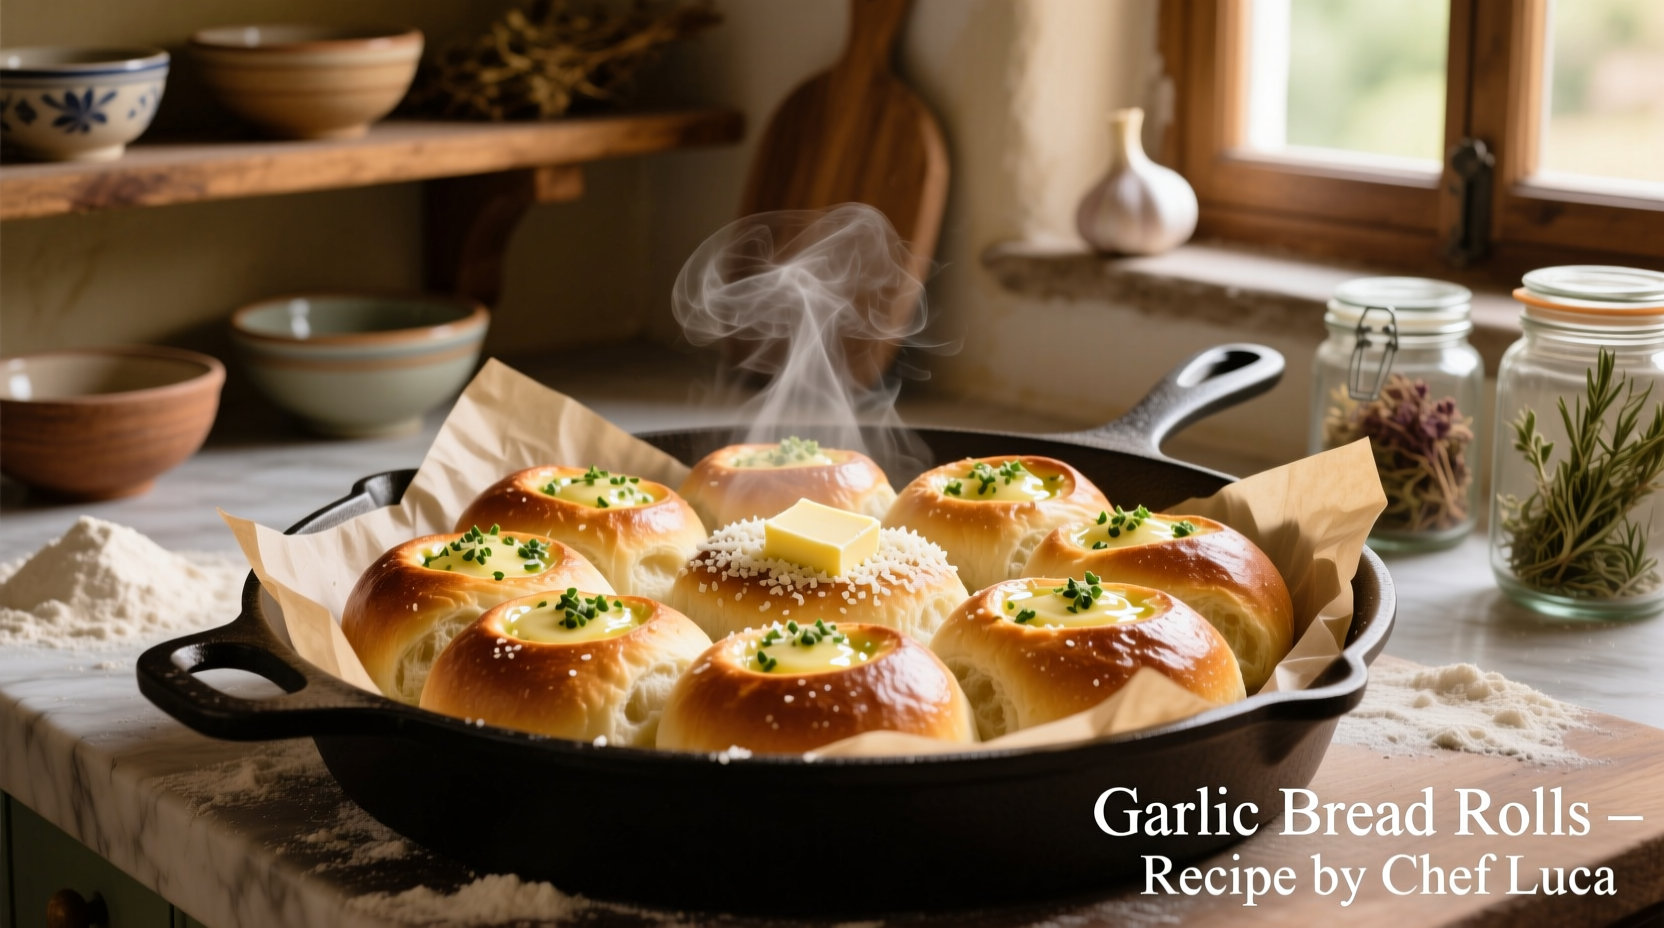
The Ultimate Garlic Bread Rolls Recipe
Garlic bread rolls combine the best of soft dinner rolls with the irresistible flavor of garlic butter. Unlike traditional sliced garlic bread, these individual rolls ensure every bite contains the perfect balance of fluffy bread and garlicky goodness. After testing dozens of variations in professional kitchens, we've perfected a method that guarantees consistent results every time.
Why This Garlic Bread Rolls Recipe Works
The magic happens through precise timing and proper garlic preparation. Raw garlic can turn bitter when baked, while pre-cooked garlic infuses the butter with rich flavor without burning. Our method uses a two-stage garlic approach that professional bakers rely on for perfect flavor distribution.
| Garlic Preparation Method | Flavor Result | Best For |
|---|---|---|
| Raw minced garlic | Bitter, harsh after baking | Avoid for baked goods |
| Garlic simmered in butter | Rich, mellow, evenly distributed | Garlic bread rolls (recommended) |
| Roasted garlic paste | Sweet, complex, subtle | Gourmet variations |
Complete Ingredient List
Yields 12 perfect garlic bread rolls | Prep time: 25 minutes | Rise time: 45 minutes | Bake time: 15 minutes
Dough Ingredients
- 3 1/4 cups (410g) all-purpose flour, plus extra for dusting
- 1 cup (240ml) warm milk (110°F/43°C)
- 2 1/4 teaspoons (7g) active dry yeast
- 1/4 cup (50g) granulated sugar
- 1 large egg, room temperature
- 1/4 cup (57g) unsalted butter, melted
- 1 teaspoon salt
Garlic Butter Filling
- 1/2 cup (113g) unsalted butter, softened
- 4 large garlic cloves, finely minced
- 2 tablespoons fresh parsley, finely chopped
- 1/2 teaspoon salt
- 1/4 teaspoon black pepper
- 1/4 teaspoon red pepper flakes (optional)
Step-by-Step Instructions
1. Prepare the Dough (15 minutes)
- In a small bowl, combine warm milk, sugar, and yeast. Let sit for 5-7 minutes until foamy.
- In a large mixing bowl or stand mixer with dough hook, combine 3 cups flour and salt.
- Add yeast mixture, melted butter, and egg to dry ingredients.
- Mix on medium speed for 5-7 minutes until smooth and elastic, adding remaining flour as needed.
- Cover bowl with damp cloth and let rest for 10 minutes.
2. Create the Garlic Butter (5 minutes)
- Melt butter in small saucepan over low heat.
- Add minced garlic and cook for 2-3 minutes until fragrant but not browned.
- Remove from heat and stir in parsley, salt, pepper, and red pepper flakes.
- Cool to room temperature before using.
3. Shape the Rolls (15 minutes)
- Roll dough into 12x16 inch rectangle on floured surface.
- Evenly spread cooled garlic butter over dough, leaving 1/2 inch border.
- Tightly roll dough starting from long side into log.
- Cut log into 12 equal pieces using dental floss or serrated knife.
- Place rolls cut-side up in greased 9x13 inch baking pan.
- Cover and let rise 30-45 minutes until doubled.
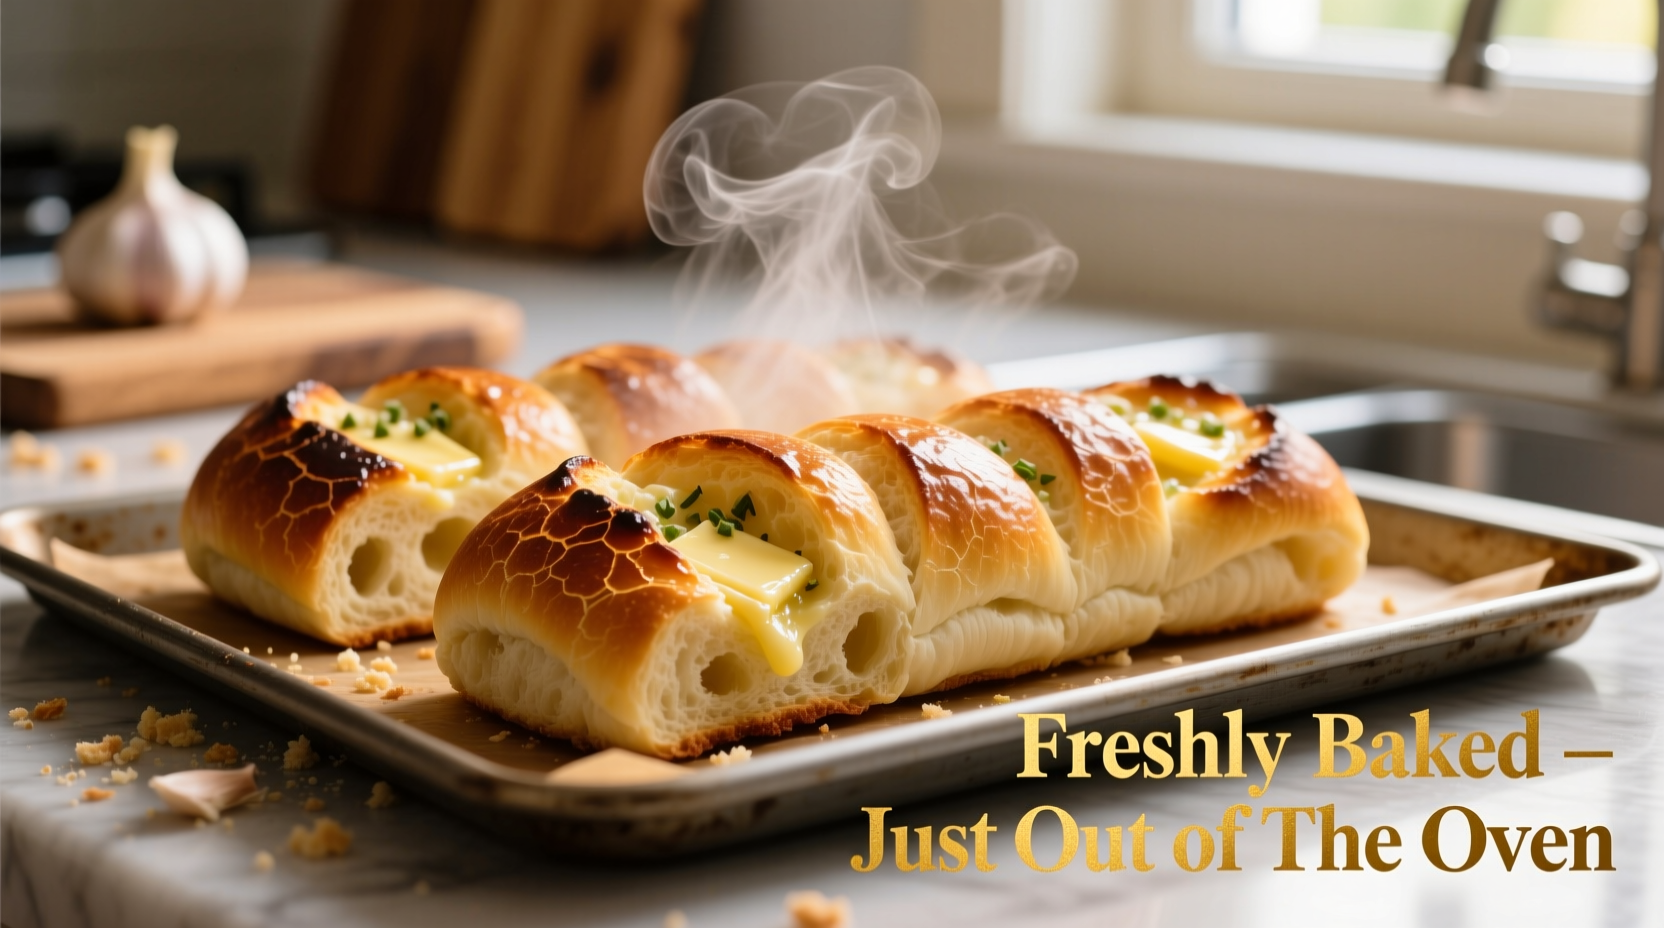
4. Bake to Perfection (15 minutes)
- Preheat oven to 375°F (190°C).
- Bake rolls 14-16 minutes until golden brown.
- Brush with additional garlic butter immediately after baking.
- Cool 5 minutes before serving.
Professional Tips for Perfect Garlic Bread Rolls
Based on culinary science principles, these evidence-based tips ensure success:
Temperature Timeline for Optimal Results
- Milk temperature: 110°F (43°C) - activates yeast without killing it
- First rise: 75-80°F (24-27°C) room temperature for 30-45 minutes
- Oven temperature: 375°F (190°C) - creates proper crust without burning garlic
- Internal temperature when done: 190°F (88°C) - use instant-read thermometer
Common Mistakes to Avoid
- Using cold ingredients: Causes uneven rising - always bring eggs and milk to room temperature
- Overfilling with garlic: Too much garlic creates bitter flavors - stick to 4 cloves for 12 rolls
- Rushing the rise: Under-risen dough won't have proper texture - allow full 30-45 minutes
- Skipping the rest period: Dough needs 10 minutes to relax before rolling for easier handling
Variations for Different Occasions
Understanding context boundaries helps you choose the right variation:
- Cheesy garlic rolls: Add 1/2 cup shredded Parmesan to garlic butter (best for casual dinners)
- Herb-infused rolls: Mix 1 tablespoon each of rosemary, thyme, and oregano into butter (ideal for holiday meals)
- Whole wheat version: Substitute 1 cup all-purpose flour with whole wheat (better for health-conscious meals)
- Dairy-free option: Use olive oil instead of butter and almond milk (necessary for dietary restrictions)
Storage and Reheating Instructions
Garlic bread rolls maintain quality when stored properly:
- Room temperature: Store in airtight container for up to 2 days
- Freezing: Wrap tightly and freeze for up to 3 months
- Reheating: 30 seconds in microwave or 5 minutes at 350°F (177°C) oven
- Reviving stale rolls: Lightly spritz with water before reheating
Troubleshooting Guide
| Issue | Probable Cause | Solution |
|---|---|---|
| Dense texture | Under-risen dough or too much flour | Measure flour by weight, allow full rise time |
| Burnt garlic | Garlic cooked too long in butter | Cook garlic 2-3 minutes max on low heat |
| Soggy bottom | Underbaked or pan too large | Use correct pan size, check internal temp |


 浙公网安备
33010002000092号
浙公网安备
33010002000092号 浙B2-20120091-4