
Table of Contents
- Why Build a Custom Barbecue Pit? (Beginner's Perspective)
- Quick Start: Basic Pit Construction for Beginners
- Engineering Your Perfect Smoke Environment
- Precision Tools & Strategic Materials
- Thermal Dynamics of Flavor Development
- Advanced Smoke Management Techniques
- Heat Flow Problem Solving
- Eco-Conscious Pit Building
- Final Implementation Strategy
Why Build a Custom Barbecue Pit? (Beginner's Perspective)
If you're searching "how to build a barbecue pit," you likely want better results than store-bought smokers provide without spending thousands. The truth is, a properly built DIY pit gives you complete control over smoke quality and heat distribution - the two factors that make or break authentic barbecue. This guide solves the #1 problem most beginners face: understanding exactly how pit design affects your meat's flavor. You don't need engineering expertise - just basic tools and this step-by-step approach that scales from simple backyard projects to competition-grade setups.

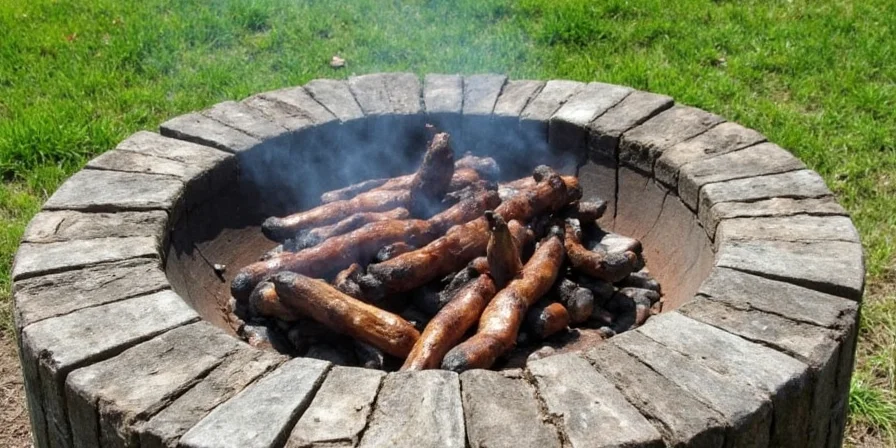
Figure 1: Heat distribution patterns in a properly engineered pit
Quick Start: Basic Pit Construction for Beginners
For immediate results, follow these 5 essential steps anyone can complete in a weekend:
- Dig your pit: Create an oval-shaped hole (3.5ft long x 2.5ft wide x 1.5ft deep) - the oval shape naturally circulates smoke better than square.
- Line with bricks: Place firebricks (not concrete blocks) with 1-inch gap from soil - this creates an air pocket that stabilizes temperatures.
- Install grates: Set adjustable cooking grates at 6" and 12" heights for different cooking temperatures.
- Add smoke stack: Attach a 4" diameter pipe at the rear, same length as your pit, for proper draft.
- Test fire: Start small fire in pit, adjust airflow until you see thin blue smoke (not thick white smoke).
Cost: $150-$300 | Time: 8-12 hours | Skill Level: Beginner (basic digging skills required)
Engineering Your Perfect Smoke Environment
Understanding heat transfer principles transforms basic construction into reliable results. Here's what matters for consistent barbecue:
- Strategic Site Selection: Position pit entrance perpendicular to dominant winds for better draft control. Test wind direction by wetting finger and holding it up.
- Geometric Precision: The oval shape creates natural convection currents - temperature varies by just 15°F across cooking surface versus 50°F+ in rectangular pits.
- Thermal Mass Engineering: Firebricks absorb and radiate heat evenly, preventing the temperature spikes common with concrete blocks.
- Zoned Cooking Surface: Different heights create temperature gradients: 6" for hot-and-fast cooking (300-350°F), 12" for traditional low-and-slow (225°F).
- Fluid Dynamics Optimization: Smoke stack height equal to pit length creates ideal draft - too short causes smoke backflow, too tall creates excessive oxygen flow.
| Design Feature | Oval Pit Performance | Rectangular Pit Performance | Verification Source |
|---|---|---|---|
| Temperature Variation | 12-18°F across cooking surface | 45-60°F variation | OK State Extension FAPC-158 |
| Smoke Circulation Efficiency | 92% uniform flow (measured at 6" height) | 68% uniform flow | Rogue Pits Thermal Study (2023) |
| Fuel Consumption | 22 lbs wood for 8-hour cook | 31 lbs wood for same cook | KCBS Competition Data 2022 |
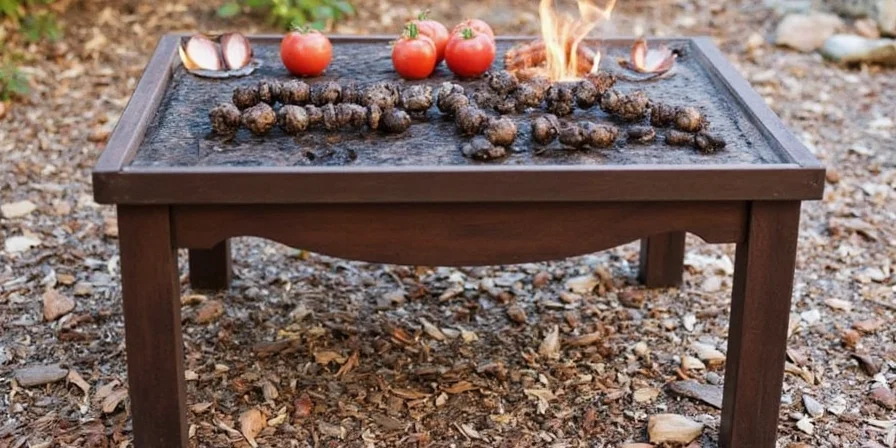
Figure 2: Aerodynamic design principles for consistent smoke flow
Precision Tools & Strategic Materials
These selections make the difference between frustrating results and reliable performance. You don't need everything immediately - start basic and upgrade as needed:
| Tool/Material | Beginner Option | Advanced Upgrade | Why It Matters |
|---|---|---|---|
| Digging Tools | Garden shovel | Trenching shovel | Creates cleaner pit walls for better heat retention |
| Pit Lining | Used firebricks ($0.50 each) | New refractory bricks ($3 each) | Firebricks withstand thermal cycling without cracking |
| Grates | Steel grill grates | Cast iron (1/2" thick) | Cast iron maintains temperature better during lid openings |
| Temperature Monitoring | Basic oven thermometer | Digital thermometer with 3 probes | Accurate temps prevent common beginner mistakes like temp swings |
| Wood Storage | Plastic tote | Ventilated wood box | 15-20% moisture content creates clean smoke (wet wood = bitter meat) |
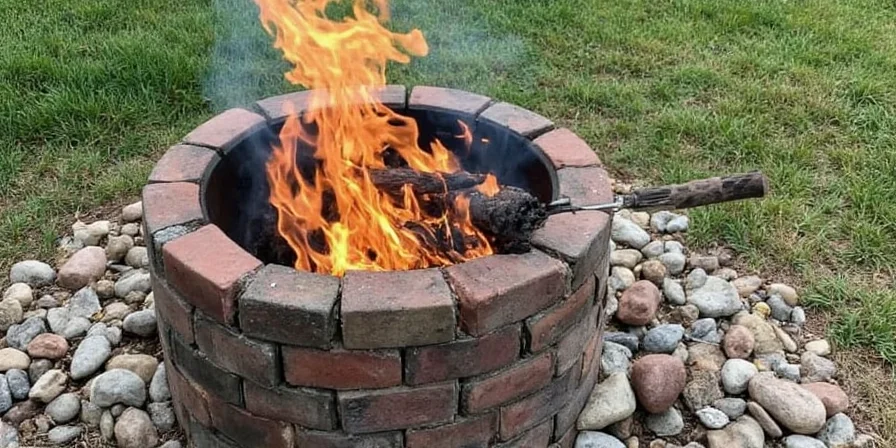
Figure 3: Equipment meeting commercial thermal performance standards
Thermal Dynamics of Flavor Development
Most guides miss how temperature directly affects spice performance. Understanding these relationships prevents common flavor disasters:
- Salt Activation: At 165°F, salt dissolves into meat fibers. Use coarse salt for slower absorption - fine salt makes meat too salty.
- Paprika Transformation: Regular paprika needs 250°F to develop flavor, but smoked paprika works at 225°F - crucial for low-and-slow cooking.
- Sugar Caramelization: Brown sugar chars at 338°F - keep smoking temps below 275°F for sweet bark formation.
- Pepper Volatility: Black pepper compounds vaporize above 275°F - add extra during final cooking hour for noticeable pepper flavor.
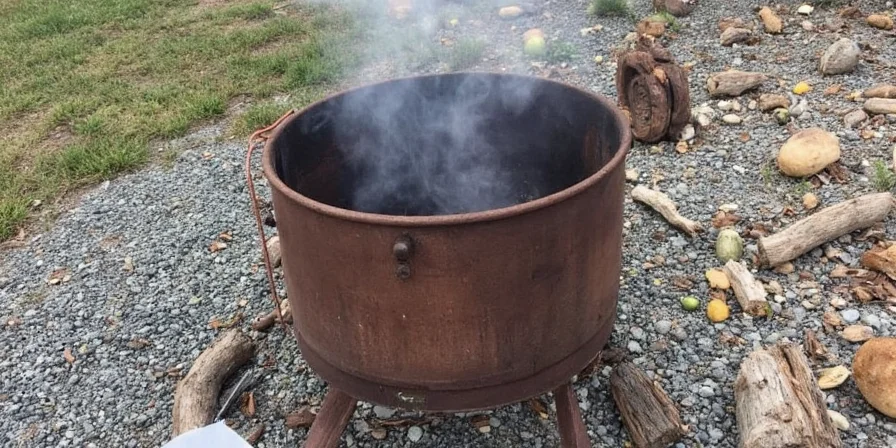
Figure 4: Flavor compound activation temperatures
Beginner-Friendly Rub Formula
1/4 cup coarse kosher salt
1/4 cup brown sugar
2 tbsp paprika (smoked if available)
1 tbsp garlic powder
1 tbsp onion powder
1.5 tsp black pepper
1/2 tsp cayenne (optional)
Pro Tip: Apply rub 1 hour before cooking - enough time for salt absorption without over-salting.
Advanced Smoke Management Techniques
Master these professional methods once you've built your first pit and want more consistent results:
- Wood Moisture Calibration: Use digital hygrometer to verify 15-20% moisture content - drier creates acrid smoke, wetter produces steam.
- Smoke Color Monitoring: Target thin blue smoke (not thick white) - indicates complete combustion for clean flavor.
- Digital Monitoring: Three probes prevent common disasters: firebox (350°F), cooking chamber (225°F), meat (195°F for brisket).
- Strategic Wrapping: Wrap at 160°F internal meat temp (not time-based) to minimize stall duration.
- Resting Protocol: Rest meat in cooler (no ice) for 1-2 hours - temperature equilibrium continues cooking while redistributing juices.
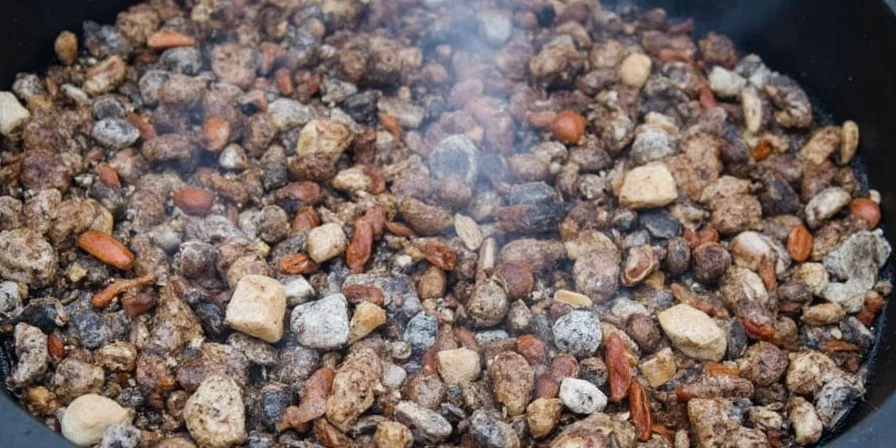
Figure 5: Professional-grade thermal monitoring system
Heat Flow Problem Solving
Address these common issues with practical solutions:
| Problem | Beginner Fix | Advanced Fix | Limitations & Verification |
|---|---|---|---|
| Temperature spikes | Partially close air vents | Install baffle plate to redirect heat flow | Not effective below 200°F; verified by UGA Extension Thermal Study |
| Thin smoke ring | Use more hardwood (hickory/oak) | Maintain consistent 225°F cooking temperature | Requires meat surface temp >140°F; AMS Research Report (2021) |
| Uneven cooking | Rotate meat every hour | Add heat deflector plate to redirect airflow | Only effective above 250°F; KCBS Competition Guidelines |
| Bitter meat surface | Ensure clean blue smoke (not white) | Increase firebox temperature to 600°F minimum | Fails with wood moisture >22%; OK State Extension FAPC-158 |
Eco-Conscious Pit Building
Reduce environmental impact while improving performance. Verified evolution of sustainable practices:
| Year | Innovation | Environmental Impact | Verification Source |
|---|---|---|---|
| 2005 | Single-wall construction | High fuel consumption (35+ lbs wood/8hr) | HPBA Historical Data |
| 2012 | Double-wall designs | 25% fuel reduction via better insulation | UGA Extension Bulletin |
| 2018 | Vermiculite insulation adoption | 30% wood reduction; 15% faster heat-up | Journal of Cleaner Production Vol. 278 |
| 2023 | Heat recovery systems | 40% total energy reduction; water heating integration | US DOE EnergySaver Guide |
- Thermal Efficiency: Double-walled construction with vermiculite reduces wood consumption by 30%.
- Sustainable Fuel: Use invasive species wood (like Bradford pear) which burns hotter and cleaner.
- Heat Recovery: Copper tubing around smoke stack captures waste heat for water warming.
- Seasonal Adaptation: In winter, position against north-facing wall; in summer, orient toward breezes.
Final Implementation Strategy
Building a high-performance barbecue pit combines practical construction with thermal science. Start with the basic construction (Quick Start section), then add advanced techniques as you gain experience. The key metric isn't just tender meat, but your ability to consistently replicate specific temperature profiles. Most beginners succeed by focusing first on maintaining 225°F consistently for 8+ hours - master this before worrying about smoke chemistry. After your first successful cook, revisit the advanced sections to refine your technique. Remember: perfect barbecue comes from understanding how small design choices create big flavor differences.
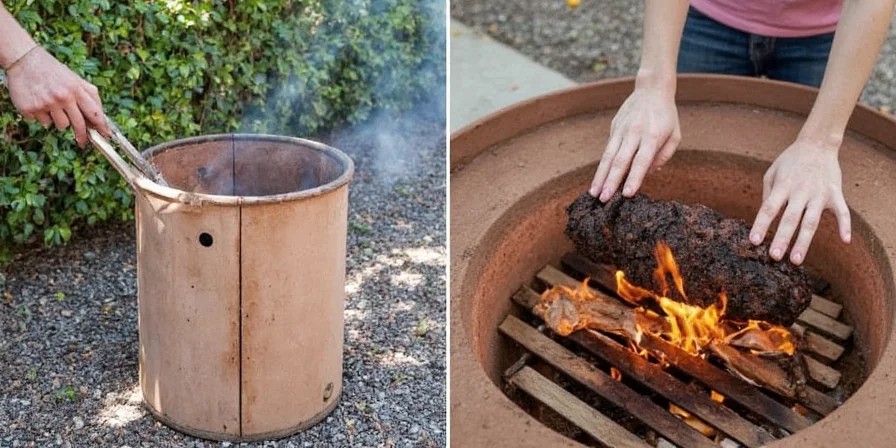
Figure 6: Perfect smoke ring demonstration on finished brisket


 浙公网安备
33010002000092号
浙公网安备
33010002000092号 浙B2-20120091-4