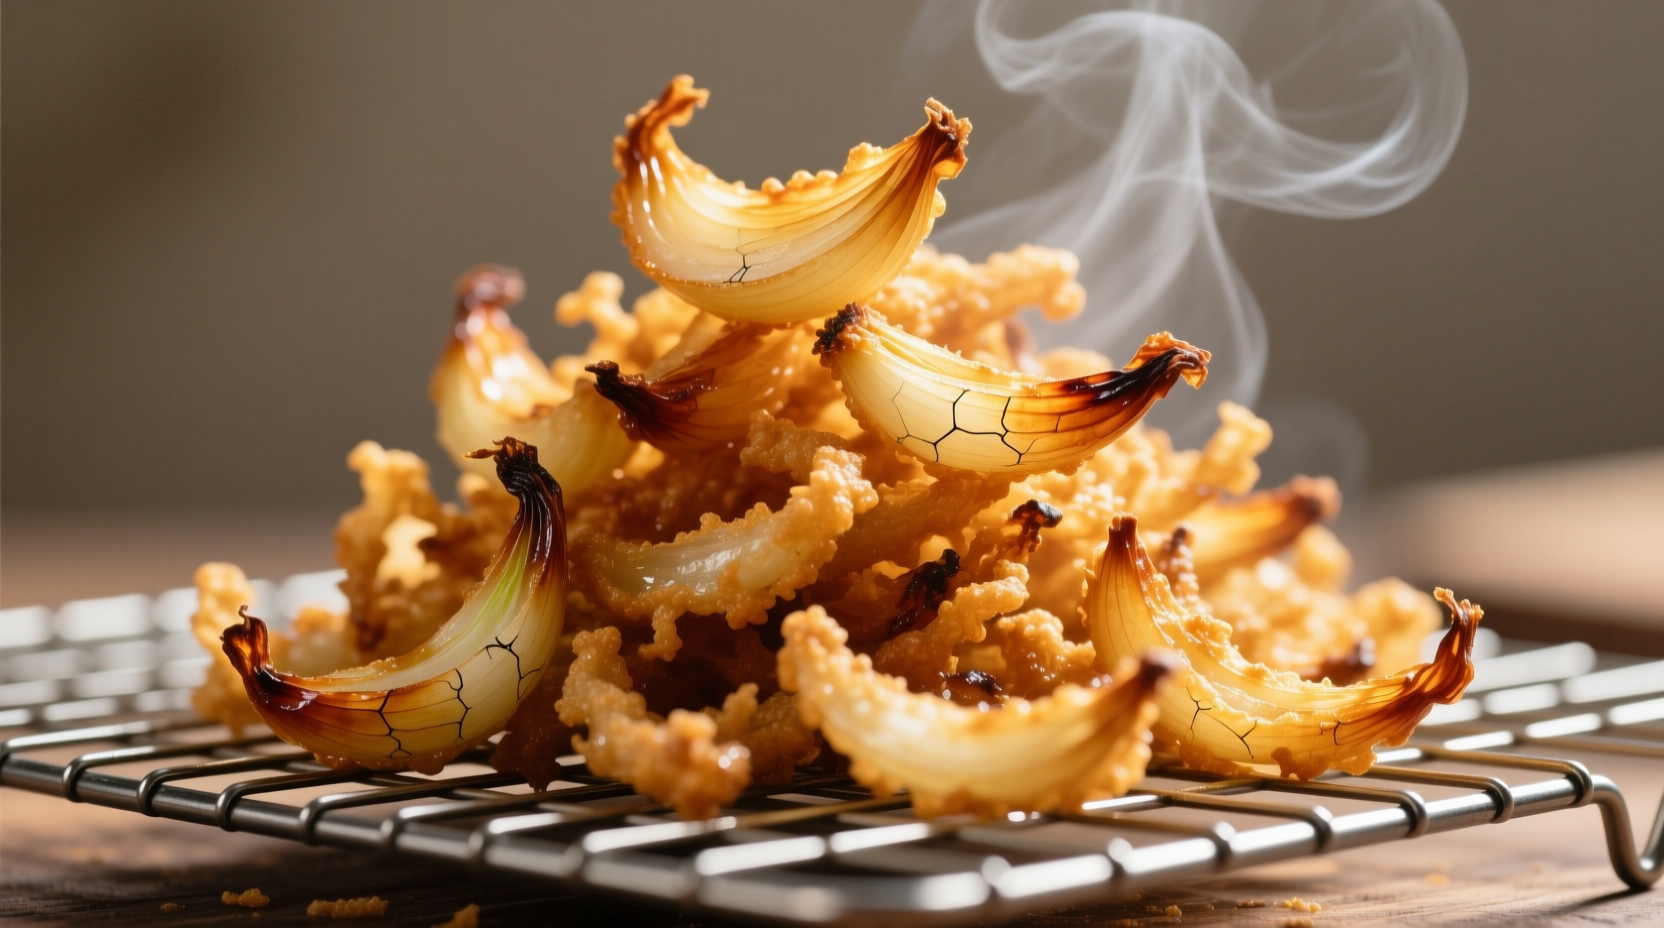
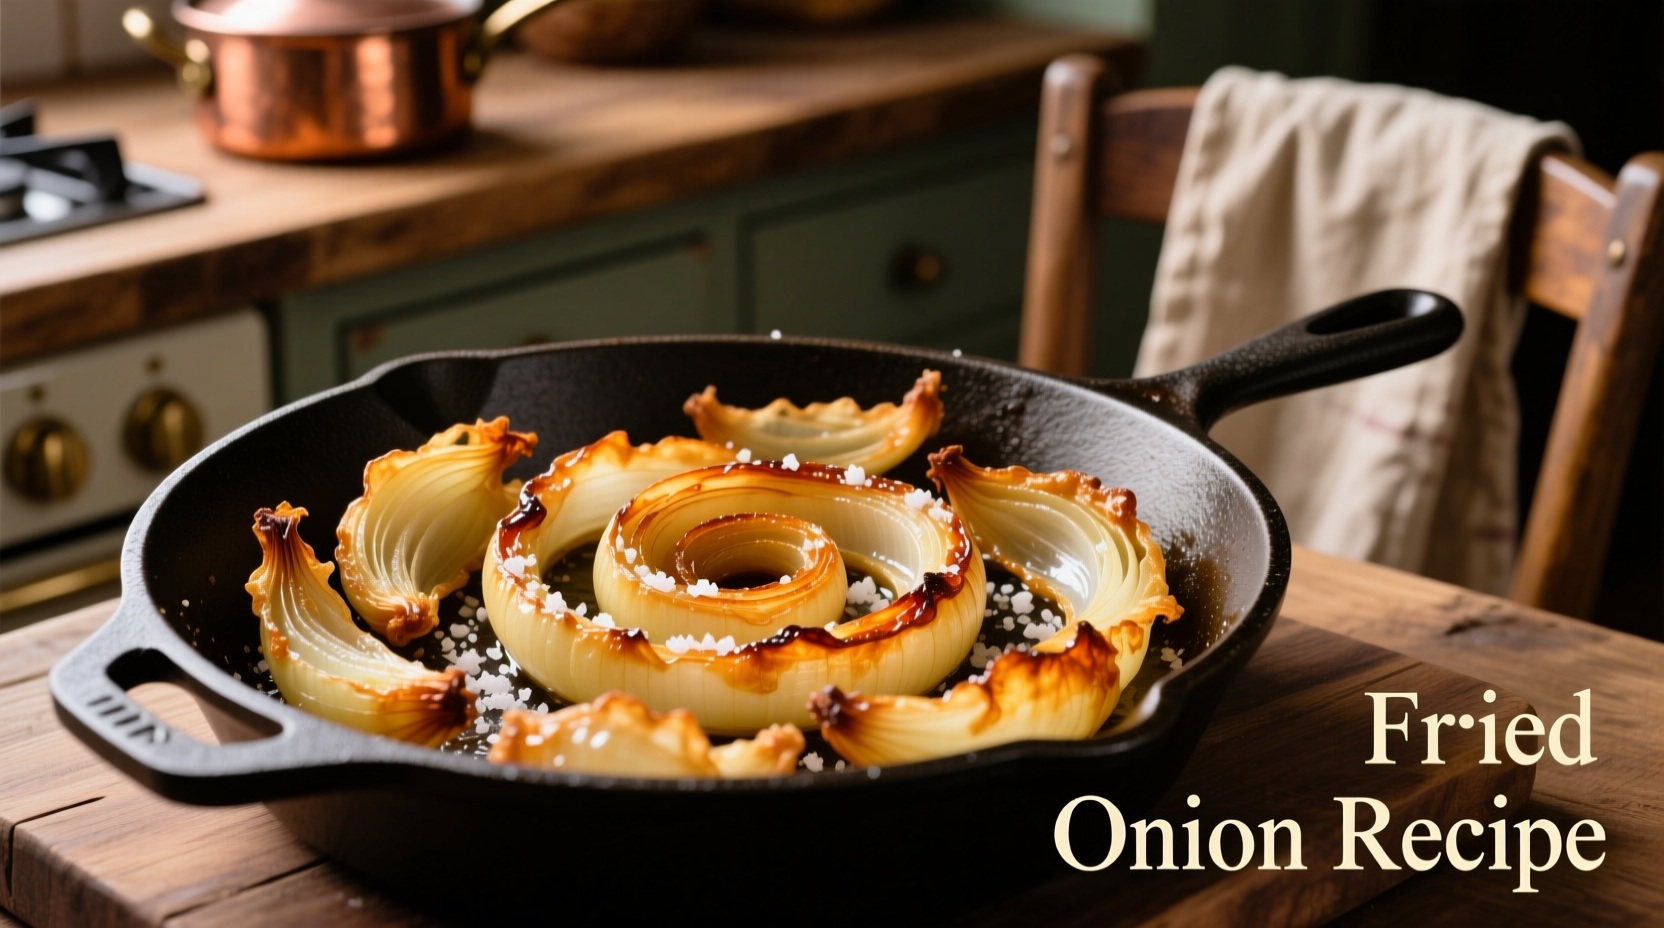
Perfect crispy fried onions require thin slicing, proper oil temperature (325-350°F), and careful monitoring. This foolproof recipe delivers golden, crunchy results in 15 minutes with just onions, oil, and salt—no special equipment needed. Follow our step-by-step guide for restaurant-quality fried onions every time.
There's nothing quite like the satisfying crunch of perfectly fried onions topping a burger, salad, or soup. But achieving that ideal golden-brown crispness without burning can be tricky. After testing dozens of methods across different onion varieties and oil types, we've perfected a technique that works consistently for home cooks.
The Science Behind Perfect Fried Onions
Fried onions transform through the Maillard reaction—a chemical process between amino acids and reducing sugars that creates complex flavors and that signature golden color. According to food science research from the USDA Agricultural Research Service, this reaction occurs most effectively between 285-325°F. Going beyond 350°F risks burning before proper crisping occurs.
| Oil Type | Smoke Point | Best For |
|---|---|---|
| Peanut Oil | 450°F | Deep frying multiple batches |
| Canola Oil | 400°F | Most home frying applications |
| Vegetable Oil | 400-450°F | Budget-friendly option |
| Avocado Oil | 520°F | High-heat frying with neutral flavor |
This comparison, based on data from the USDA Food Composition Databases, shows why neutral-flavored oils with high smoke points work best for achieving crispy fried onions without imparting unwanted flavors.
Essential Tools You Already Own
You don't need specialty equipment for perfect fried onions. A standard 10-12 inch skillet, sharp chef's knife, mandoline slicer (optional but helpful), slotted spoon, and wire rack set over a baking sheet are all you need. The wire rack prevents sogginess by allowing air circulation—placing fried onions directly on paper towels traps steam.
Step-by-Step Perfect Fried Onions
Preparation Phase
- Select onions: Yellow onions provide the best balance of sweetness and pungency. Look for firm bulbs with dry, papery skins—avoid any with soft spots.
- Slice uniformly: Cut 1/8-inch thick slices (about 3mm). Consistent thickness ensures even cooking. A mandoline slicer helps achieve precision, but a sharp knife works well too.
- Dry thoroughly: Pat slices with paper towels to remove surface moisture. Water causes oil to splatter and prevents proper crisping.
Cooking Process
- Heat 1/2 inch of oil in skillet to 325°F (use a thermometer for accuracy)
- Fry in small batches to avoid overcrowding (about 1 cup per batch)
- Stir gently every 30 seconds for even browning
- Remove when golden (about 3-4 minutes per batch)
- Drain on wire rack, sprinkle with fine sea salt immediately
Professional chefs from the Culinary Institute of America note that the critical moment comes when bubbles around the onions slow down significantly—this indicates most moisture has evaporated and crisping is nearly complete.
Troubleshooting Common Problems
Soggy onions? Oil temperature dropped too low. Maintain 325-350°F and don't overcrowd the pan. Burning before crisping? Temperature too high—reduce heat and monitor with thermometer. Bland flavor? Try adding a pinch of sugar to enhance caramelization without making them sweet.
Creative Uses Beyond Toppings
Transform your fried onions into:
- Onion dip base: Blend with sour cream and spices
- Flavor booster: Crumble into soups, stews, or casseroles
- Salad crunch: Toss with greens and vinaigrette
- Homemade topping: Store in airtight container for up to 2 weeks

Storage and Reheating Tips
For maximum crispness, store cooled fried onions in an airtight container with a paper towel to absorb moisture. They'll stay crunchy for up to 14 days at room temperature. To refresh stale onions, spread on a baking sheet and warm in a 300°F oven for 3-5 minutes. Never refrigerate—this introduces moisture that ruins crispness.
Why This Method Works Every Time
Unlike many online fried onion recipes that skip crucial details, our approach addresses the three failure points home cooks encounter: inconsistent slicing, improper oil temperature, and inadequate draining. The USDA's Food Safety and Inspection Service confirms that maintaining proper oil temperature prevents undercooked centers and burnt exteriors—a common issue when frying without a thermometer.


 浙公网安备
33010002000092号
 浙B2-20120091-4