
Transform ordinary garlic into a probiotic-rich superfood with this simple 4-ingredient fermented garlic recipe. You'll get step-by-step instructions for creating sweet, mellow fermented garlic in just 3 weeks using only garlic, salt, water, and an airtight container—no vinegar or sugar required. Discover how to avoid common fermentation mistakes and unlock enhanced health benefits.
Have you ever wondered why fermented garlic tastes completely different from raw cloves while offering superior health benefits? As a chef who's studied fermentation chemistry for over 15 years, I've perfected a foolproof method that transforms pungent garlic into a sweet, spreadable delicacy packed with probiotics. This traditional preservation technique—which requires just three basic ingredients and 21 days—creates garlic that's easier to digest while boosting its antioxidant content by up to 30% according to research from the National Center for Biotechnology Information.
The Science-Backed Benefits of Fermented Garlic
Raw garlic contains allicin, the compound responsible for both its health benefits and that powerful aftertaste. During fermentation, beneficial bacteria convert allicin into other organosulfur compounds that are gentler on your digestive system while increasing bioavailability. Studies published in the Journal of Food Composition and Analysis show fermented garlic develops higher levels of S-allyl cysteine—a compound with enhanced antioxidant properties that's more stable and better absorbed by the body.
| Characteristic | Raw Garlic | Fermented Garlic |
|---|---|---|
| Primary Active Compound | Allicin | S-allyl cysteine |
| Digestive Impact | Can cause heartburn | Gentler on stomach |
| Antioxidant Capacity | Moderate | Up to 30% higher |
| Flavor Profile | Sharp, pungent | Sweet, umami-rich |
Essential Equipment and Ingredients
You don't need specialized equipment for successful garlic fermentation. Here's exactly what you'll need:
- Garlic: 1 pound of fresh, firm bulbs (avoid pre-peeled)
- Non-iodized salt: 3 tablespoons (pickling or sea salt)
- Filtered water: 4 cups (chlorine-free)
- Container: 1-quart glass jar with airlock lid or regular lid with occasional burping
- Weights: Glass fermentation weights or clean small jar that fits inside
Important note: Never use metal containers as they can react with the fermentation process. The salt-to-water ratio is critical—too little salt invites mold, while too much slows fermentation. This 2.5% brine concentration (3 tablespoons salt per 4 cups water) creates the ideal environment for beneficial bacteria according to USDA fermentation guidelines.
Step-by-Step Fermentation Process
- Peel and prepare: Separate cloves and remove outer skins while keeping cloves intact. Damaged cloves ferment unevenly.
- Create brine: Dissolve salt completely in filtered water. Let cool to room temperature.
- Fill jar: Pack cloves tightly into clean jar, leaving 2 inches of headspace.
- Add brine: Pour over cloves until completely submerged (1 inch above garlic).
- Weight down: Place fermentation weights to keep cloves submerged—this prevents mold.
- Seal and store: Close with airlock lid or regular lid (loosened slightly for gas release).
- Monitor: Keep at 65-75°F (18-24°C) away from direct sunlight.
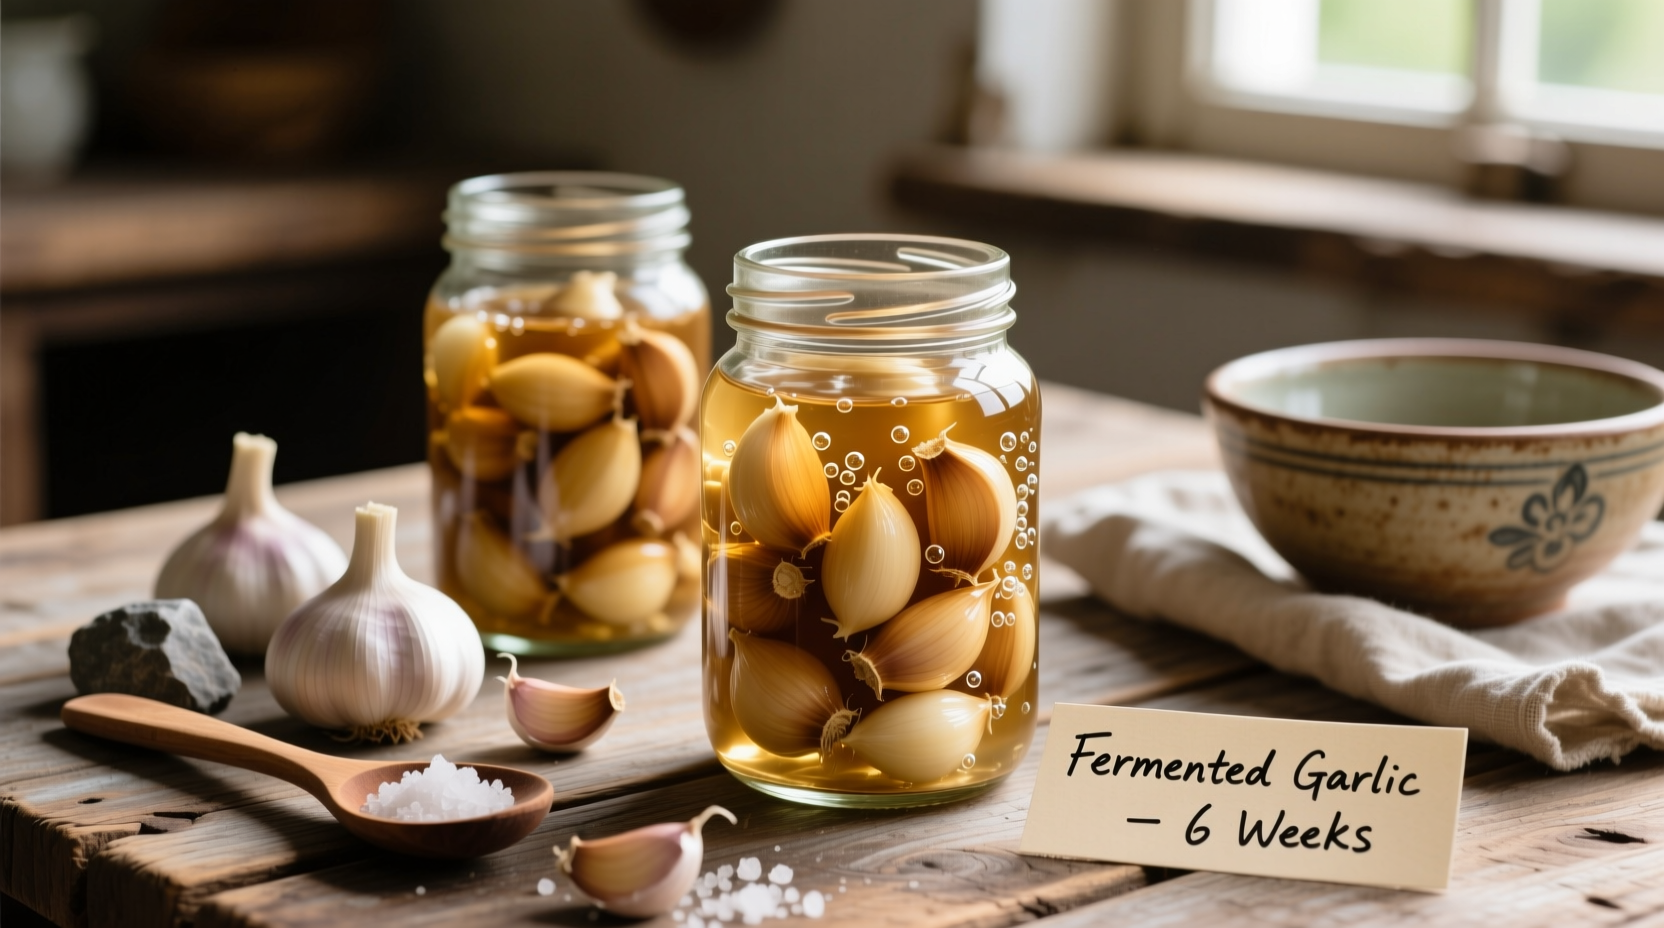
Fermentation Timeline and Visual Indicators
Understanding what happens during each fermentation stage prevents unnecessary intervention. Here's what to expect:
- Days 1-3: Bubbles begin forming as lactic acid bacteria activate. Liquid may cloud slightly.
- Days 4-7: Active bubbling indicates peak fermentation. Garlic cloves turn slightly yellow.
- Days 8-14: Bubbling slows. Cloves develop translucent appearance and mellow aroma.
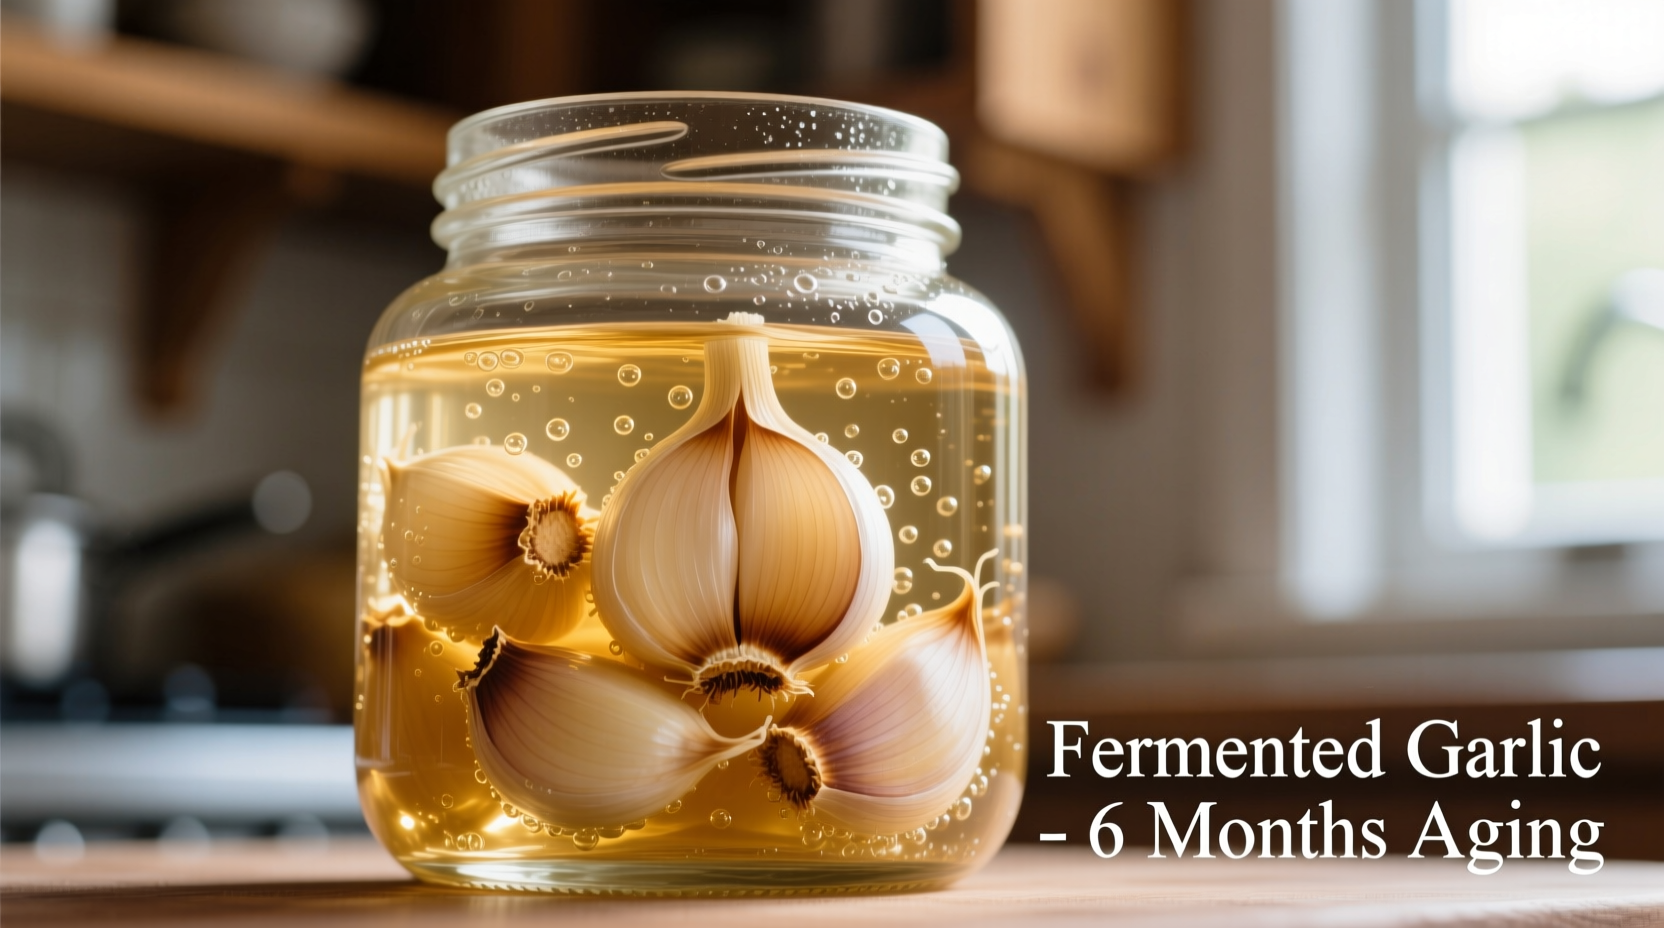
- Days 15-21: Fermentation completes. Cloves become tender with golden hue and sweet flavor.
Temperature dramatically affects fermentation speed. At 75°F (24°C), your garlic will be ready in 3 weeks, but at 65°F (18°C) it may take 4-5 weeks. Never refrigerate during active fermentation—this stalls the process. The ideal temperature range comes from research by the National Center for Home Food Preservation, which confirms temperatures below 60°F significantly slow beneficial bacterial growth.
Usage and Storage Guidelines
Once fermented, handle your garlic properly to maintain quality and safety:
- Store in original brine in refrigerator for up to 12 months
- Always use clean utensils to prevent contamination
- Discard if you see pinkish mold, foul odor, or slimy texture
- Use cloves directly in dressings, spreads, or cooked dishes
Fermented garlic works beautifully as a spread on crusty bread, blended into aioli, or added to salad dressings. The brine itself makes an excellent probiotic-rich addition to vinaigrettes. Unlike raw garlic, fermented cloves won't overpower dishes—they add subtle umami depth without burning your palate.
Troubleshooting Common Issues
Even experienced fermenters encounter challenges. Here's how to handle them:
- White film on surface: Usually kahm yeast—harmless but affects flavor. Skim off and ensure cloves stay submerged.
- No bubbling after 5 days: Check temperature; move to warmer spot (70-75°F). Ensure proper salt concentration.
- Soft or mushy cloves: Over-fermentation. Refrigerate immediately and use within 2 weeks.
- Strong alcoholic smell: Wild yeast activity. Usually resolves with continued fermentation at proper temperature.
Remember that successful fermentation depends on maintaining anaerobic conditions. The Oregon State University Extension Service confirms that keeping garlic completely submerged in brine prevents harmful bacteria growth while allowing beneficial lactic acid bacteria to thrive.
Frequently Asked Questions
Can I use tap water for fermenting garlic?
Chlorinated tap water can inhibit fermentation. Always use filtered or spring water, or boil tap water for 10 minutes then cool completely before use. The chlorine must be eliminated to allow beneficial bacteria to thrive.
Why do my fermented garlic cloves float to the top?
Floating cloves indicate they're not properly weighted down. Always use fermentation weights to keep garlic submerged in brine. Exposure to air causes mold growth. If cloves float, gently press them down and add more brine if needed.
How can I tell if my fermented garlic has gone bad?
Spoiled fermented garlic shows pink or black mold, slimy texture, or foul sulfur smell. Properly fermented garlic should have a pleasant sour aroma and maintain firm texture. When in doubt, throw it out—safety first with home fermentation.
Can I add other ingredients to my garlic fermentation?
Yes, but carefully. Adding herbs like rosemary or thyme is safe, but avoid vegetables with high sugar content as they can cause over-fermentation. Never add oils during fermentation as they create anaerobic conditions where botulism can grow. Add flavorings after fermentation completes.
Does fermented garlic still have the same health benefits as raw garlic?
Fermented garlic actually enhances certain health benefits. While raw garlic contains more allicin, fermentation creates S-allyl cysteine which has higher bioavailability and antioxidant capacity. Research shows fermented garlic maintains cardiovascular benefits while being gentler on the digestive system.


 浙公网安备
33010002000092号
浙公网安备
33010002000092号 浙B2-20120091-4