
Transform kitchen scraps into stunning works of art with egg dyeing using onion skins. This centuries-old technique harnesses natural tannins in onion peels to create everything from soft yellows to dramatic russets—no synthetic chemicals required. Our comprehensive guide delivers precise measurements, troubleshooting advice, and creative design techniques you won't find elsewhere.
The Science Behind Onion Skin Dyeing
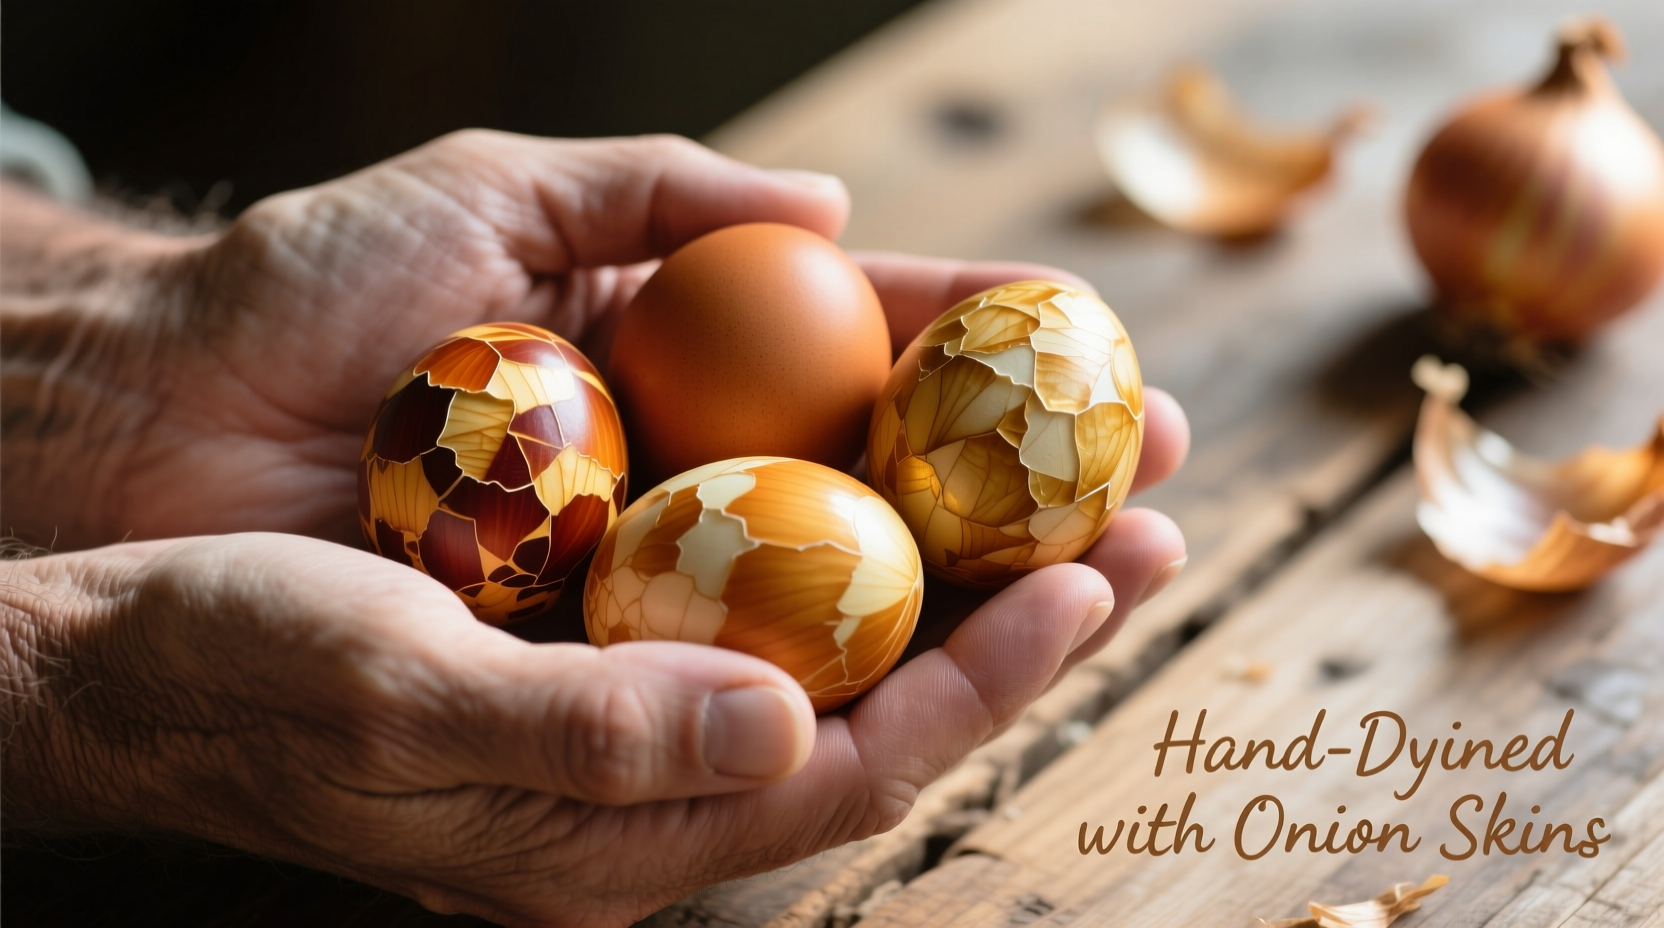
Onion skins contain quercetin, a flavonoid pigment that bonds with eggshell proteins when simmered in water. Yellow onion skins yield warm golds and coppers, while red onion skins create deeper burgundies and purples. The Oregon State University Extension Service confirms that vinegar in the dye bath helps the quercetin adhere to calcium carbonate in eggshells, creating longer-lasting color.
| Onion Type | Color Result | Dye Potency | Best For |
|---|---|---|---|
| Yellow Onion Skins | Golden amber to copper | ★★★★☆ | Traditional Easter eggs |
| Red Onion Skins | Russet to deep burgundy | ★★★★★ | Dramatic contrast designs |
| White Onion Skins | Pale yellow | ★★☆☆☆ | Subtle background washes |
| Mixed Skins | Earthy olive tones | ★★★☆☆ | Natural, muted palettes |
What You'll Need for Perfect Onion Skin Eggs
- 1-2 cups onion skins (save from regular cooking)
- 4 cups water (distilled for consistent results)
- 2 tablespoons white vinegar
- Hard-boiled eggs (refrigerated for 1 hour before dyeing)
- Cotton threads or rubber bands for patterns
- Strainer and heatproof container
Step-by-Step Dyeing Process
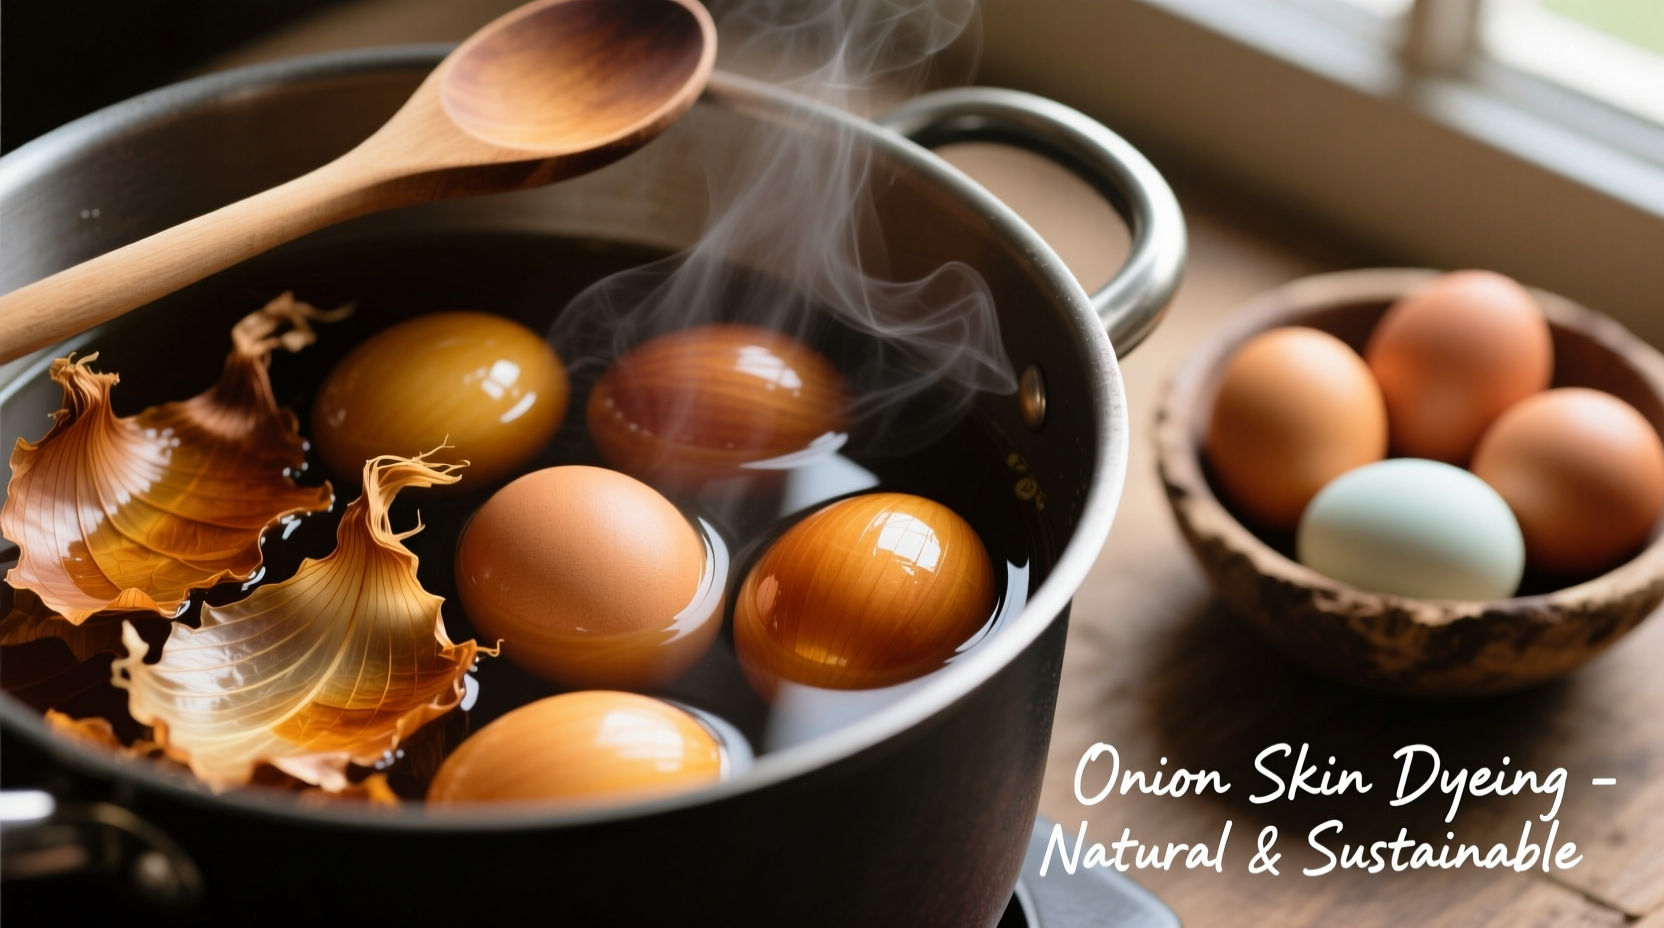
Preparing the Dye Bath
- Collect and dry onion skins for 24 hours (moisture dilutes color)
- Simmer skins in water for 30 minutes until liquid turns deep amber
- Add vinegar and strain into heatproof container
- Cool to 140°F (60°C) before adding eggs
Dyeing Techniques for Professional Results
For vibrant, even color:
- Submerge eggs completely using a spoon to prevent air bubbles
- Steep for 1-4 hours depending on desired intensity (overnight for deepest hues)
- Rotate eggs every 30 minutes for uniform coloring
- Add 1 teaspoon salt to set color after dyeing
Advanced Design Methods
Elevate your natural egg dyeing with onion skins using these professional techniques:
Wax Resist Patterns
Apply melted beeswax with a toothpick before dyeing to create intricate designs. The wax prevents dye absorption, revealing your pattern when peeled off after drying.
Layered Color Effects
Dye eggs first in yellow onion skins, then in red for complex russet tones. The National Park Service documents this layering technique in 19th century Pennsylvania Dutch folk art, where artisans created sophisticated color gradients through multiple dye baths.
Common Problems and Solutions
Even experienced crafters encounter issues with onion skin egg dyeing. Here's how to fix them:
- Pale color: Double onion skin quantity or extend steeping time
- Uneven patches: Ensure eggs are completely dry before dyeing
- Color fading: Apply food-grade mineral oil after drying to seal
- Speckled appearance: Strain dye bath through cheesecloth to remove particles
Food Safety Considerations
According to the U.S. Food and Drug Administration, naturally dyed eggs remain safe to eat if:
- Eggs were refrigerated within 2 hours of cooking
- Dye bath temperature never exceeded 140°F (60°C)
- Eggs were returned to refrigeration within 2 hours of dyeing
Discard eggs with cracked shells during the dyeing process.
Environmental Benefits of Natural Dyeing
Choosing egg dyeing with onion skins over commercial kits reduces chemical runoff and repurposes kitchen waste. The Environmental Protection Agency notes that natural dyes biodegrade completely, unlike synthetic dyes containing petroleum derivatives that persist in water systems.
Preserving Your Naturally Dyed Eggs
For display purposes:
- Gently dry eggs with paper towels
- Apply thin coat of food-safe mineral oil
- Store in egg carton away from direct sunlight
- Display lasts 2-3 weeks with proper care


 浙公网安备
33010002000092号
浙公网安备
33010002000092号 浙B2-20120091-4