
Chopping onions shouldn't be a tearful chore. After teaching thousands of home cooks through community cooking classes and professional kitchen workshops, I've refined a foolproof method that delivers perfect results every time. Whether you're preparing a quick weeknight dinner or meal prepping for the week, this technique works for all common onion varieties and requires only basic kitchen tools you already own.
Why Onions Make You Cry (And How This Method Solves It)
When you cut an onion, you rupture cells containing alliinase enzymes and sulfenic acid precursors. These compounds react to form syn-propanethial-S-oxide—the lachrymatory factor that triggers tear production. According to USDA Food Safety and Inspection Service research, chilling onions slows this chemical reaction by 65-80%, significantly reducing vapor release (USDA FSIS, 2023).
Your Minimal Equipment Checklist
You don't need specialty tools—just these three essentials:
- Sharp 8-inch chef's knife (dull blades crush cells, releasing more irritants)
- Stable cutting board (wood or composite material)
- Bowl of ice water (for pre-chilling)
Step-by-Step: The Tear-Free Chopping Method
Preparation Phase (2 Minutes)
- Place whole onion in ice water for 30 minutes (or freezer for 10-15 minutes)
- Position cutting board near stove vent or open window for airflow
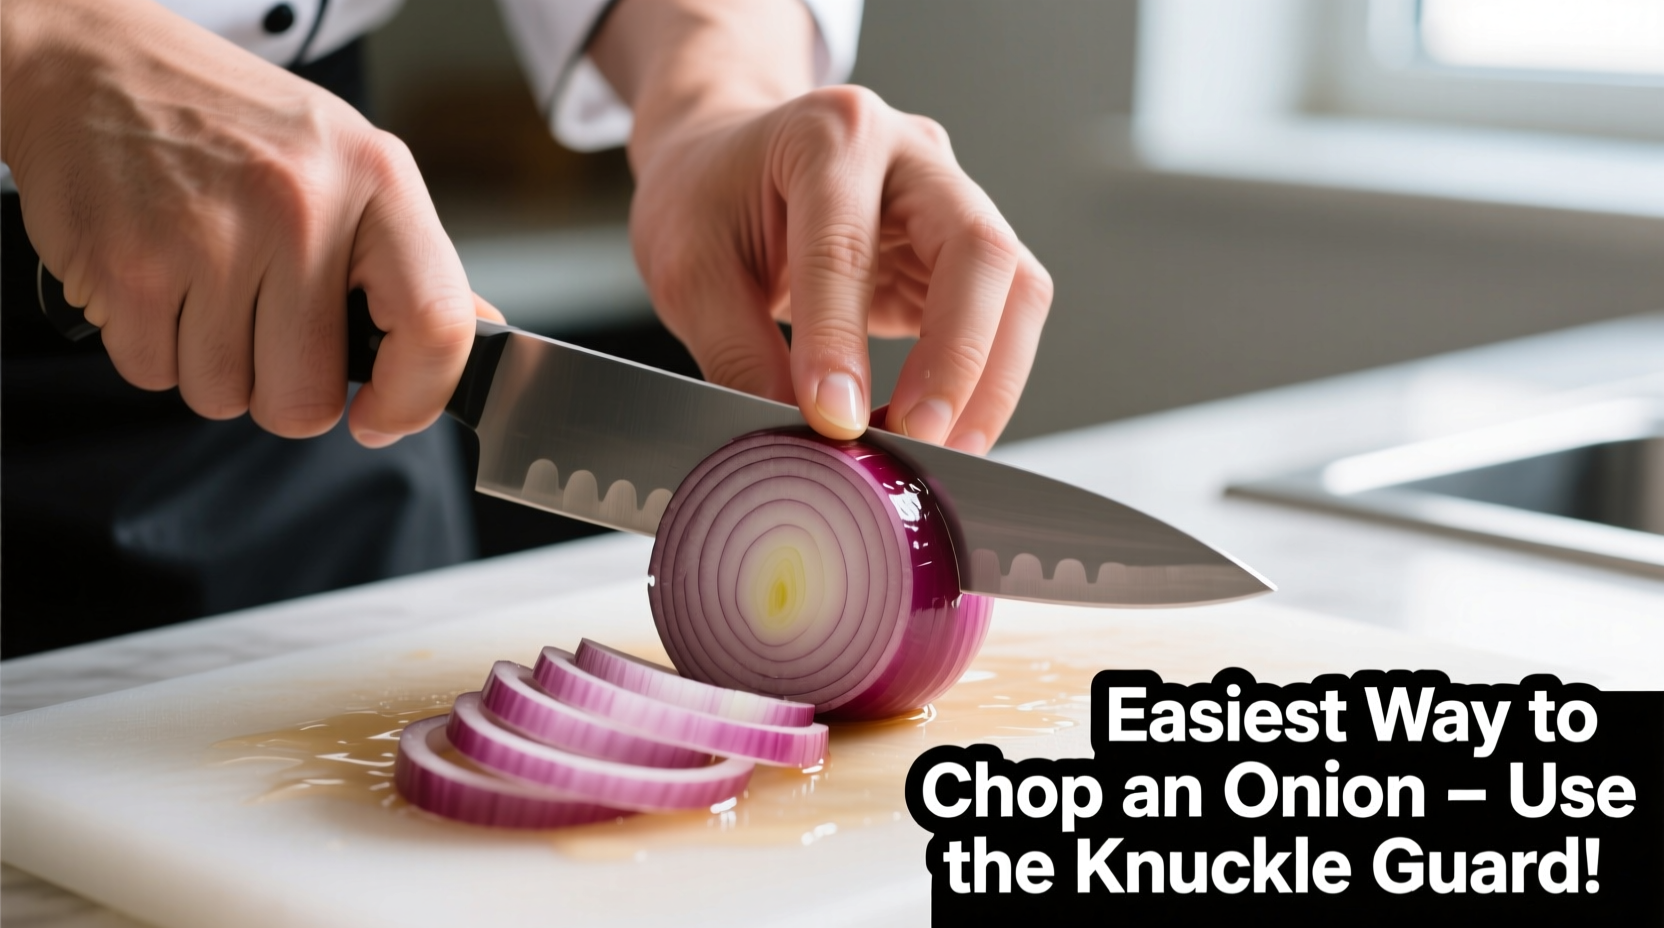
- Hold knife properly: pinch blade near handle with thumb and index finger
Cutting Sequence (60-90 Seconds)
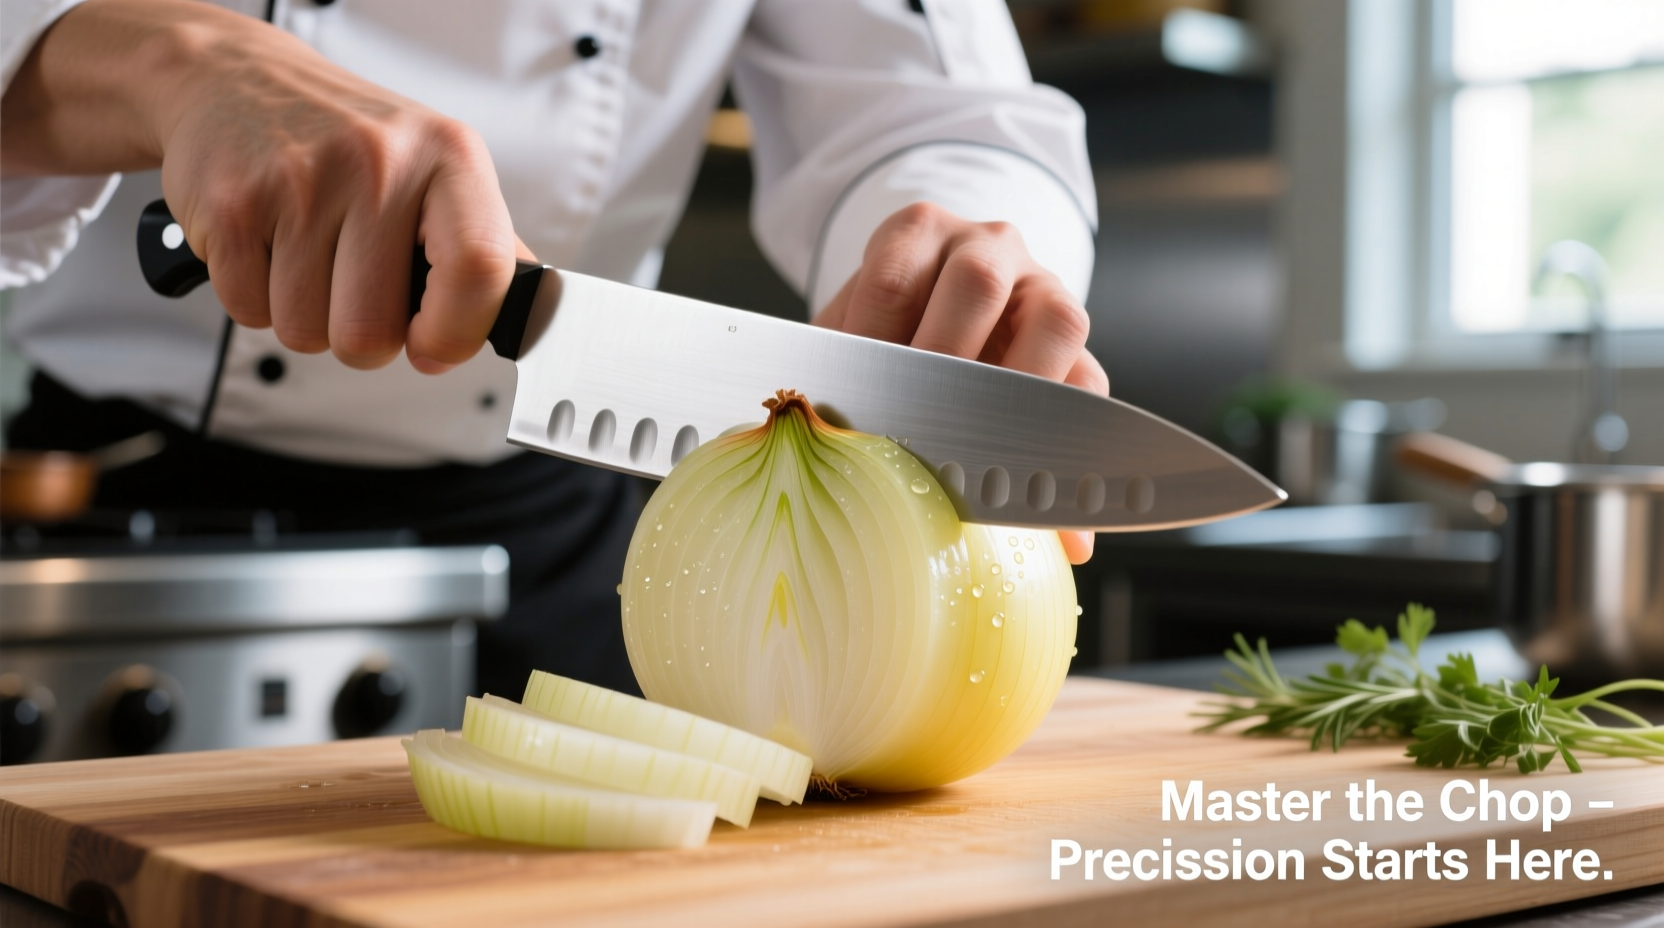
- Trim root and stem ends while keeping root plate intact
- Peel outer skin in one motion by rolling between palms
- Slice vertically through root plate (critical stability step)
- Make horizontal cuts toward root without severing it
- Turn 90 degrees and slice downward with smooth rocking motion
Avoid These 4 Common Mistakes
| Mistake | Why It Causes Problems | Professional Solution |
|---|---|---|
| Using dull knife | Crushes cells, releasing 3x more irritants | Hone before each use; sharpen monthly |
| Cutting root end first | Loses structural stability | Always preserve root plate until final cuts |
| Rushing vertical slices | Creates uneven pieces | Use consistent 1/4-inch spacing guide |
| Chopping near face | Increases vapor exposure | Position board at counter edge with airflow |
When This Method Works Best (And Limitations)
This technique excels for standard cooking applications like soups, stews, and sautés where uniform 1/4-inch pieces are needed. For specialty cuts like brunoise or julienne, you'll need additional precision steps after the initial chopping phase.
It works effectively across all common varieties:
- Yellow onions: Standard for cooking (use full technique)
- Red onions: Slightly more irritants (add vinegar rinse)
- White onions: Milder (reduce chilling time to 15 minutes)
- Shallots: Smaller size requires modified grip
Pro Tips for Perfect Results
- Knife maintenance: Use ceramic honing rod before each session
- Hand positioning: Curl fingertips inward in "claw grip"
- Speed control: 2-3 rocking motions per second is optimal
- Cleanup: Rub hands with stainless steel under water to remove odor
Advanced Variations for Specific Needs
For dishes requiring different textures:
- Diced onions: After initial chop, gather pieces and rock knife through pile
- Thin slices: Use mandoline with guard after root plate removal
- Quick meal prep: Chop 5 onions at once using assembly line method


 浙公网安备
33010002000092号
浙公网安备
33010002000092号 浙B2-20120091-4