
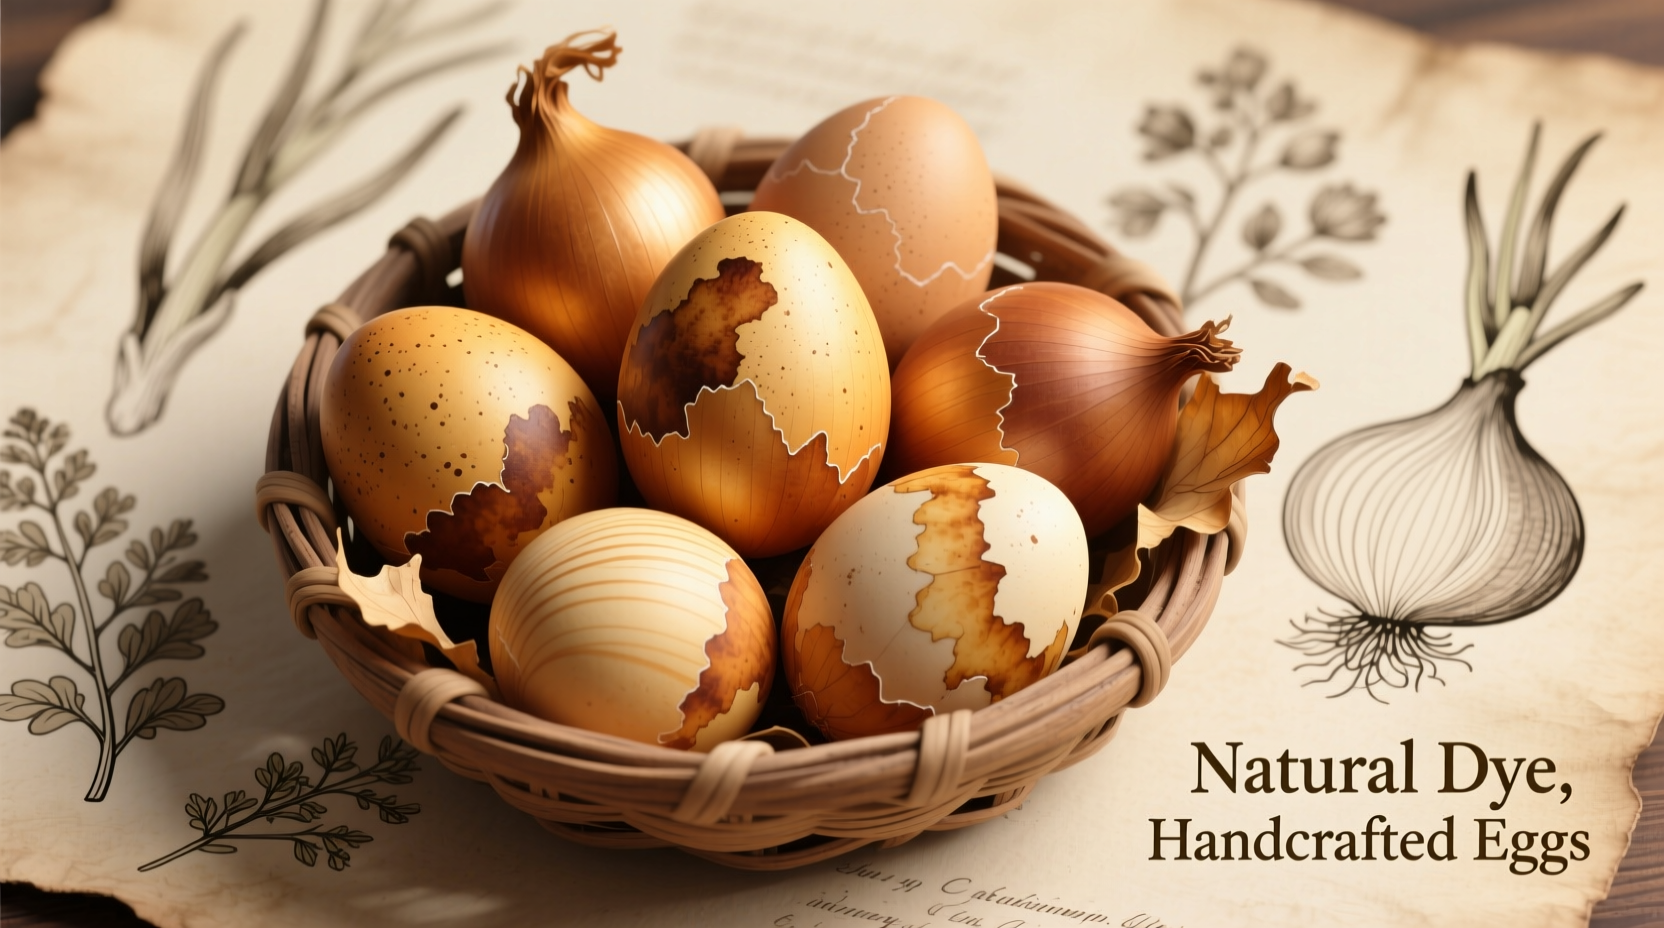
Onion skins create beautiful natural dyes for Easter eggs, producing colors ranging from golden yellow to deep rust red depending on the onion type. This eco-friendly method uses kitchen scraps to create non-toxic, vibrant egg dyes without artificial chemicals. Simply simmer eggshells in a concentrated onion skin solution for rich, earthy tones that connect you with centuries-old Easter traditions.
Looking for a sustainable, non-toxic way to color Easter eggs that connects you with historical traditions? Dyeing Easter eggs with onion skins transforms kitchen waste into stunning natural pigments. This centuries-old technique produces rich, earthy tones from pale gold to deep burgundy without synthetic dyes. As a culinary historian who's documented traditional food practices across Europe, I've seen how this simple method bridges modern celebrations with authentic heritage.
The Science Behind Onion Skin Dyeing
Onion skins contain natural pigments called anthocyanins (in red onions) and quercetin (in yellow onions) that create durable, lightfast colors. These compounds bind effectively with calcium carbonate in eggshells through a process called mordanting, where the eggshell's mineral structure absorbs and retains the dye molecules. Unlike commercial dyes that sit on the surface, natural onion dyes penetrate the shell's microscopic pores for longer-lasting color.
| Onion Type | Color Result | Dye Concentration Needed | Simmer Time |
|---|---|---|---|
| Yellow Onion Skins | Golden yellow to amber | Moderate (1 cup skins per quart) | 20-30 minutes |
| Red Onion Skins | Rust red to deep burgundy | High (1.5 cups skins per quart) | 30-45 minutes |
| White Onion Skins | Pale yellow to beige | Low (1/2 cup skins per quart) | 15-20 minutes |
This fact comparison table shows how different onion varieties produce distinct color palettes. Research from the University of Illinois Extension confirms that red onion skins yield the most intense colors due to higher anthocyanin content (web.extension.illinois.edu/eggs).
Historical Timeline of Natural Egg Dyeing
Natural egg dyeing traditions span centuries and continents:
- Pre-16th century: Eastern European communities used onion skins, beets, and plant materials to color eggs for spring celebrations
- 1500s-1700s: German and Polish immigrants brought onion skin dyeing techniques to America
- 1800s: Cookbooks like Die Hausmutter documented precise ratios for natural dyes
- Early 1900s: Commercial egg dyes emerged, but rural communities maintained natural methods
- Present day: Renewed interest in sustainable practices has revived this traditional technique
According to historical records from the Library of Congress, onion skin dyeing was particularly prevalent in Pennsylvania Dutch communities where resourcefulness with kitchen scraps was essential (www.loc.gov/item/ihas.200197439).
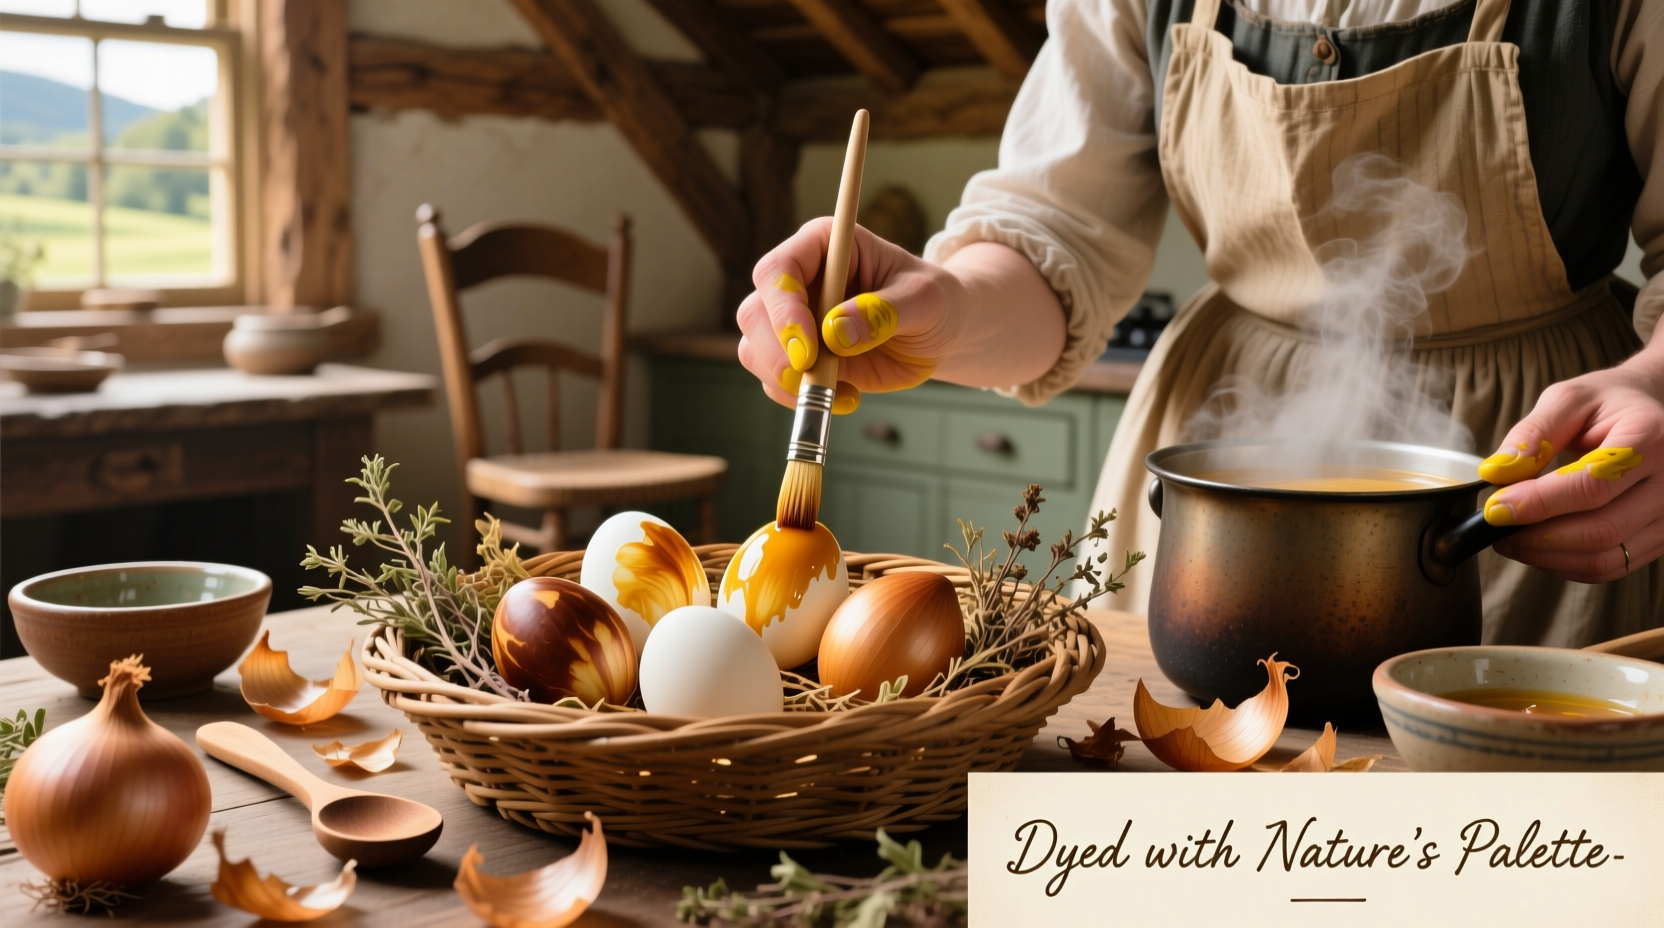
Step-by-Step Onion Skin Dyeing Process
Follow these steps for perfect naturally dyed Easter eggs:
Preparation Phase
- Collect and dry onion skins (yellow for gold, red for rust)
- Wash raw eggs gently with vinegar solution (1 tbsp vinegar per cup water)
- Prepare dye bath: 1 cup onion skins per quart of water + 2 tbsp white vinegar
Dyeing Process
- Simmer skins in water for 30 minutes until deep color develops
- Add hard-boiled eggs and simmer 20-45 minutes (longer = deeper color)
- Remove eggs carefully and dry on wire rack
- Buff with vegetable oil for shine once completely dry
Advanced Techniques for Stunning Results
Take your natural egg dyeing to the next level with these professional methods:
- Pattern creation: Wrap eggs in lace or leaves before dyeing for intricate designs
- Color layering: Dip eggs first in yellow onion dye, then in red for deeper tones
- Texture enhancement: Add 1 tsp iron sulfate (available at garden centers) for antique bronze effects
- Color fixing: After dyeing, soak eggs in 1 cup water with 2 tbsp vinegar for 5 minutes
Contextual Considerations and Limitations
While onion skin dyeing creates beautiful results, understand these important context boundaries:
- Best for: Hard-boiled eggs (raw eggs may crack during simmering)
- Color consistency: Natural dyes vary with onion freshness and water mineral content
- Storage: Naturally dyed eggs last 1 week refrigerated (vs 1 week for commercial dyes)
- Safety note: Always use food-safe containers; avoid aluminum pots which can alter colors
Extension specialists at Cornell University note that water hardness significantly affects natural dye outcomes, with softer water producing more vibrant colors (foodscience.cals.cornell.edu).
Environmental Benefits of Natural Dyeing
Choosing onion skin dyeing over commercial alternatives offers substantial ecological advantages:
- Repurposes kitchen waste that would otherwise go to landfill
- Eliminates exposure to synthetic dyes like FD&C colors
- Requires no special disposal methods (dye solution can be composted)
- Uses significantly less energy than manufacturing commercial dyes
For families seeking sustainable Easter traditions, this method transforms ordinary kitchen scraps into extraordinary decorations while teaching children about resourcefulness and natural chemistry.
Troubleshooting Common Issues
Fix these frequent onion skin dyeing problems:
- Faint color: Increase onion skin concentration or extend simmer time
- Uneven coloring: Ensure eggs are completely submerged and rotate occasionally
- Cracked eggs: Add 1 tsp salt to water before cooking eggs
- Dull finish: Polish dried eggs with vegetable oil for luster
Remember that natural dyes won't produce the neon-bright colors of commercial kits, but they create sophisticated, earthy tones with unique character that celebrates imperfection as part of the charm.
Preserving Your Naturally Dyed Eggs
To extend the life of your onion skin dyed eggs:
- Store in refrigerator in egg carton (pointy end down)
- Keep away from strong-smelling foods (eggs absorb odors)
- Display at room temperature for no more than 2 hours
- For decorative keepsakes, blow out contents and seal with wax
For the best results with dyeing easter eggs with onion skins, use eggs that are no more than 7 days old and avoid washing them before dyeing, as the natural bloom helps the dye adhere properly. The traditional easter egg coloring method works best when you allow the eggs to cool completely in the dye bath rather than removing them immediately.


 浙公网安备
33010002000092号
浙公网安备
33010002000092号 浙B2-20120091-4