
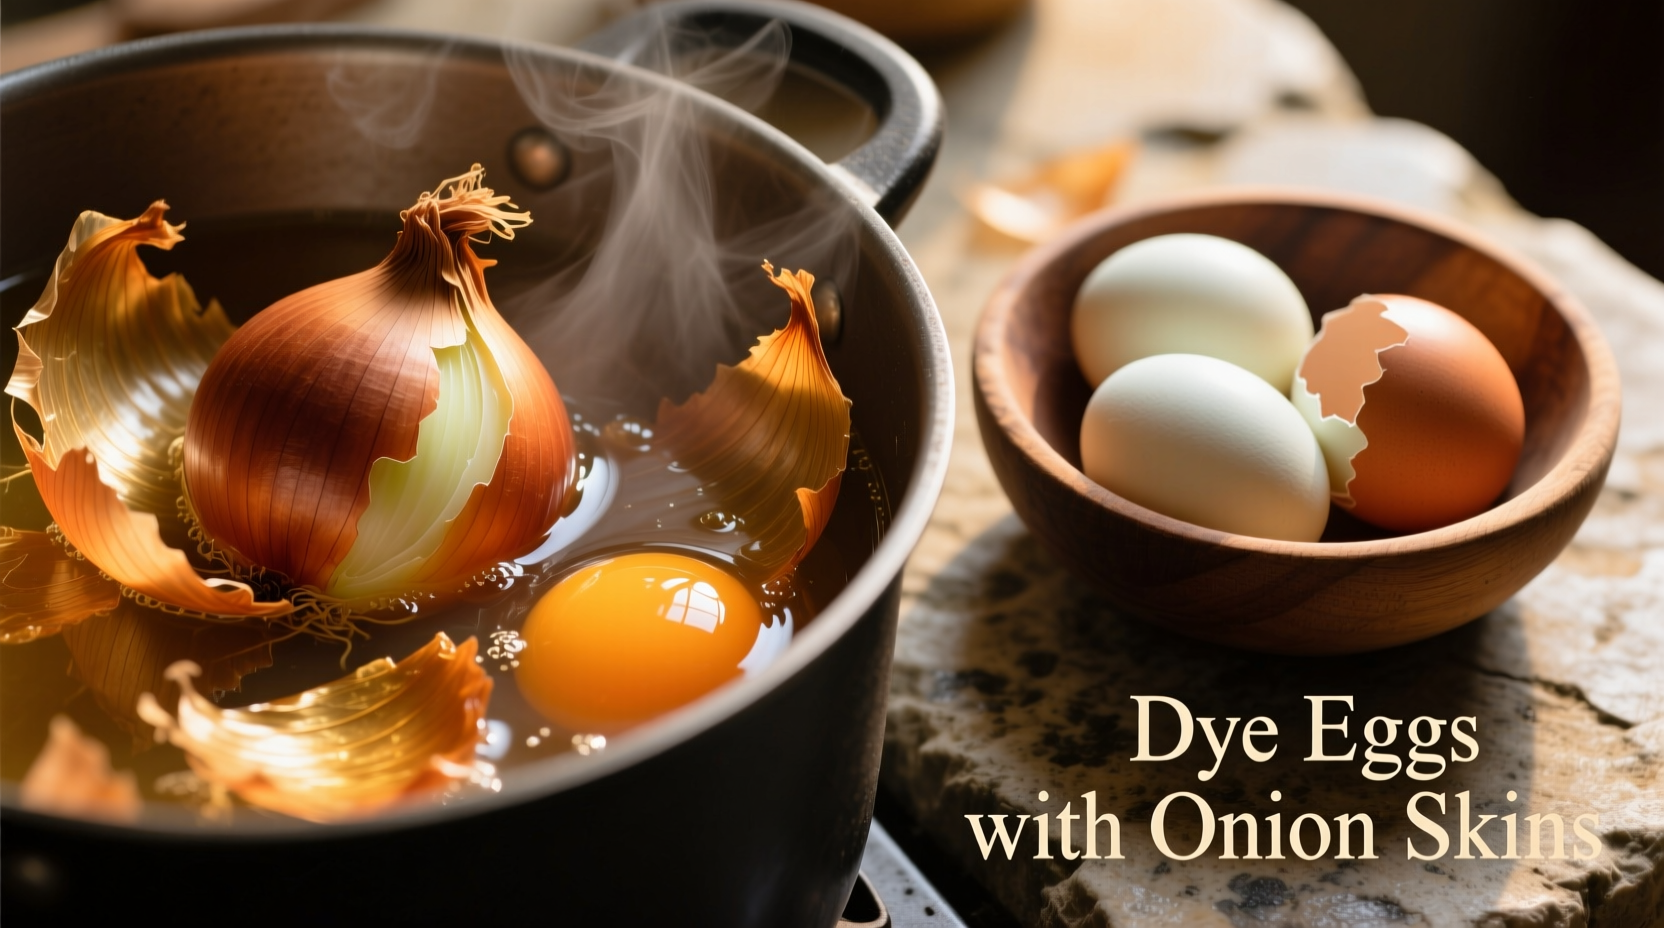
Why Onion Skins Make Perfect Natural Egg Dyes
Onion skins contain flavonols and anthocyanins - natural pigments that bond beautifully with eggshells. Yellow onion skins yield warm golden tones, while red onion skins create stunning copper and burgundy shades. This method eliminates the need for artificial dyes while producing more complex, nuanced colors than store-bought kits.
According to agricultural research from the University of Massachusetts Amherst, onion waste contains up to 1,200 mg of quercetin per 100g - the compound responsible for both the vibrant color and antioxidant properties (source). This makes onion skin dyeing not just visually appealing but scientifically sound.
What You'll Need for Successful Onion Skin Dyeing
Gather these simple ingredients before starting:
- 3-4 cups onion skins (yellow for gold, red for russet)
- 1 dozen raw white eggs (brown eggs won't show colors well)
- 3 tablespoons white vinegar
- 4 cups water
- Strainer and heatproof container
- Slotted spoon and paper towels
| Onion Type | Color Result | Dyeing Time | Color Fastness |
|---|---|---|---|
| Yellow Onions | Warm gold to amber | 30-45 minutes | Moderate (fades slightly in light) |
| Red Onions | Copper to deep burgundy | 45-60 minutes | High (more lightfast) |
| Shallots | Pale rose to peach | 20-30 minutes | Low (most delicate) |
Step-by-Step Dyeing Process
- Prepare your dye bath: Combine onion skins, vinegar, and water in a large pot. Bring to a gentle boil, then reduce heat and simmer for 30 minutes until liquid turns deep amber.
- Cool and strain: Remove from heat and let cool to room temperature. Strain out skins using a fine mesh strainer.
- Add eggs carefully: Place raw eggs in the cooled dye bath, ensuring they're fully submerged. Refrigerate overnight for deepest color.
- Dry properly: Remove eggs with slotted spoon and air-dry on wire rack. Avoid wiping as this removes pigment.
Historical Context and Cultural Significance
Using onion skins for egg dyeing dates back centuries, with documented use in:
- 12th century: Eastern European traditions where golden eggs symbolized the sun and new beginnings
- 18th century: Polish and Ukrainian pysanky (wax-resist egg decorating) incorporated onion skin dyes
- 20th century: Mexican communities adopted the technique for Easter celebrations, blending indigenous and Spanish traditions
This historical timeline shows how resourceful communities worldwide discovered onion skins' dyeing properties independently - a testament to the method's effectiveness and accessibility.
Troubleshooting Common Issues
Even experienced dyers encounter these challenges. Here's how to solve them:
- Faint color: Increase dye concentration (more skins) or extend soaking time. Acidic environments help - try adding 1 tablespoon lemon juice.
- Uneven coloring: Ensure eggs rotate during soaking. Use a wooden spoon to gently stir every few hours.
- Color fading: Apply thin layer of cooking oil after drying to seal the color. Store dyed eggs in dark container.
- Spots or streaks: Clean eggs thoroughly before dyeing. Any oil residue prevents even absorption.
Practical Considerations and Limitations
While onion skin dyeing produces beautiful results, understand these context boundaries:
- Works best with white eggs (brown eggs show muted tones)
- Requires raw eggs (boiled eggs develop cracks during simmering)
- Color intensity depends on onion variety and growing conditions
- Not suitable for permanent decoration (colors fade with light exposure)
- Requires planning (minimum 12-hour soaking time for vibrant results)
Creative Variations to Try
Enhance your natural dyeing experience with these professional techniques:
- Patterned eggs: Wrap eggs in lace or leaves before dyeing for beautiful silhouettes
- Layered colors: Dip eggs first in red onion dye, then yellow for complex russet tones
- Texture effects: Add small twigs or herbs to the dye bath for subtle pattern variations
- Color boosting: Add 1 teaspoon iron water (rust dissolved in vinegar) for deeper, more antique finishes
Safety and Storage Guidelines
Follow these food safety recommendations from the USDA Food Safety and Inspection Service:
- Dyed eggs remain safe to eat if refrigerated within 2 hours of dyeing
- Consume within one week for best quality
- Never use metallic containers which can react with natural dyes
- Discard eggs with visible cracks in shells
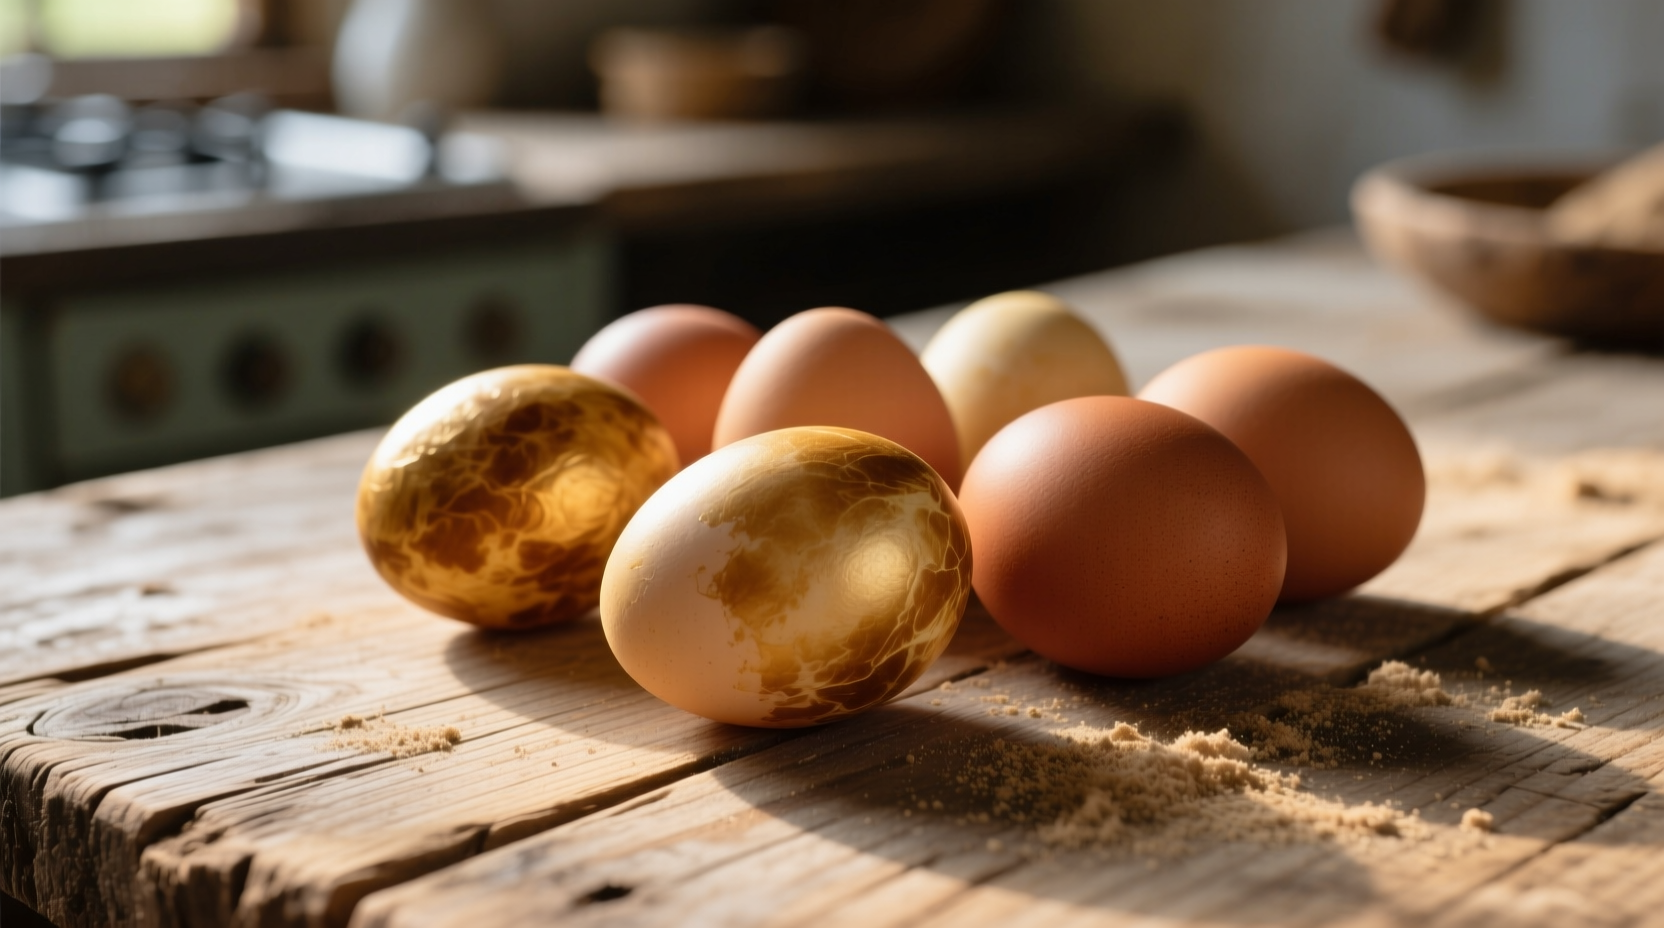
Remember that naturally dyed eggs won't have the uniform appearance of commercial dyes, but their organic variations create unique, artisanal results that celebrate nature's beauty.


 浙公网安备
33010002000092号
浙公网安备
33010002000092号 浙B2-20120091-4