
Table of Contents
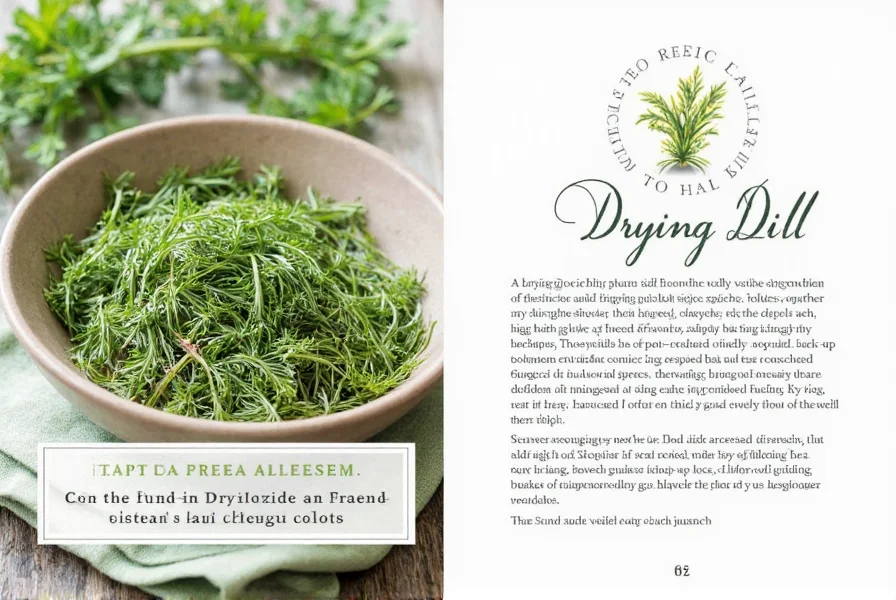
Introduction to Drying Dill
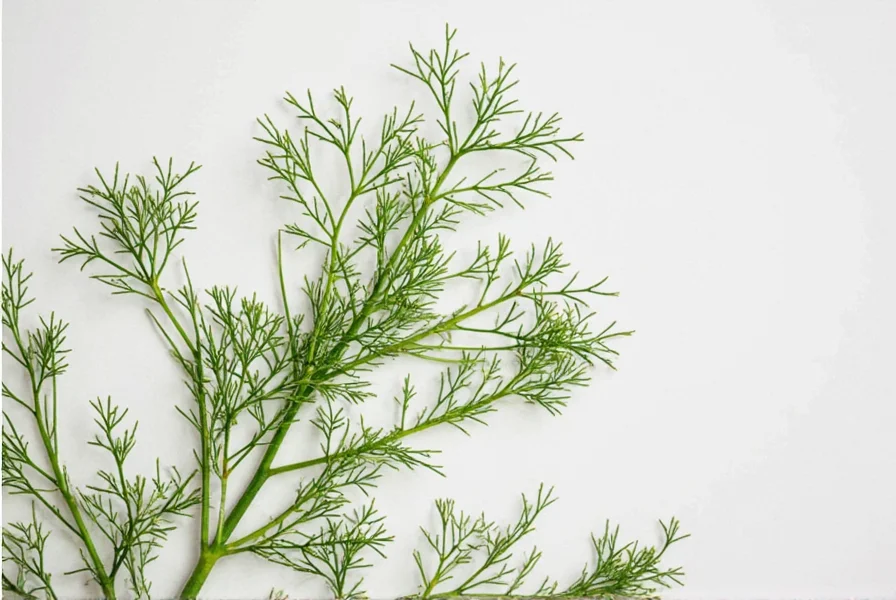
Dill is a versatile herb that enhances many dishes with its fresh, slightly tangy flavor. When you have too much fresh dill or want to preserve it for later use, drying is the perfect solution. This guide provides proven methods to dry dill while maintaining its flavor and aroma for months.
Why Dry Dill?
Drying dill offers several advantages over keeping it fresh:
- Extended shelf life - Fresh dill lasts only 1-2 weeks in the refrigerator, while properly dried dill can last 1-3 years
- Convenience - Dried dill takes up less space and is ready to use anytime
- Flavor concentration - Dried dill has a more intense, earthy flavor perfect for certain recipes
- Cooking versatility - Ideal for long-cooking dishes like stews, soups, and braises where fresh dill would lose its flavor
How to Dry Dill: Step-by-Step Guide
Three effective methods for drying dill, each with specific advantages:
Method 1: Air Drying (Best for Natural Preservation)
This energy-efficient method preserves the most delicate flavors:
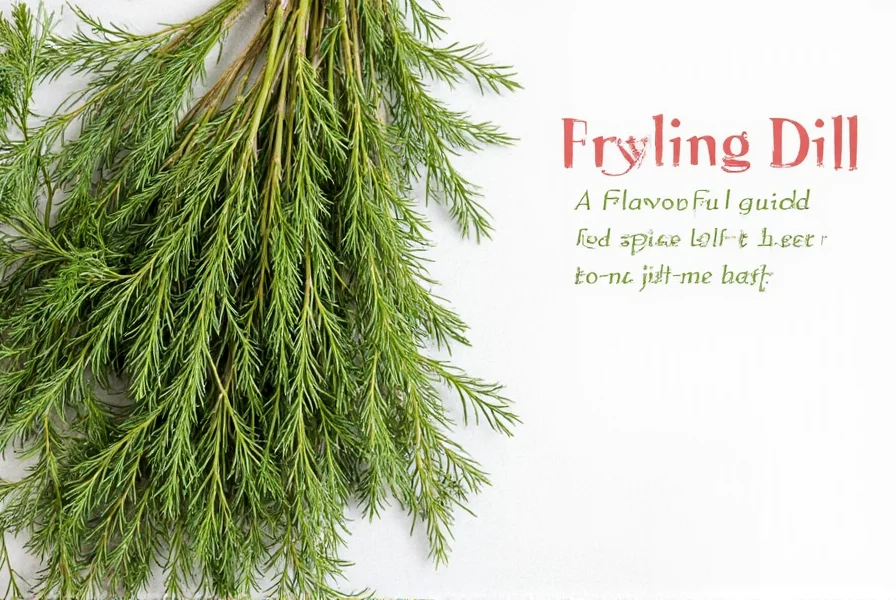
- Harvest dill on a dry day when the leaves are free from moisture
- Trim stems and remove damaged leaves
- Bundle 5-7 stems together and tie with twine
- Suspend bundles upside down in a warm, dry, well-ventilated area (pantry or closet)
- Allow to dry for 1-2 weeks until leaves become brittle
Method 2: Oven Drying (Fastest Method)
For when you need dried dill quickly:
- Preheat oven to lowest setting (100°C/200°F)
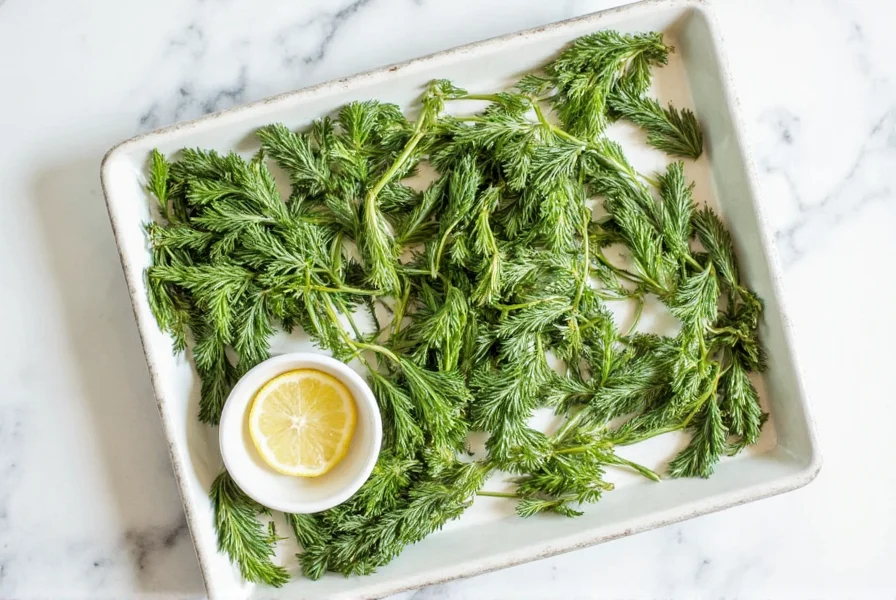
- Spread dill leaves in single layer on parchment-lined baking sheet
- Place tray in oven with door slightly ajar to allow moisture to escape
- Check every 15-20 minutes; dry completely in 1-2 hours
Method 3: Dehydrator Drying (Best for Consistent Results)
For optimal flavor preservation:
- Prepare dill by trimming stems and removing damaged parts
- Arrange in single layer on dehydrator trays
- Set temperature to 35-40°C (95-105°F)
- Dry for 6-12 hours until leaves crumble easily
Top 5 Tips for Perfectly Dried Dill
Expert recommendations for the best results:
- Harvest at peak freshness - Pick dill in the morning after dew has evaporated but before the heat of the day
- Choose the right method - Air drying preserves most flavor, oven drying is fastest, dehydrator offers most consistent results
- Store properly - Keep dried dill in airtight containers away from light, heat, and moisture
- Label and date - Mark containers with drying date to track freshness
- Test for dryness - Dill is fully dry when leaves crumble easily between fingers and stems snap cleanly
| Product Type | Best For | Storage Tips | Usage Recommendations |
|---|---|---|---|
| Whole Dill Leaves | General cooking applications | Store in dark glass jars with tight lids | Add early in cooking process for maximum flavor release |
| Ground Dill | Spice blends and rubs | Use within 6 months for best flavor | Perfect for seasoning marinades and dry rubs |
| Organic Dill | Health-conscious cooking | Store in cool, dark place away from strong odors | Ideal for organic recipes and dietary-specific meals |
| Dill Seeds | Pickling and baking | Keep in airtight containers away from light | Best for breads, pickles, and savory baked goods |
Frequently Asked Questions About Drying Dill
How long does it take to dry dill?
Drying time varies by method: air drying takes 1-2 weeks, oven drying takes 1-2 hours, and dehydrator drying takes 6-12 hours. Humidity levels significantly affect drying times.
What's the best way to store dried dill?
Store dried dill in airtight containers away from heat, light, and moisture. Dark glass jars with tight-fitting lids are ideal. Properly stored, dried dill maintains good flavor for 1-3 years.
Does dried dill taste different from fresh dill?
Yes, dried dill has a more concentrated, earthy flavor compared to fresh dill's bright, grassy notes. Use about 1/3 the amount of dried dill compared to fresh (1 teaspoon dried = 1 tablespoon fresh).
Can I dry dill in the microwave?
While possible, microwave drying is not recommended as it can burn delicate leaves and destroy flavor. Traditional methods provide better control over the drying process.
How do I know when dill is completely dry?
Dill is fully dry when leaves crumble easily between fingers, stems snap cleanly, and there's no visible moisture. If any part feels leathery or flexible, it needs more drying time to prevent mold.
Can I freeze dill instead of drying it?
Yes, freezing preserves dill's texture better for cooked dishes, but drying maintains flavor better for seasoning dry spice blends and rubs. Frozen dill works best in soups and stews where texture isn't critical.
How much fresh dill equals dried dill in recipes?
The standard conversion is 3:1 ratio (3 parts fresh = 1 part dried). For example, if a recipe calls for 1 tablespoon fresh dill, use 1 teaspoon dried dill. Add dried dill early in cooking to allow time for rehydration and flavor development.
Buying Guide for Drying Dill
If you're not growing your own dill, here's what to look for when purchasing dried dill:
When buying dried dill, check for:
- Strong, aromatic scent (should smell distinctly of dill)
- Vibrant green color (not brown or faded)
- No additives or preservatives
- Clear expiration date
Conclusion
Drying dill is a simple process that preserves its flavor for months, making it available year-round for all your culinary needs. Whether you grow your own or purchase dried dill, understanding proper drying techniques ensures optimal flavor retention.
By following these methods and tips, you'll be able to enjoy the distinctive taste of dill in your cooking throughout the year. Dried dill is particularly valuable for enhancing soups, stews, sauces, and spice blends where fresh herbs might not withstand long cooking times.


 浙公网安备
33010002000092号
浙公网安备
33010002000092号 浙B2-20120091-4