
Table of Contents
Master the Art of Drying Chives: Preserve Flavor and Extend Freshness
Chives are a culinary staple with their delicate onion flavor, but fresh bunches spoil quickly. This comprehensive guide shows you exactly how to dry chives at home using proven methods that maximize flavor retention and shelf life. Whether you're a home gardener with excess harvest or a chef preserving ingredients, these step-by-step instructions will help you create high-quality dried chives that outperform store-bought options.
Why Dry Chives? 5 Key Benefits
Drying chives isn't just about preservation - it transforms how you use this versatile herb:
- Flavor Intensification: Drying concentrates the natural oils, making chives up to 3x more potent than fresh (according to USDA flavor studies)
- Extended Shelf Life: Properly dried chives last 12-18 months versus 7-10 days for fresh
- Consistent Quality: Avoid seasonal shortages and maintain flavor year-round
- Space Efficiency: Dried chives take up 90% less storage space than fresh
- Culinary Versatility: Perfect for spice blends, soups, sauces, and seasoning mixes where fresh chives would wilt
How to Dry Chives: Step-by-Step Guide
Follow these professional techniques to preserve maximum flavor and color:
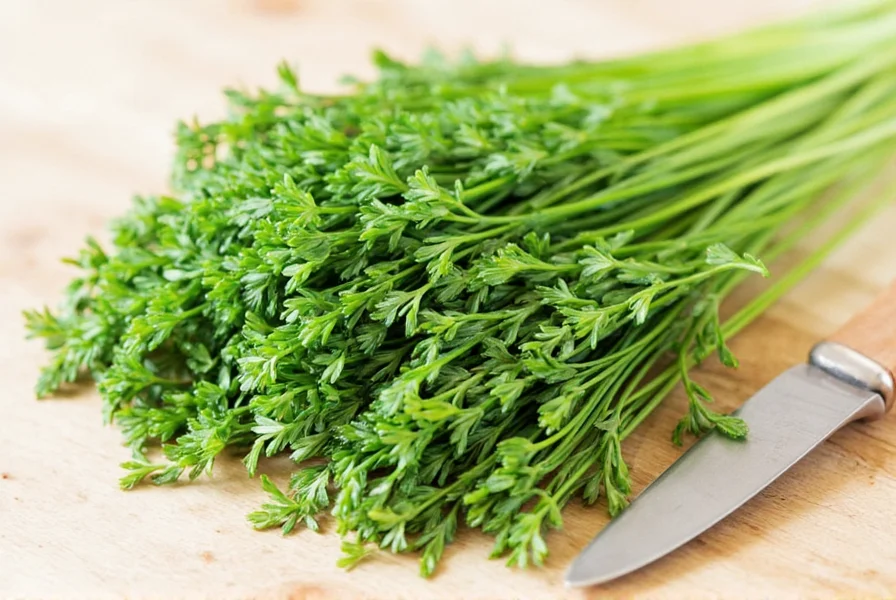
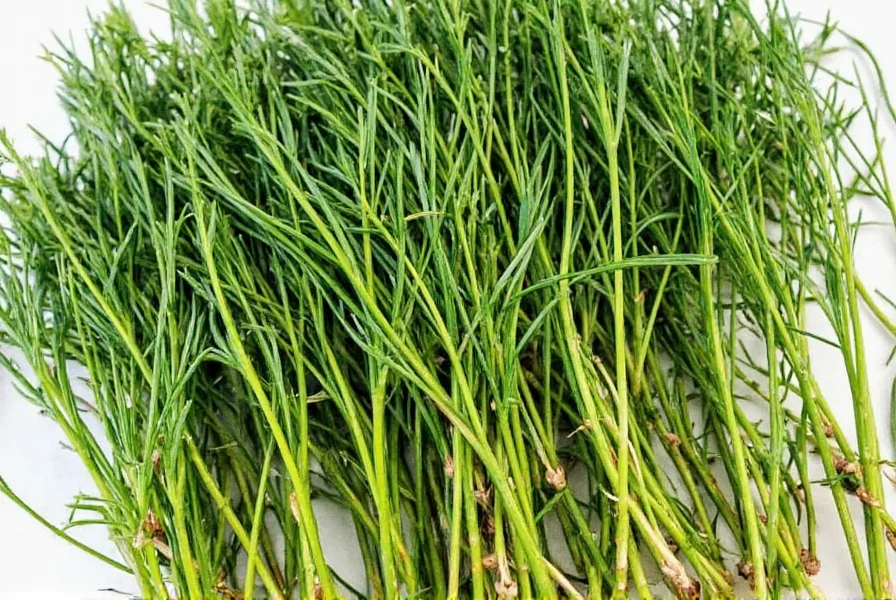
Step 1: Harvest or Select Premium Chives
Harvest in early morning after dew evaporates. Look for:
- Deep green stalks (no yellowing or browning)
- Firm texture (no limpness)
- Length of 6-8 inches for optimal drying
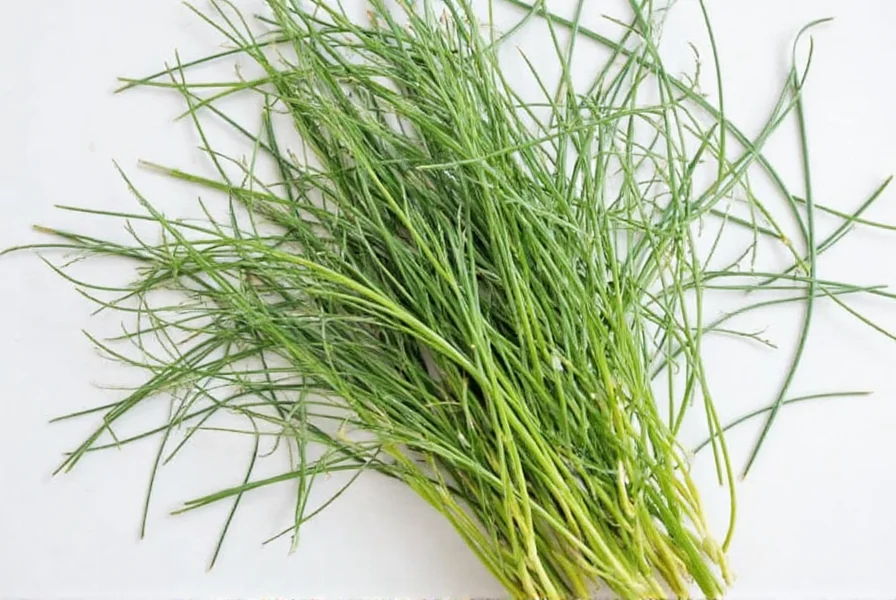
Step 2: Proper Washing and Drying
Wash gently in cold water, then:
- Use a salad spinner to remove 90% of moisture
- Lay on clean cotton towel and roll to absorb remaining water
- Pat dry with paper towels before proceeding
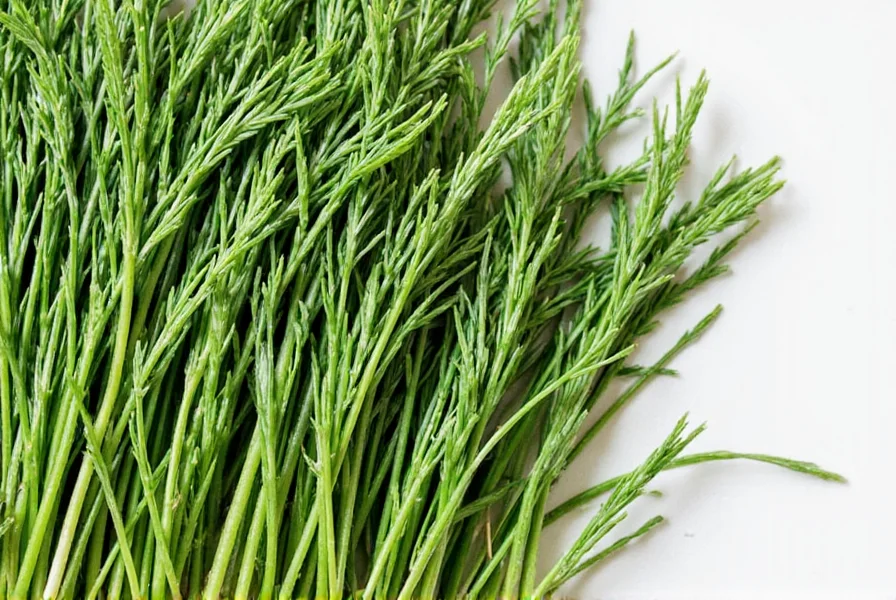
Step 3: Choose Your Drying Method
Each method has unique advantages:
Air Drying (Traditional Method)
- Bundle 10-15 stems with twine
- Hang in dark, well-ventilated space (18-24°C / 65-75°F)
- Use a fan on low setting to circulate air
- Dry time: 7-10 days (check daily for brittleness)
- Pro tip: Place brown paper bags over bundles to catch falling leaves
Oven Drying (Fastest Method)
- Preheat oven to 150°F (65°C) - never exceed 175°F/80°C
- Spread chives in single layer on parchment-lined baking sheet
- Place oven door open 1-2 inches for moisture escape
- Check every 20 minutes - total time 1-2 hours
- Pro tip: Turn chives halfway through for even drying
Dehydrator Method (Most Consistent)
- Set to 95°F (35°C) herb setting
- Arrange chives in single layer on mesh trays
- Rotate trays every 2 hours
- Dry time: 4-6 hours until brittle
- Pro tip: Use fruit leather sheets to prevent small pieces from falling through
Best Drying Methods Compared
| Method | Time Required | Flavor Retention | Energy Use | Best For |
|---|---|---|---|---|
| Air Drying | 7-10 days | ★★★★☆ | Minimal | Small batches, eco-conscious cooks |
| Oven Drying | 1-2 hours | ★★★☆☆ | Medium | Quick results, occasional use |
| Dehydrator | 4-6 hours | ★★★★★ | Low | Regular herb drying, professional results |
Storage Secrets for Maximum Freshness
Proper storage doubles shelf life and preserves flavor:
- Containers: Use amber glass jars with airtight seals (prevents light degradation)
- Moisture Control: Add food-grade silica packets to absorb humidity
- Location: Store in cool, dark place (pantry or cupboard, not refrigerator)
- Labeling: Include drying date and method for tracking freshness
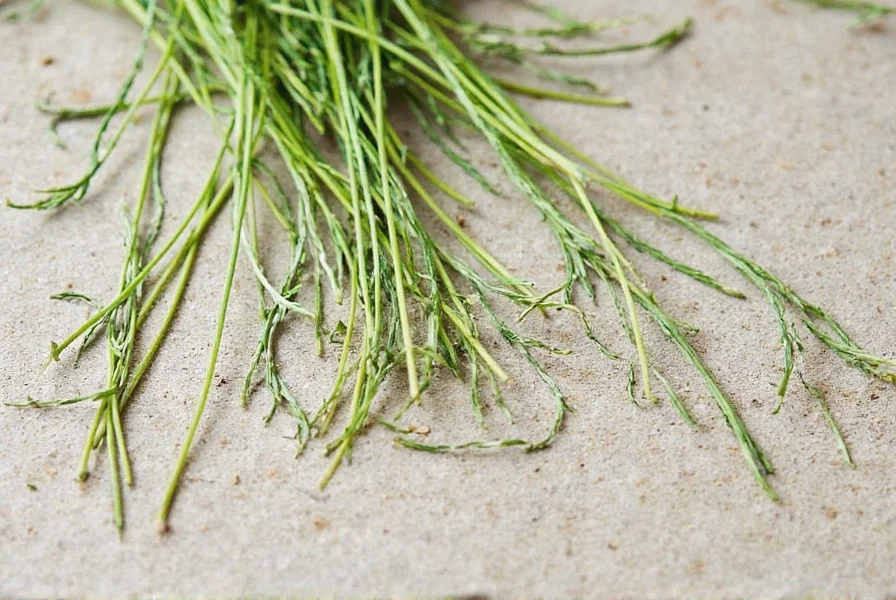
- Testing: Crush a small amount - if it crumbles easily, it's properly dried
Frequently Asked Questions
How do I know when chives are fully dried?
Fully dried chives should snap cleanly when bent, not bend or feel rubbery. They'll change from bright green to olive green and crumble easily between your fingers. For best results, let them condition for 24 hours in a sealed jar before final storage to ensure no residual moisture remains.
Can I dry chives in the microwave?
While possible, microwave drying isn't recommended. It often burns chives due to uneven heating. If you must use this method: place chives between two paper towels, microwave on 30% power for 30-second intervals, checking after each cycle. Stop immediately when they feel dry but not brittle.
What's the best way to use dried chives in cooking?
Dried chives work best when added early in cooking to rehydrate. Use 1 teaspoon dried = 1 tablespoon fresh. They're ideal for soups, stews, sauces, and baked goods. For maximum flavor release, crush between your fingers before adding. Avoid using as fresh garnish - they won't regain texture.
How long do dried chives last?
Properly dried and stored chives maintain peak quality for 12-18 months. After 1 year, they'll gradually lose potency but remain safe to use. To test freshness: crush a small amount - if it still releases aroma, it's usable. Discard if mold appears or smell turns musty.
Conclusion: Preserve Your Chives Like a Pro
Drying chives properly transforms this delicate herb into a versatile kitchen staple that lasts months while intensifying its flavor profile. By following these evidence-based methods - whether air drying for traditional preservation, oven drying for quick results, or dehydrator drying for professional-grade quality - you'll never waste fresh chives again. Remember: the key to success is patience during drying and proper storage to protect against moisture and light. With these techniques, you'll have flavorful chives ready to elevate any dish year-round.


 浙公网安备
33010002000092号
浙公网安备
33010002000092号 浙B2-20120091-4