
Table of Contents
- Quick Dry Brine Chicken Guide (Jump to Steps)
- Why Dry Brine Chicken Works Better
- How to Dry Brine Chicken: Simple 4-Step Method
- Dry Brine Timing Chart for All Cuts
- Fix Common Dry Brining Mistakes
- Easy Flavor Variations (No Science Degree Needed)
How to Dry Brine Chicken: The Essential 4 Steps
Dry brining chicken properly takes just 5 minutes of active time and transforms ordinary poultry into restaurant-quality meals. Here's what you need to know: Pat chicken dry, apply 1 teaspoon kosher salt per pound, refrigerate uncovered for 12-24 hours, then roast without rinsing. This simple process guarantees crispy skin and juicy meat every time - no special equipment required.

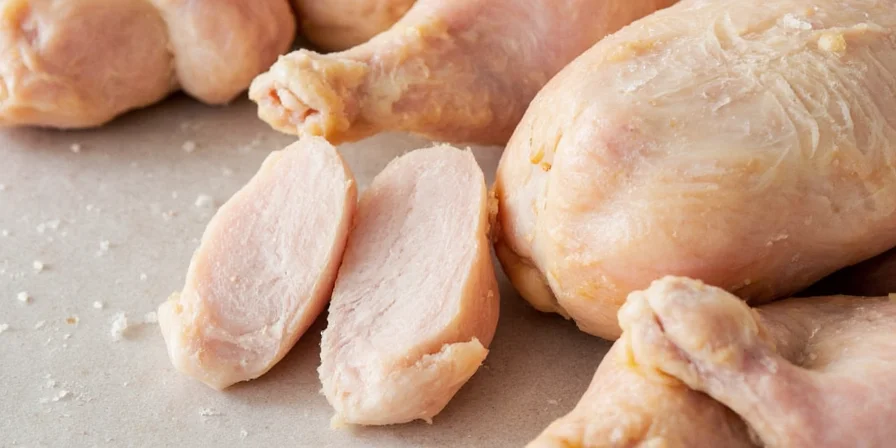
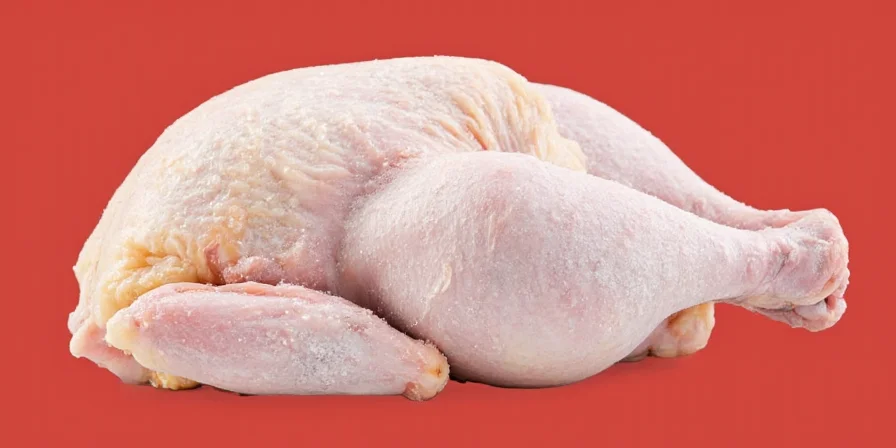
Dry surface enables perfect browning during cooking - no soggy skin here.
Unlike wet brining, dry brining requires no extra pots or refrigerator space. Home cooks consistently achieve better results with this method because it solves the fundamental problem of getting both crispy skin AND juicy meat. The salt works its magic while your chicken rests in the fridge, making weeknight dinners and special occasions equally impressive.
Why Dry Brine Chicken Works Better Than Wet Brining
Home cooks often struggle with soggy skin when using traditional wet brines. Dry brining solves this problem completely by working with your chicken's natural moisture instead of adding extra liquid. Here's what makes it superior for everyday cooking:
| What Matters Most | Wet Brine Result | Dry Brine Result |
|---|---|---|
| Skin Crispness | Soggy, difficult to brown | Perfectly crispy every time |
| Flavor Intensity | Watery, diluted taste | Bold, concentrated chicken flavor |
| Time Required | 24+ hours soaking | 12-24 hours resting (no active time) |
| Kitchen Mess | Large container, salty water disposal | Just a baking sheet and paper towels |

Notice the dramatic difference in skin texture - dry brined chicken browns evenly without splotches.
How to Dry Brine Chicken: Simple 4-Step Method
Follow these practical steps for foolproof results every time. No special equipment needed - just items you already have in your kitchen:
- Dry the surface: Remove packaging and thoroughly pat chicken dry with paper towels. Every bit of moisture removed now means crispier skin later.
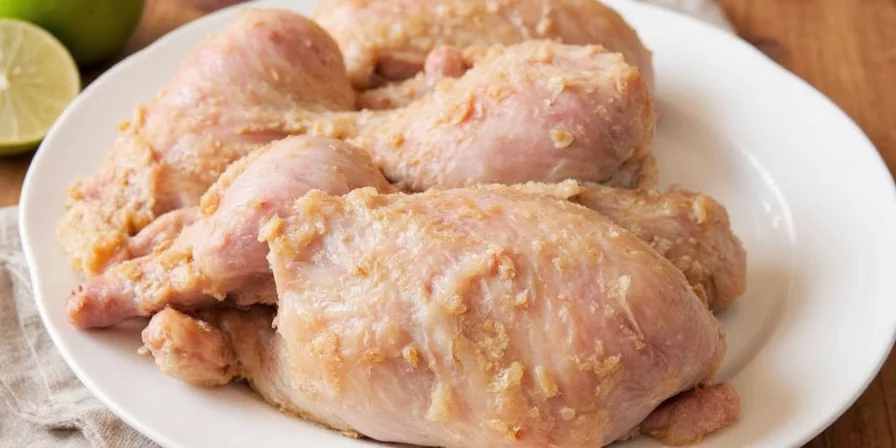
- Apply salt: Use 1 teaspoon kosher salt per pound of chicken. For table salt, use 3/4 teaspoon instead. Sprinkle evenly over all surfaces.
- Refrigerate uncovered: Place on a wire rack over a baking sheet and refrigerate for 12-24 hours. The uncovered time dries the skin perfectly.
- Cook directly: Remove from fridge and roast immediately without rinsing. Start at 425°F (220°C) for best browning.
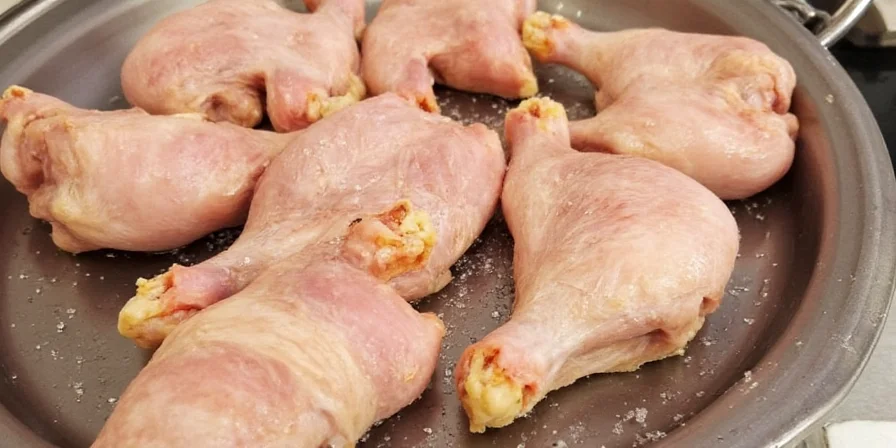
Air circulation prevents condensation - this simple trick makes all the difference.
Dry Brine Timing Chart for All Chicken Cuts
Timing matters - too little time won't develop flavor, too much can over-salt. This chart shows exactly how long each cut needs:
| Chicken Cut | Minimum Time | Best Results | Avoid Over-Brining |
|---|---|---|---|
| Whole Chicken (3-5 lbs) | 12 hours | 24 hours | 48+ hours |
| Bone-in Breast | 8 hours | 12 hours | 24+ hours |
| Thighs/Drumsticks | 6 hours | 10 hours | 20+ hours |
| Boneless Breast | 4 hours | 8 hours | 16+ hours |
Pro tip: For best results, take chicken out of the refrigerator 30 minutes before cooking. This brings it closer to room temperature for more even cooking.
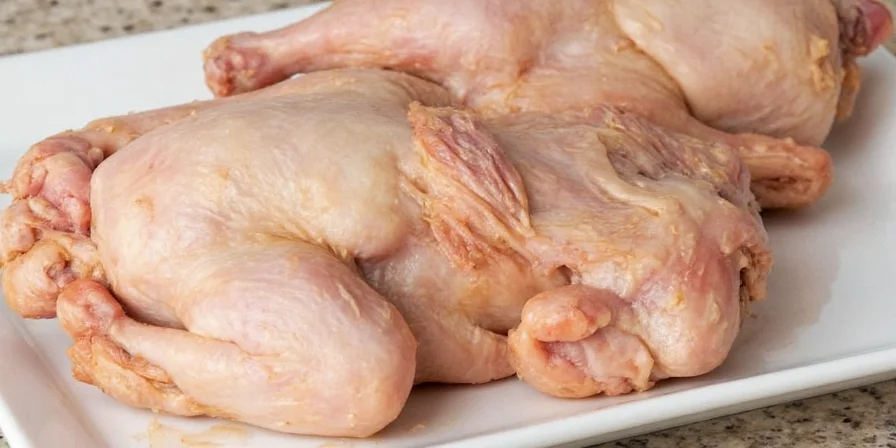
Notice how the skin looks dry and slightly shrunken - perfect condition for crisping.
Fix Common Dry Brining Mistakes
These simple solutions fix the most frequent problems home cooks encounter:
"My chicken skin isn't crispy"
This happens when the surface wasn't dry enough before cooking. Solution: Pat chicken completely dry after removing from packaging, and ensure at least 4 hours of uncovered refrigeration time.
"The chicken tastes too salty"
Usually caused by using table salt instead of kosher salt without adjusting. Fix: Use 1 tsp kosher salt per pound, or 3/4 tsp table salt. For future reference, measure by weight (0.5% salt by chicken weight).
"I don't have time for 24 hours"
Even 2 hours makes a difference! Minimum times: boneless breasts (2 hours), bone-in pieces (4 hours), whole chicken (8 hours). Better than nothing when you're in a hurry.
"Can I add other seasonings with the salt?"
Add salt first and wait 1 hour before adding other seasonings. This gives salt time to begin working without interference. Pepper can burn during cooking - add it after the initial high-heat phase.
Easy Flavor Variations (No Science Degree Needed)
Once you've mastered the basic dry brine, try these simple flavor boosts that home cooks love:
- Lemon Herb: After 1 hour of salt application, add zest of 1 lemon + 1 tbsp dried thyme per pound
- Spicy Southwest: Mix 1 tsp smoked paprika with salt before applying to chicken
- Garlic Parmesan: After 12 hours, rub with 1 minced garlic clove + 1 tbsp grated parmesan per breast
- Sweet Heat: Combine 1 tsp brown sugar with salt for balanced flavor on wings or drumettes
- Simple Sunday Dinner: Just salt and freshly ground black pepper - nothing beats classic flavor
These simple combinations create restaurant-quality results with minimal effort.
Final Thoughts: Your New Go-To Chicken Method
Dry brining chicken transforms weeknight dinners with minimal effort. Unlike complicated techniques that require special equipment, this method uses what you already have in your kitchen. The secret is understanding that salt needs time to work its magic - not constant attention.
Once you've tried dry brining, you'll wonder why you ever struggled with soggy-skinned chicken. The process fits perfectly into busy schedules: apply salt before bed, cook it in the morning. Or prepare on Sunday for easy meals all week. For best results, start with the basic salt-only method, then experiment with flavors as you gain confidence.
This is what perfectly executed dry brining looks like - golden brown and shatteringly crisp.


 浙公网安备
33010002000092号
浙公网安备
33010002000092号 浙B2-20120091-4