
Whether you're an aspiring artist or just looking for a relaxing creative activity, drawing a potato offers surprising benefits. This humble vegetable provides the perfect subject for developing essential drawing skills like observation, form rendering, and texture representation. Unlike complex subjects, potatoes have simple organic shapes that help beginners build confidence while learning fundamental techniques.
Why Drawing Potatoes Builds Essential Art Skills
Professional art educators consistently recommend starting with simple organic forms like potatoes. According to the Museum of Modern Art's educational resources, "basic vegetable forms teach artists to observe subtle variations in shape, understand light direction, and practice creating three-dimensional illusions on flat surfaces." Potatoes contain all the elements needed for foundational drawing practice: irregular organic shapes, varied textures, and natural shadows.
Materials You'll Need
Before starting, gather these basic supplies:
- Pencils (HB, 2B, and 4B for varied line weight)
- Eraser (kneaded works best for subtle corrections)
- Sketch paper (any quality will work for practice)
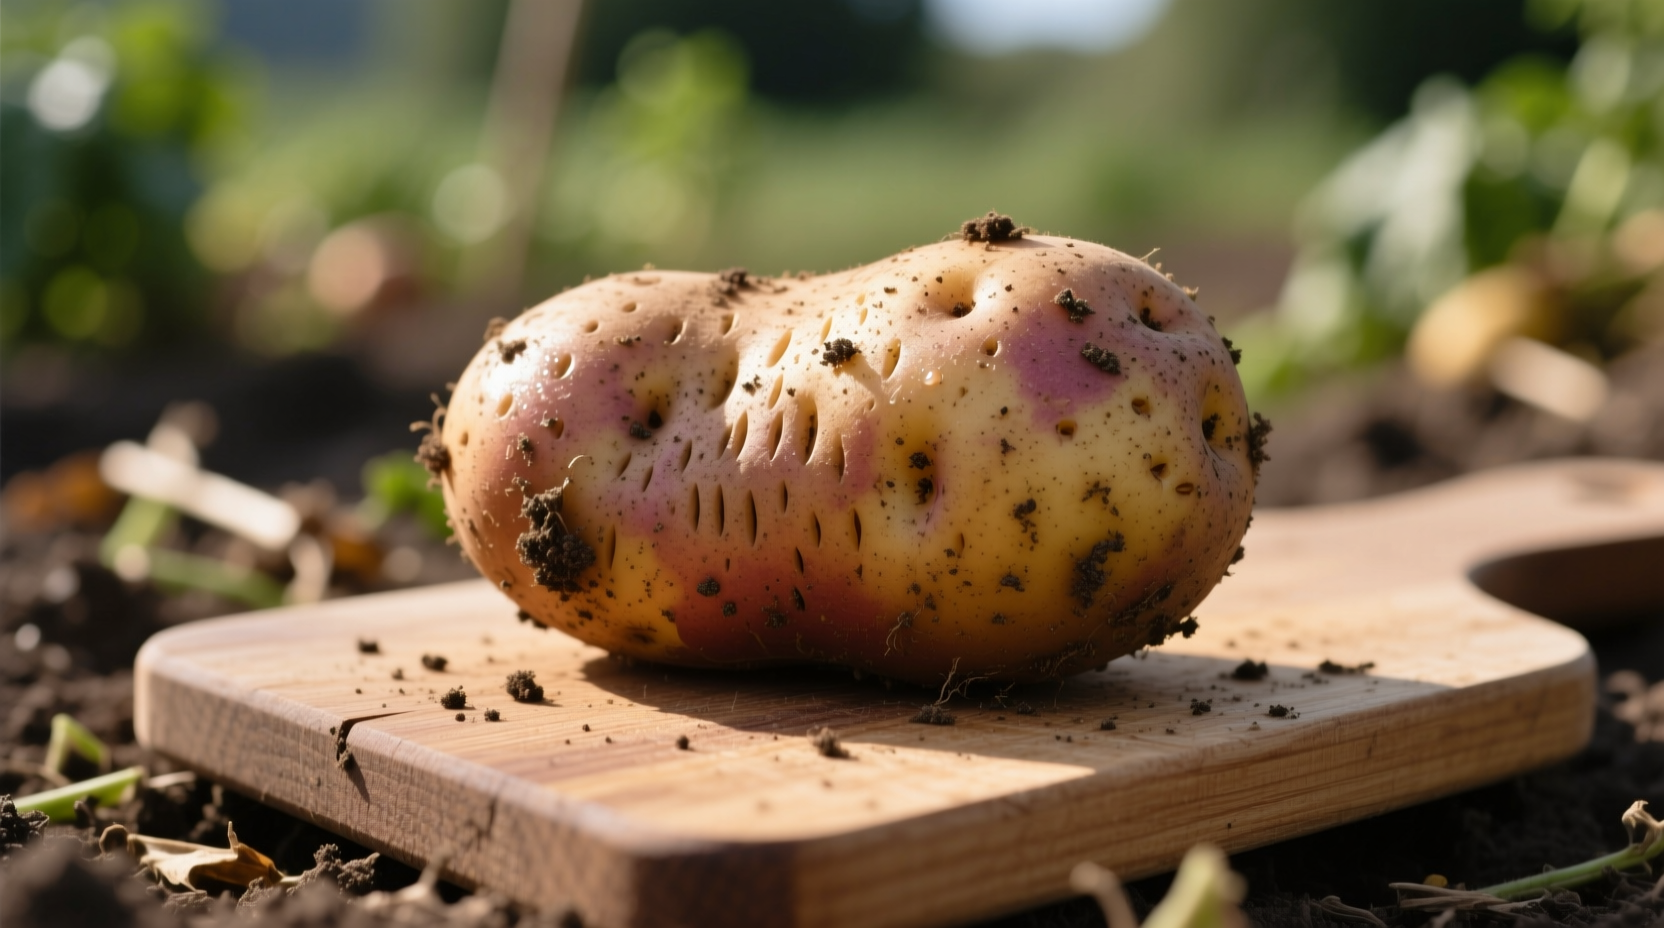
- A real potato (your reference object)
- Good lighting (natural light from a window is ideal)
Step-by-Step Potato Drawing Process
Follow these five steps to create a realistic potato drawing:
Step 1: Basic Shape Construction
Begin with light, loose lines to establish the potato's overall shape. Most potatoes aren't perfect ovals - they have irregular bumps and indentations. Don't worry about perfection; focus on capturing the general form. Use your pencil sideways for softer, lighter lines that are easy to adjust.
Step 2: Defining Key Features
Identify and lightly sketch the potato's distinctive features: eyes, sprouts, and surface irregularities. Remember that potatoes have varying depths of eyes - some shallow, some deep. Position these features according to your reference potato, noting their placement relative to the overall shape.

Step 3: Establishing Light Source
Determine where your light is coming from (single light source works best for beginners). The side facing the light will be brightest, while the opposite side falls into shadow. The area where light meets shadow is called the terminator line - this is crucial for creating dimension.
Step 4: Building Values Gradually
Start with medium pressure using your HB pencil to establish mid-tones. Progress to 2B for darker areas, saving 4B for the deepest shadows. Remember: potatoes aren't uniformly colored - they have subtle variations in value across their surface. Build up layers gradually rather than pressing hard immediately.
Step 5: Adding Texture and Final Details
Use short, directional strokes to suggest the potato's skin texture. Focus on areas around the eyes and any surface blemishes. Avoid overworking the drawing - sometimes less detail creates a more convincing representation. Step back periodically to assess your progress from a distance.
Common Potato Drawing Mistakes to Avoid
Even experienced artists encounter challenges when drawing simple objects. Here are frequent issues and how to address them:
- Overcomplicating the shape: Potatoes have organic irregularities, but maintain a cohesive form. If your drawing looks fragmented, simplify by focusing on the overall silhouette first.
- Ignoring value transitions: Harsh transitions between light and dark create a flat appearance. Practice gradual value shifts to enhance three-dimensionality.
- Adding too much detail too soon: Build your drawing in stages, establishing basic shapes and values before refining details.
- Misjudging proportions: Regularly compare different parts of your subject to maintain accurate relationships between features.
Progression Timeline: Building Skills Through Potato Practice
Consistent practice with this simple subject yields measurable improvement. Based on curriculum from Arty Factory's drawing program, here's what you can expect:
| Practice Duration | Skill Development | Expected Outcome |
|---|---|---|
| First attempt | Basic shape recognition | Simple outline with minimal detail |
| 1 week (15-20 minutes daily) | Understanding light direction | Basic shading showing form |
| 3 weeks | Value transitions and texture | More realistic representation with surface details |
| 6 weeks | Advanced observation skills | Confident rendering of complex organic forms |
Understanding Different Potato Varieties for Drawing
Not all potatoes draw the same. Recognizing variety characteristics helps create more authentic drawings. According to agricultural resources from USDA Agricultural Research Service, common varieties present distinct drawing challenges:
- Russet potatoes: Rough, netted skin texture with deep eyes - excellent for practicing complex surface details
- Red potatoes: Smooth skin with shallow eyes - better for focusing on form and subtle value changes
- Fingerling potatoes: Elongated shapes with irregular curves - great for practicing organic line work
- Sweet potatoes: Tapered ends and smoother transitions - ideal for value study practice
Practical Exercises to Improve Your Potato Drawings
Try these targeted exercises to develop specific skills:
Blind Contour Drawing
Draw the potato without looking at your paper. This exercise improves hand-eye coordination and forces you to observe your subject more carefully. The results may be messy, but your observational skills will improve significantly.
Value Scale Practice
Create a 9-step value scale on a separate paper, then match each area of your potato to the closest value. This helps train your eye to see subtle differences in light and dark areas.
Multiple Angle Studies
Draw the same potato from three different angles on one page. This develops spatial understanding and shows how form changes with perspective.
Next Steps in Your Drawing Journey
Once you've mastered the potato, apply these skills to more complex subjects. The techniques you've developed - observation, value control, and texture rendering - transfer directly to drawing other organic forms. Try progressing to onions, garlic, or even more complex vegetables like broccoli. Remember that professional artists often return to simple subjects like potatoes throughout their careers to maintain fundamental skills.


 浙公网安备
33010002000092号
浙公网安备
33010002000092号 浙B2-20120091-4