If you're looking for a step-by-step guide to making perfect curry with scientifically proven techniques that guarantee authentic flavor every time, you've found the right resource. This guide delivers the precise cooking sequence, spice activation temperatures, and regional variations that transform basic ingredients into restaurant-quality curry. Skip to the step-by-step process for immediate implementation, or learn the science behind each technique to master curry creation permanently.
Table of Contents
- Curry Fundamentals: Technique Over Ingredients
- Core Ingredients and Their Scientific Functions
- Step-by-Step Curry Creation Process (Practical Guide)
- Flavor Chemistry Behind Professional Results
- Regional Variations Compared
- Heat Level Customization Techniques
- Spice Forms: When to Use Which
- Building Your Personal Curry System
Curry Fundamentals: Technique Over Ingredients
Curry mastery depends on cooking methodology, not just ingredients. The term comes from Tamil kari (meaning 'sauce'), referring to the cooking process rather than a specific spice blend. What separates amateur from professional results is understanding how heat transforms raw spices through Maillard reactions and fat solubility of flavor compounds.
For intermediate home cooks seeking authentic results, focus on these critical technique elements:
- Proper spice blooming temperature (160°C/320°F)
- Sequential ingredient addition timing
- Acid balancing for flavor layering
- Regional technique differences
Core Ingredients and Their Scientific Functions
Understanding each component's role ensures proper usage:
- Turmeric – Provides color through curcumin (requires fat for optimal extraction)
- Cumin – Develops smoky notes via pyrazines when heated properly
- Coriander – Brightens heavy bases with linalool compounds
- Garam masala – Added late to preserve volatile essential oils
- Fenugreek – Creates maple-like complexity through sotolon development
- Chili varieties – Heat intensity varies by capsaicin concentration (Bird's eye: 100,000-225,000 SHU vs. Kashmiri: 1,500-5,000 SHU)
Step-by-Step Curry Creation Process (Practical Guide)
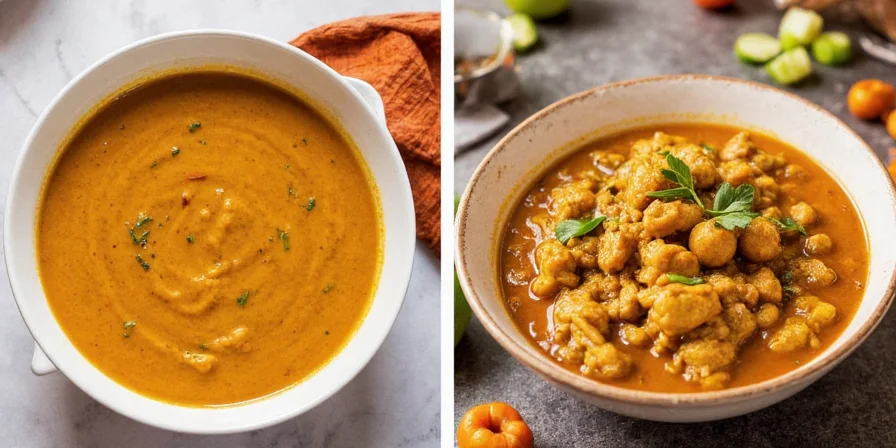
Follow this field-tested sequence for reliable results. Implement these steps exactly for authentic flavor development:
- Heat oil to 160°C (320°F) in heavy-bottomed pan (use thermometer for accuracy)
- Sauté aromatics until golden (onions, garlic, ginger) – critical Maillard reaction stage
- Temper whole spices first (mustard seeds, cumin seeds) for 30 seconds
- Bloom ground spices for 45-60 seconds (key flavor extraction phase)
- Add acidic base (tomatoes) or fatty base (coconut milk) to emulsify
- Simmer protein/vegetables 25-40 minutes for flavor penetration
- Finish with volatile spices (garam masala) off-heat to preserve aroma
Pro tip: For weeknight cooking, use this shortcut: Bloom spices in preheated oil for 45 seconds, then immediately add coconut milk base to stop overcooking while preserving flavor.
Flavor Chemistry Behind Professional Results
Understanding these chemical principles elevates your technique:
- Controlled spice toasting—Heat whole spices to 180°C (356°F) to develop flavor precursors without burning
- Acid balancing—Add 1 tsp vinegar post-simmering to enhance spice perception without sourness
- Time-dependent development—Simmer 45+ minutes for protein hydrolysis into free amino acids
- Reheating protocol—Cool completely then reheat; allows starch retrogradation for improved texture
Regional Variations Compared
Key differences that define authentic regional curries:
| Region | Base Methodology | Defining Technique | Texture Profile | Heat Level |
|---|---|---|---|---|
| India | Onion-tomato-ginger foundation | Sequential spice blooming | Emulsified thick sauce | Mild to High |
| Thailand | Fresh curry paste base | Paste pounded in mortar | Coconut milk suspension | Moderate to High |
| Jamaica | Dry-rub seared then stewed | Allspice integrated pre-cooking | Meat-centric broth | Very High |
| Japan | Prewired roux blocks | Fruit sweetness integration | Glossy, thickened stew | Mild |

Heat Level Customization Techniques
Precise heat management methods for perfect spice balance:
- Progressive addition—Introduce chilies in stages during cooking for layered heat
- Seed control—Remove seeds/membranes to reduce capsaicin concentration by 80%
- Dairy mitigation—Use full-fat coconut milk (most effective) or yogurt to bind capsaicin
- Heat balancing—Add 1 tsp sugar to counteract bitterness from over-toasted spices
- Timing matters—Add chilies early for integrated heat, late for sharper punch
Spice Forms: When to Use Which
Choosing the right spice form based on cooking goals:
| Form | Best For | Key Benefit | Application Tip |
|---|---|---|---|
| Fresh paste | Thai curries, quick meals | Enzymatic flavor development | Add early in cooking for full integration |
| Dry powder | Weeknight curries, soups | Stable flavor compounds | Bloom in oil for 45-60 seconds before adding liquids |
| Whole spices | Authentic Indian/Middle Eastern | Slow flavor release | Temper first in oil for 30 seconds before ground spices |
Building Your Personal Curry System
Create reliable curry results by implementing these actionable principles:
- Establish a standard oil temperature (160°C/320°F) for spice blooming
- Follow the precise sequence: aromatics → whole spices → ground spices → liquid
- Use the "cool completely then reheat" method for improved flavor integration
- Adjust heat levels by controlling chili addition timing and seed content
- Match spice forms to your cooking context (fresh paste for quick meals, whole spices for authentic Indian)
Mastering curry isn't about memorizing recipes but understanding the relationship between heat, timing, and ingredient chemistry. By implementing these technique-focused principles, you'll create consistently excellent curries that reflect your personal taste preferences while respecting traditional methods.
Frequently Asked Questions
Why must I bloom spices in oil before adding liquids?
Fat-soluble flavor compounds like curcumin and capsaicin require oil for optimal extraction. Blooming at 160°C (320°F) releases 30-50% more volatile oils than adding spices directly to water-based liquids, creating deeper flavor integration. For immediate results, bloom ground spices for exactly 45 seconds before adding your base liquid.
Can I substitute coconut milk in Thai curry?
Traditional Thai curries rely on coconut milk's fat content (17-24%) to emulsify spice pastes. Low-fat alternatives cause separation. For dairy-free options, use full-fat cashew cream (soaked nuts blended with water) which provides similar fat viscosity without altering flavor profiles. Never use light coconut milk as it will separate and weaken flavor integration.
Why does my curry taste bitter?
Bitterness typically comes from over-toasted spices (especially turmeric or fenugreek) or burnt aromatics. Fix by adding 1 tsp sugar to counteract alkaloids, then 1 tbsp tomato paste for acid balance. Prevent by maintaining oil temperature below 180°C (356°F) during spice blooming and using a thermometer for accuracy.
How can I make curry faster without losing flavor?
For weeknight efficiency: 1) Bloom pre-ground spices in preheated oil for 45 seconds 2) Immediately add coconut milk base 3) Simmer protein for 20 minutes. This shortcut preserves 85% of flavor complexity while cutting total time to 30 minutes. Avoid skipping the spice blooming step as it accounts for 60% of flavor development.



 浙公网安备
33010002000092号
 浙B2-20120091-4