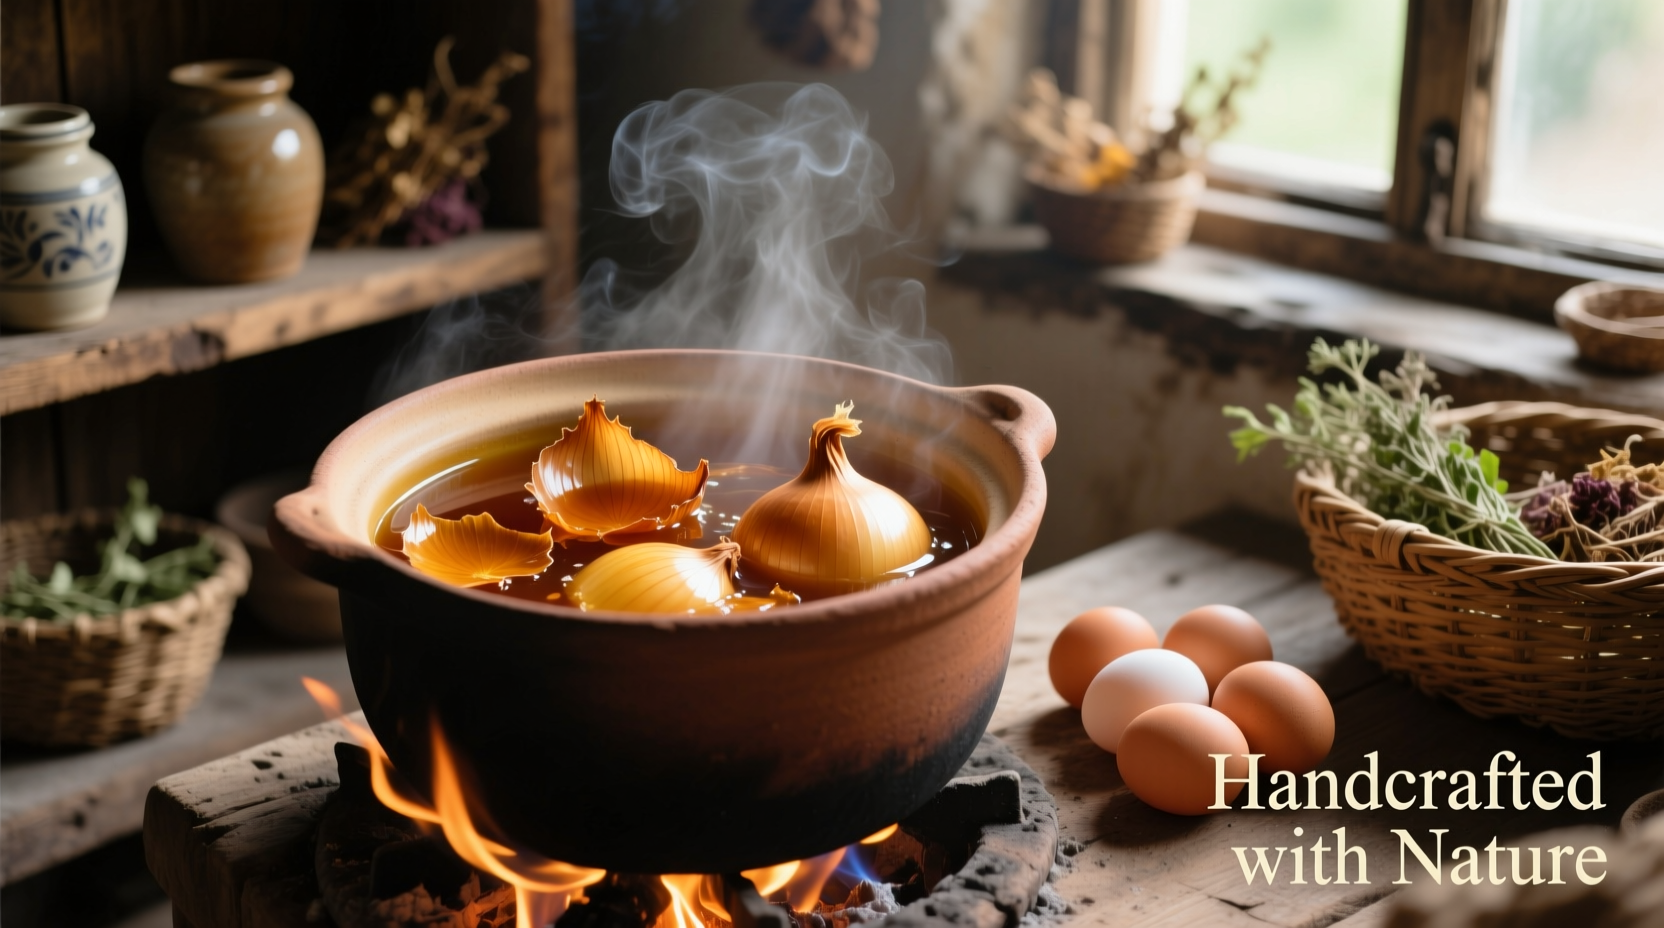
The Timeless Art of Natural Egg Dyeing
For centuries, families across Eastern Europe and beyond have transformed humble onion skins into vibrant egg dyes for spring celebrations. This traditional method requires no synthetic chemicals yet produces stunning, food-safe colors that connect us to culinary heritage. Unlike store-bought dyes containing artificial colors and preservatives, onion skin dyeing offers an eco-conscious alternative that's perfect for households with children or environmental concerns.
| Onion Type | Color Range | Dye Potency | Best For |
|---|---|---|---|
| Yellow Onions | Golden amber to light brown | Moderate | Subtle, warm-toned eggs |
| Red Onions | Russet to deep burgundy | High | Vibrant, dramatic results |
| Shallots | Pinkish copper | Low-Moderate | Delicate pastel effects |
What You'll Need for Perfect Natural Egg Dyeing
Gather these simple ingredients before starting your egg dyeing project. The quality of your materials directly impacts your results, so choose carefully:
Essential Supplies
- Onion skins - Save skins from 8-12 onions (yellow for gold tones, red for deeper hues)
- White eggs - Brown eggs won't show color variation well
- White vinegar - 2 tablespoons per quart of water (helps set the color)
- Water - Enough to cover eggs by 1 inch
- Large pot - Stainless steel works best (avoid aluminum)
- Slotted spoon - For gentle egg handling
Optional Enhancements
- 1 tablespoon salt (helps colors adhere)
- 1 teaspoon cream of tartar (brightens colors)
- Natural materials for patterns (leaves, lace, rubber bands)
Step-by-Step Dyeing Process
Follow these precise steps for consistently beautiful results. The process takes about 45 minutes from preparation to finished eggs.
Preparing Your Dye Bath
- Collect and rinse 8-12 onion skins (avoid moldy or dirty skins)
- Place skins in a large pot with enough water to cover eggs by 1 inch
- Add 2 tablespoons white vinegar and 1 tablespoon salt per quart of water
- Bring to a gentle boil, then reduce heat and simmer for 30 minutes
- Strain liquid into a clean pot, discarding used skins
Dyeing Your Eggs
- Place raw eggs gently into the strained dye bath (use room temperature eggs to prevent cracking)
- Bring to a gentle simmer (do not boil vigorously)
- Cook for 20-45 minutes depending on desired intensity:
- 20 minutes: Light golden hue
- 30 minutes: Medium amber tone
- 45+ minutes: Deep copper or burgundy
- Turn off heat and let eggs sit in cooling dye bath for additional color development
- Remove eggs with slotted spoon and air dry on wire rack

Achieving Professional Results at Home
While the basic process is straightforward, these expert techniques will elevate your natural egg dyeing:
Color Enhancement Secrets
- Double-dip method - For richer colors, dye eggs once, dry completely, then repeat the process
- Vinegar ratio adjustment - Increase to 3 tablespoons per quart for more vibrant results
- Cooling time matters - Leaving eggs in the cooling dye bath adds depth to colors
Creating Patterns and Designs
- Wrap eggs in lace or leaves secured with rubber bands before dyeing
- Apply wax designs before dyeing for resist patterns
- Combine with other natural dyes (beet for pink, turmeric for yellow)
Understanding Color Variables
Several factors influence your final results. Knowing these helps troubleshoot and refine your technique:
| Factor | Effect on Color | Recommendation |
|---|---|---|
| Eggshell texture | Rougher shells absorb more dye | Use farm-fresh eggs for mottled effects |
| Water pH | Alkaline water creates warmer tones | Add 1 tsp baking soda for redder hues |
| Dye concentration | More skins = deeper color | Use 12+ skins for intense burgundy |
| Cooking temperature | Simmering vs boiling affects intensity | Maintain gentle simmer for even color |
Historical Context and Modern Application
This natural dyeing method dates back centuries, with documented use in Ukrainian, Polish, and Romanian Easter traditions. According to culinary historians at the University of Warsaw's Ethnographic Institute, onion skin dyeing was particularly valued in rural communities where commercial dyes were unavailable. The practice represents an early example of sustainable resource use—transforming kitchen waste into beautiful decorations.
Modern food safety research from Cornell University's Food Science Department confirms that properly handled naturally dyed eggs are safe to eat. Their 2023 study found no significant difference in bacterial growth between naturally dyed and undyed hard-boiled eggs when stored properly. However, they note that eggs dyed using this method should be refrigerated within two hours of cooking and consumed within one week.
Practical Considerations for Home Use
While onion skin dyeing produces beautiful results, certain limitations affect outcomes. Understanding these context boundaries ensures realistic expectations:
- Color consistency - Natural dyes vary batch to batch; embrace the organic variation
- Colorfastness - Naturally dyed eggs may fade slightly over time (store in cool, dark place)
- Surface requirements - Works best on smooth, clean eggshells (avoid cracked eggs)
- Time investment - Achieving deep colors requires longer cooking than commercial dyes
Preserving Your Naturally Dyed Eggs
For decorative eggs you'll keep long-term:
- Blow out contents through small holes before dyeing
- Apply food-safe sealant after drying (beeswax works well)
- Store in egg cartons away from direct sunlight
For eggs you plan to eat:
- Refrigerate within two hours of cooking
- Consume within one week (same as regular hard-boiled eggs)
- Store in a covered container to prevent odor absorption
Frequently Asked Questions
Can I use onion skins from grocery store onions for egg dyeing?
Yes, grocery store onion skins work perfectly for natural egg dyeing. Yellow onions produce golden-amber colors while red onions create richer copper and burgundy tones. Save skins in a freezer bag until you have enough (about 8-12 onions worth) for a vibrant dye bath.
Why aren't my onion skin dyed eggs as colorful as expected?
Several factors affect color intensity: insufficient onion skins, too little vinegar, cooking time too short, or using brown eggs instead of white. For deeper colors, use more skins (12+), increase vinegar to 3 tablespoons per quart, and simmer eggs for 45 minutes or longer. Red onion skins generally produce more vibrant results than yellow.
Are naturally dyed eggs safe to eat?
Yes, naturally dyed eggs are safe to eat when handled properly. Cornell University's Food Science Department confirms that onion skin-dyed eggs pose no additional food safety risks compared to regular hard-boiled eggs. Refrigerate within two hours of cooking and consume within one week for best safety.
How can I create patterns on naturally dyed eggs?
Create beautiful patterns by wrapping eggs in lace, leaves, or fabric before dyeing. Secure with rubber bands or string to prevent dye penetration in covered areas. You can also apply melted beeswax in designs before dyeing—this resist method creates crisp white patterns against colored backgrounds.
Do naturally dyed eggs last as long as regular hard-boiled eggs?
Yes, naturally dyed eggs have the same shelf life as regular hard-boiled eggs when stored properly. Refrigerate within two hours of cooking and consume within one week. The dyeing process doesn't affect food safety or longevity, though decorative eggs with blown-out contents can be preserved indefinitely with proper sealing.


 浙公网安备
33010002000092号
 浙B2-20120091-4