
Creating a convincing cinnamon roll drawing starts with recognizing the distinctive spiral pattern formed during baking. Unlike simple circle drawings, cinnamon rolls feature layered dough with visible swirls of cinnamon sugar filling. The key to realistic results lies in accurately depicting the overlapping layers, subtle texture variations, and proper lighting that gives these pastries their characteristic warmth and depth.
Essential Materials for Cinnamon Roll Drawing
Before beginning your cinnamon roll illustration, gather these fundamental supplies:
| Material | Recommended Type | Why It Matters |
|---|---|---|
| Pencils | H to 6B graphite range | Allows for precise line work and smooth shading transitions |
| Paper | Smooth Bristol or drawing paper (90-140 lb) | Provides ideal surface for detailed work without texture interference |
| Eraser | Kneaded eraser + precision eraser | Enables selective correction and highlight creation |
| Blending Tools | Stump or tortillon set | Creates smooth gradients essential for realistic pastry texture |
Understanding Cinnamon Roll Structure
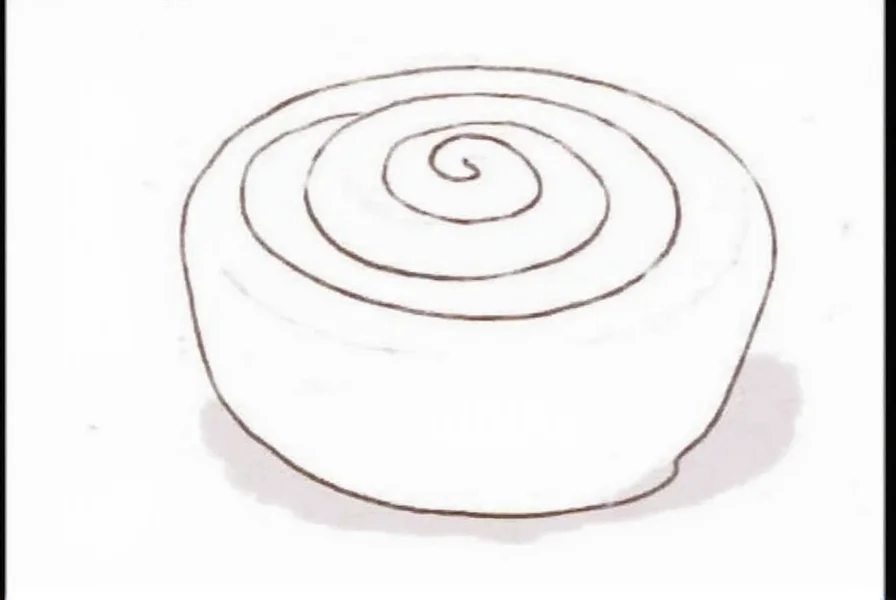
Cinnamon rolls possess distinctive structural elements that differentiate them from other baked goods. The spiral pattern emerges from rolling dough with cinnamon sugar filling, creating concentric circles visible at the cut end. When drawing cinnamon rolls, focus on three critical aspects:
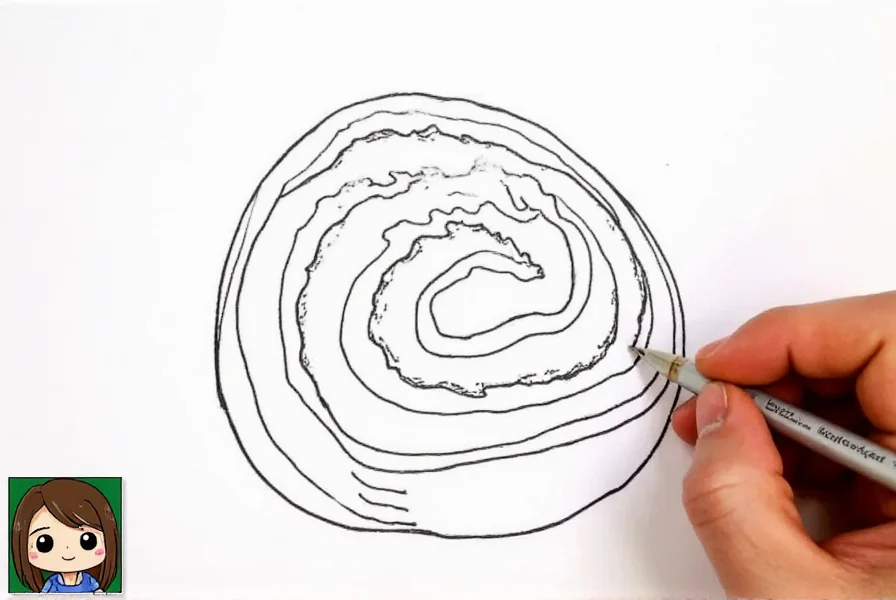
1. The Spiral Pattern: The most recognizable feature requires careful attention to the spacing between layers. Beginners often make the mistake of creating perfectly uniform spirals, but real cinnamon rolls show slight variations in spacing due to the hand-rolling process.
2. Texture Elements: The surface displays subtle imperfections—small cracks, sugar crystals, and slight irregularities from the baking process. These details transform a flat drawing into a realistic representation.
3. Lighting Considerations: Proper illumination reveals the three-dimensional form. Most cinnamon rolls are photographed with side lighting that highlights the spiral structure and creates dramatic shadows between layers.
Step-by-Step Cinnamon Roll Drawing Process
Follow this professional approach to create realistic cinnamon roll illustrations:
Basic Shape Construction
Begin with a light circular guideline, then establish the perspective. Most cinnamon rolls are drawn at a 30-45 degree angle to showcase both the top surface and side profile. Draw the outer circle first, then add the inner spiral starting from the center point. Remember that the spiral should gradually widen as it moves outward—this creates the illusion of depth.
Adding the Spiral Pattern
Using a sharp H pencil, carefully draw the spiral lines with varying pressure. Apply more pressure at the bottom of each layer where shadows naturally form, and lighter pressure at the top edges. The spacing between lines should decrease slightly as you move toward the center—this mimics how the layers compress during baking. For authentic results, vary the spacing irregularly rather than creating mathematically perfect intervals.
Creating Texture and Shading
This stage transforms your line drawing into a realistic cinnamon roll. Start with the darkest areas using a 2B pencil:
- Shade between spiral layers where natural shadows form
- Add subtle texture to the icing by creating small irregular patches
- Build up gradual transitions from light to dark areas
- Use circular motions for the dough texture, linear strokes for icing
Blend with a stump for smooth transitions, but preserve some texture variation to maintain realism. The goal is to create the appearance of soft, slightly porous dough rather than a perfectly smooth surface.
Finishing Details
Complete your cinnamon roll drawing with these professional touches:
- Add subtle sugar crystals using a sharp pencil for tiny highlights
- Create depth in the icing by varying its thickness across the surface
- Include small imperfections like minor cracks or uneven icing distribution
- Enhance shadows beneath the roll to ground it in the composition
Common Cinnamon Roll Drawing Mistakes to Avoid
Even experienced artists encounter challenges when illustrating baked goods. Watch for these frequent errors:
- Perfectly uniform spirals: Real cinnamon rolls show slight variations in layer spacing due to the hand-rolling process
- Overly smooth texture: Dough has subtle imperfections—include small cracks and irregularities
- Flat lighting: Without proper shadow placement, the roll appears two-dimensional rather than plump and soft
- Excessive detail: Beginners often add too much texture, making the drawing look busy rather than realistic
- Incorrect icing application: Icing should appear slightly translucent with the underlying spiral pattern visible through thinner areas
Advanced Cinnamon Roll Illustration Techniques
Once you've mastered the basics, elevate your cinnamon roll drawings with these professional methods:
Layered Shading Approach: Build up shading in multiple thin layers rather than applying heavy pressure initially. This creates more realistic depth and allows for easier corrections. Start with H pencils for light base shading, then gradually progress to softer B grades for darker areas.
Temperature Variation: Realistic cinnamon rolls show subtle color temperature differences. The outer layers appear slightly darker and warmer (add tiny touches of brown pencil), while the inner layers remain lighter and more golden.
Contextual Elements: Place your cinnamon roll in an environment—a wooden table surface, steam rising from warmth, or crumbs nearby. These elements create a more engaging composition and provide reference points for lighting.
Practice Exercises for Improvement
Develop your cinnamon roll drawing skills with these targeted exercises:
- Spiral spacing study: Draw multiple cinnamon rolls focusing solely on varying the spacing between spiral layers
- Lighting variations: Create the same cinnamon roll with three different light sources (top, side, and back lighting)
- Texture focus: Spend 15 minutes drawing only the surface texture of a cinnamon roll without defining the overall shape
- Speed sketches: Complete 10 quick 2-minute cinnamon roll drawings to improve your understanding of the basic structure
Consistent practice with these focused exercises will dramatically improve your ability to capture the distinctive characteristics of cinnamon rolls in your drawings.
Final Thoughts on Cinnamon Roll Illustration
Mastering cinnamon roll drawing combines technical understanding of spiral structures with artistic interpretation of texture and lighting. The most successful illustrations capture not just the physical appearance but also the warmth and inviting nature of freshly baked pastries. By focusing on the distinctive spiral pattern, subtle surface textures, and proper shading techniques, you can create drawings that appear almost good enough to eat. Remember that practice with specific exercises targeting different aspects of the drawing process yields better results than simply drawing complete rolls repeatedly. As you develop your skills, experiment with different styles—from hyper-realistic to stylized interpretations—to find your unique approach to this delicious subject matter.


 浙公网安备
33010002000092号
浙公网安备
33010002000092号 浙B2-20120091-4