
Making chili in an Instant Pot isn't just convenient—it transforms the cooking process. Professional chefs and home cooks alike have discovered that pressure cooking creates a uniquely rich texture and depth of flavor that develops in a fraction of the traditional cooking time. The sealed environment prevents flavor evaporation while the high pressure breaks down connective tissues in meats and fully hydrates beans without becoming mushy.
Why Instant Pot Excels for Chili Preparation
The science behind pressure cooking makes the Instant Pot ideal for chili. At 12-15 psi pressure, water boils at approximately 250°F (121°C) instead of 212°F (100°C), accelerating the Maillard reaction that creates complex flavor compounds. This high-temperature environment also breaks down collagen in meats like chuck roast or brisket into gelatin in just 25-35 minutes—processes that would normally require 2-3 hours of simmering.
Unlike slow cookers that can dilute flavors through evaporation, the Instant Pot's sealed environment concentrates flavors while using less liquid. This results in a naturally thicker chili that doesn't require reduction time after cooking—a common step in traditional recipes.
Essential Components for Perfect Instant Pot Chili
Creating exceptional chili in your pressure cooker requires attention to ingredient sequencing and ratios. Unlike stovetop methods, Instant Pot chili benefits from specific layering techniques to prevent common "Burn" errors.
Protein Selection and Preparation
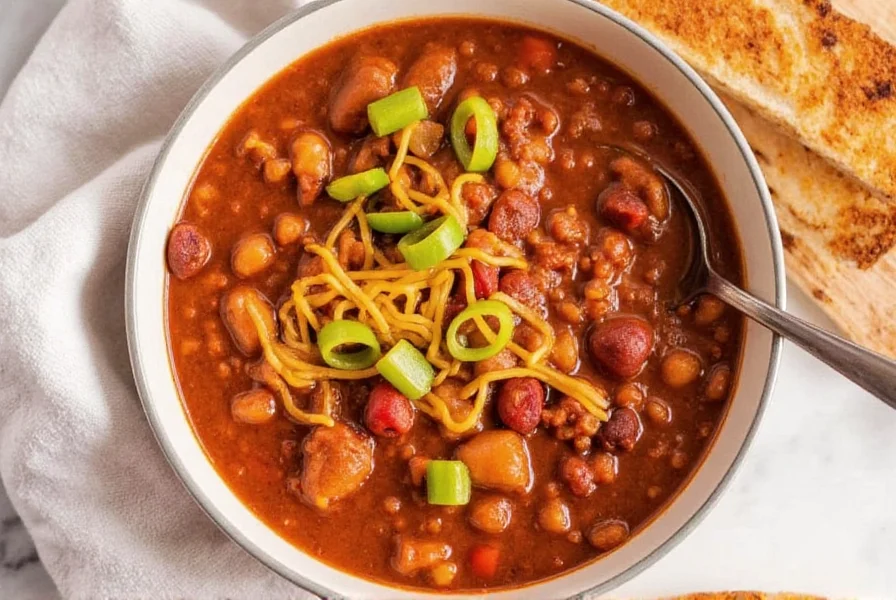
For beef chili, use well-marbled cuts like chuck roast (70% lean) cut into ½-inch cubes. The fat content is crucial for flavor development and preventing sticking. Ground beef works but requires careful deglazing. For vegetarian options, use a combination of black beans, kidney beans, and lentils for varied texture.
Layering Technique to Prevent Burn Errors
The most common mistake when making instant pot chili with ground beef is improper layering. Follow this sequence:
- Add ¼ cup broth or tomato juice first (never start with dry ingredients)
- Place meat on top without stirring
- Add spices directly onto meat
- Place remaining ingredients on top without mixing
| Cooking Method | Total Time | Texture Result | Flavor Development |
|---|---|---|---|
| Instant Pot | 40-45 minutes | Uniformly tender, thick consistency | Concentrated, deep flavors |
| Slow Cooker | 6-8 hours | Variable tenderness, often watery | Muted, blended flavors |
| Stovetop | 2-3 hours | Requires monitoring, inconsistent | Rich but requires reduction |
Step-by-Step Instant Pot Chili Instructions
Follow this professional-tested method for foolproof instant pot chili every time:
Ingredients for 6 Servings
- 1½ lbs beef chuck, ½-inch cubes (or 1 lb ground beef)
- 1 large onion, diced
- 1 bell pepper, diced
- 3 garlic cloves, minced
- 2 (15oz) cans beans, drained (kidney, black, pinto)
- 1 (28oz) can crushed tomatoes
- 1 cup beef broth (low sodium)
- 2 tbsp chili powder
- 1 tbsp cumin
- 2 tsp smoked paprika
- 1 tsp oregano
- 1 chipotle pepper in adobo (optional)
- Salt to taste
Cooking Process
- Layer correctly: Add broth first, then meat, spices directly on meat, then remaining ingredients on top without stirring
- Sauté (if using ground beef): Use "Sauté" function for 5 minutes until browned, scraping bottom well
- Pressure cook: Seal lid, set to "Manual" or "Pressure Cook" for 25 minutes on high pressure
- Natural release: Allow 15 minutes natural pressure release before quick release
- Final adjustments: Stir well, add salt, and use "Sauté" function for 5-7 minutes to thicken if needed
Troubleshooting Common Instant Pot Chili Issues
Even experienced cooks encounter challenges with instant pot beef chili recipes. Here's how to solve them:
Burn Error Prevention and Fixes
If you receive a "Burn" message:
- Immediately cancel pressure cooking
- Carefully remove lid (steam first)
- Scrape bottom thoroughly with wooden spoon
- Add ½ cup additional liquid
- Ensure no food particles are stuck to bottom
- Restart pressure cooking with 5 minutes less time
Texture and Consistency Problems
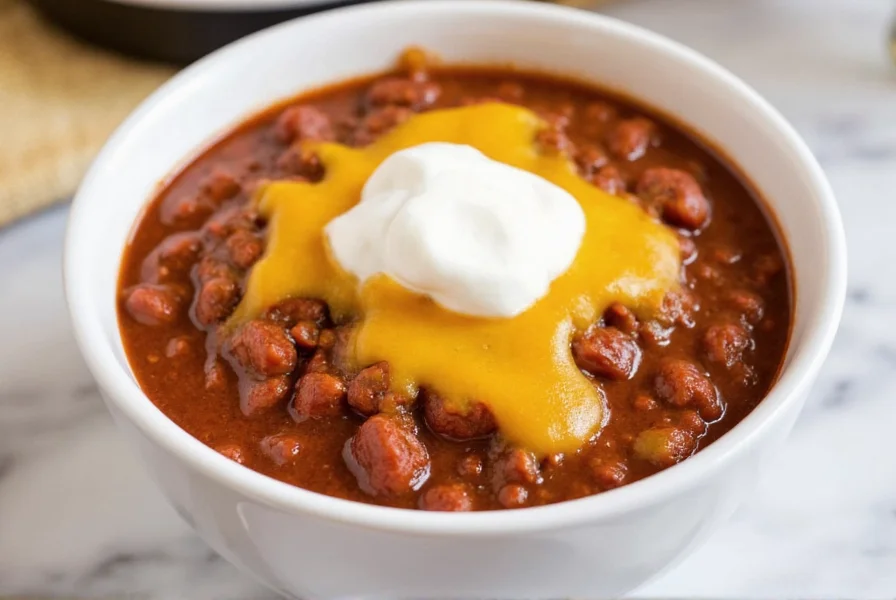
Too thin: Use "Sauté" function after cooking for 5-7 minutes, stirring frequently. The natural starches will thicken the chili without needing cornstarch.
Too thick: Add ¼ cup broth or water and stir well. The chili will continue thickening as it cools.
Meat not tender: For tougher cuts, add 5-10 minutes to pressure cooking time. Remember that natural release time continues the cooking process.
Customization Options for All Dietary Preferences
The beauty of making chili in instant pot is its adaptability. Try these variations:
Vegan/Vegetarian Instant Pot Chili
- Replace meat with 2 cups cooked lentils + 1 cup walnuts (finely chopped)
- Use vegetable broth instead of beef broth
- Add 1 cup sweet potato cubes for natural sweetness
- Include 2 tbsp cocoa powder for depth
White Chicken Chili Variation
- Use 1.5 lbs chicken thighs instead of beef
- Replace tomato products with 2 cups tomatillo salsa
- Use white beans instead of red
- Add 1 tsp cumin and ½ tsp coriander
- Cook for 12 minutes instead of 25
Storage and Reheating for Maximum Flavor
Instant Pot chili actually improves in flavor after 24 hours as the spices fully meld. For best results:
- Cool completely within 2 hours of cooking
- Store in airtight containers for up to 4 days in refrigerator
- Freeze in portion-sized containers for up to 3 months
- Reheat on "Sauté" function set to low for even warming
- Add 2-3 tbsp broth when reheating to restore moisture
Professional chefs note that pressure-cooked chili maintains its texture better during storage compared to stovetop versions, which often become overly thick or develop grainy textures when reheated.
Final Tips for Perfect Instant Pot Chili
Mastering how long to cook chili in instant pot requires attention to detail:
- Always deglaze thoroughly after sautéing to prevent burn errors
- Natural release is crucial for meat texture—don't skip the 15-minute wait
- Acidic ingredients (tomatoes, vinegar) should be added with other liquids
- Don't fill beyond ⅔ capacity to allow for proper pressure development
- For thicker chili, use "Sauté" function after cooking rather than reducing liquid initially
Frequently Asked Questions
How long does chili take in an Instant Pot compared to traditional methods?
Instant Pot chili takes approximately 40-45 minutes total (including pressure build and release), compared to 2-3 hours for stovetop and 6-8 hours for slow cooker methods. The actual pressure cooking time for beef chili is 25 minutes, followed by a 15-minute natural pressure release.
Why does my Instant Pot show a burn message when making chili?
Burn messages typically occur when food particles stick to the bottom during sautéing or when ingredients aren't properly layered. Always add liquid first, then meat, then spices directly on meat, and other ingredients on top without stirring. Ensure you thoroughly deglaze the pot after browning meat by scraping the bottom with a wooden spoon until no browned bits remain.
Can I make vegetarian chili in an Instant Pot?
Yes, Instant Pots work exceptionally well for vegetarian chili. Use a combination of beans, lentils, and vegetables. For meat-like texture, add finely chopped walnuts or mushrooms. Cook for 10-15 minutes on high pressure (less time than meat-based chili) since beans and vegetables require less cooking time under pressure.
Should I use the natural or quick release for chili in Instant Pot?
Always use a 15-minute natural pressure release followed by quick release for chili. The natural release allows tough cuts of meat to continue tenderizing gradually, preventing the meat from becoming stringy or dry. Skipping natural release can result in less tender meat and increased chance of spattering during quick release.
How do I thicken Instant Pot chili without affecting texture?
The best method is to use the Sauté function after cooking. Set to low heat and simmer uncovered for 5-7 minutes, stirring frequently. Avoid adding cornstarch or flour before pressure cooking, as this can cause burn errors. The natural starches from beans and tomatoes will thicken properly when gently reduced after pressure cooking is complete.


 浙公网安备
33010002000092号
浙公网安备
33010002000092号 浙B2-20120091-4