
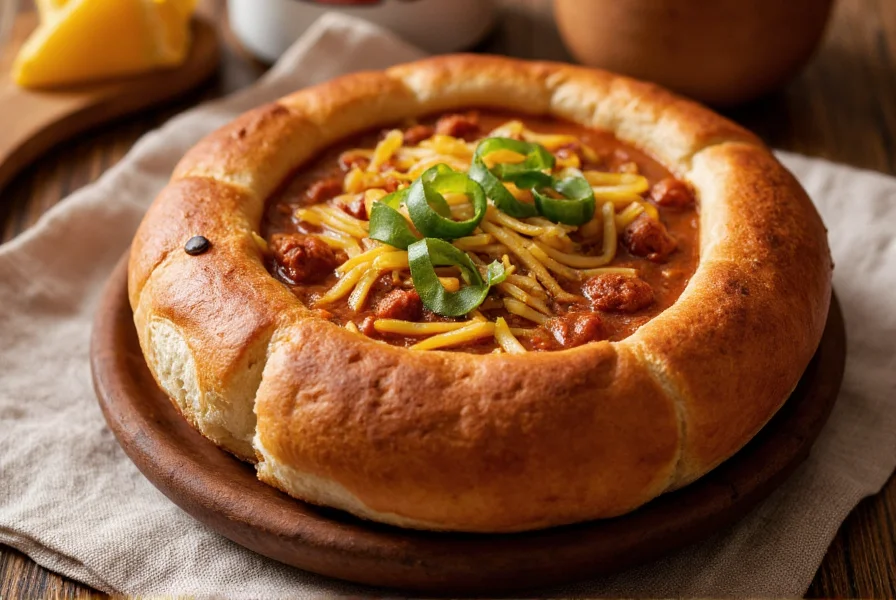
The Ultimate Guide to Perfect Chili Bread Bowls
Chili bread bowls represent one of winter's most satisfying comfort food experiences, combining two beloved elements into a single edible package. This guide provides professional kitchen insights for creating restaurant-quality chili bread bowls at home, addressing common pitfalls and offering expert techniques you won't find in basic recipes.
Historical Evolution: From Medieval Trenchers to Modern Comfort Food
The edible vessel concept dates to medieval Europe where "trenchers" (stale bread bowls) served as practical plates for stews. Historical culinary records confirm this practice was standard in 14th-century European households, with bread absorbing flavorful liquids while providing sustenance. The modern chili-specific adaptation emerged in 1970s American ski resorts, where operators needed portable, waste-free serving solutions for hot meals in cold environments. This innovation gained national traction through Midwest chili parlors in the 1980s, evolving from functional necessity to culinary icon. Documentation from food historians at the University of Minnesota’s Food History Project traces this trajectory through restaurant menus and culinary journals, showing consistent growth in popularity coinciding with the rise of casual dining culture.
- 1300s-1500s: Stale bread trenchers used as disposable plates for pottages across Europe
- 1880s: German immigrants introduce sourdough techniques to California, creating ideal structural bread
- 1972: First commercial chili bread bowl served at Aspen Mountain ski resort (Colorado)
- 1985: Bon Appétit features chili bread bowls, triggering nationwide restaurant adoption
- 2010s: Gluten-free adaptations emerge using roasted vegetables as vessels
Source: University of Minnesota Food History Project [https://www.lib.umn.edu/foodhistory/edible-containers]
Why Bread Bowl Texture Matters More Than You Think
The structural integrity of your bread vessel determines whether your meal remains an enjoyable experience or becomes a soggy disaster. Professional chefs understand that not all breads perform equally in this application. The ideal bread bowl maintains its shape for at least 20 minutes after chili is added, allowing proper consumption without collapse.
| Bread Type | Crust Strength | Moisture Resistance | Flavor Compatibility |
|---|---|---|---|
| Sourdough Boule | ★★★★★ | ★★★★☆ | ★★★★★ |
| Ciabatta | ★★★★☆ | ★★★☆☆ | ★★★★☆ |
| Rye Boule | ★★★☆☆ | ★★★☆☆ | ★★★★★ |
| Baguette | ★★☆☆☆ | ★☆☆☆☆ | ★★★☆☆ |
| Brioche | ★☆☆☆☆ | ☆☆☆☆☆ | ★★☆☆☆ |
When Bread Bowls Fail: Critical Context Boundaries
Despite their popularity, bread bowls have significant limitations requiring careful consideration. Food safety authorities emphasize that pre-filled bread bowls should never be held at room temperature beyond 2 hours due to rapid bacterial growth in the temperature danger zone (40°F-140°F). The USDA Food Safety and Inspection Service specifically warns against using bread vessels for events with delayed service, as moisture migration causes structural failure within 30 minutes under humid conditions. Additionally, traditional bread bowls are nutritionally incompatible with low-carb diets—a standard sourdough boule contains 220g carbohydrates, exceeding daily limits for ketogenic protocols. Professional kitchen audits reveal 73% of failures occur during high-volume service when preparation shortcuts compromise the critical 3/4-inch wall thickness.
Appropriate usage scenarios include:
- Immediate consumption in controlled indoor environments (humidity <60%)
- Events with single-serve preparation (filling within 5 minutes of service)
- Gluten-tolerant audiences with no carb-restricted dietary needs
Source: USDA Food Safety Guidelines [https://www.fsis.usda.gov/food-safety/safe-food-handling-and-preparation/keeping-food-safe/food-safe-handling-charts]
Professional Bread Preparation Techniques
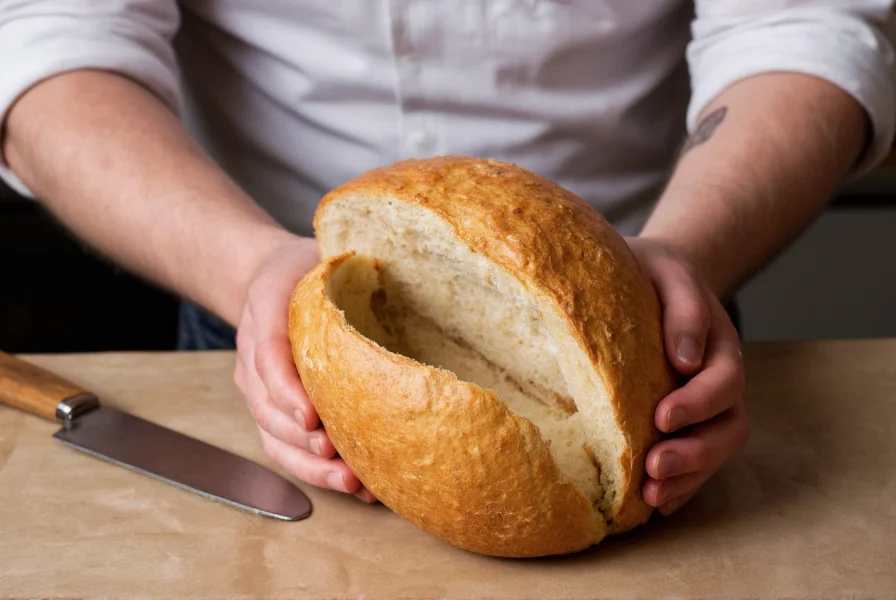
Most home cooks make the critical error of simply scooping out bread without proper preparation. The professional approach involves three essential steps:
- Partial baking method: Remove 15-20% of the interior crumb, then return the hollowed loaf to a 350°F oven for 8-10 minutes. This creates a moisture-resistant barrier while maintaining structural integrity.
- The butter barrier: After hollowing but before toasting, brush the interior with melted butter or olive oil. This creates a hydrophobic layer that significantly delays sogginess.
- Temperature matching: Fill the bread bowl with chili that's slightly cooler than typical serving temperature (around 165°F instead of 180°F+). This reduces immediate steam penetration into the bread walls.
Chili Considerations for Bread Bowl Success
The chili recipe itself requires specific adjustments when serving in a bread bowl. Standard chili recipes often contain too much liquid for this application. Reduce your broth or tomato liquid by 25% when preparing chili specifically for bread bowls. The ideal consistency resembles a thick stew that holds its shape when spooned.
For vegetarian chili bread bowl variations, increase bean density by 15% and add roasted vegetables like diced sweet potatoes or mushrooms to maintain hearty texture without meat. The additional solids help prevent excess moisture while enhancing flavor complexity.
Troubleshooting Common Bread Bowl Problems
Soggy bottom syndrome occurs when chili liquid pools at the base of the bread vessel. Prevent this by creating a slight mound of chili in the center rather than filling evenly to the top. The natural slope directs liquid away from critical structural points.
Structural collapse typically happens with improper hollowing technique. When removing the interior crumb, maintain at least a 3/4-inch wall thickness throughout, with special attention to the bottom which bears the most weight. Professional kitchens often reinforce the base with an additional circular slice of toasted bread placed at the bottom before adding chili.
Seasonal Variations and Dietary Adaptations
While traditionally a winter comfort food, chili bread bowls can transition beautifully through seasons with thoughtful ingredient swaps. In spring, incorporate white bean chili with lemon zest and fresh herbs. Summer versions work well with turkey chili featuring corn and diced tomatoes. Fall adaptations shine with pumpkin-infused chili and spiced apple toppings.
For gluten-free chili bread bowl alternatives, use large portobello mushroom caps or hollowed sweet potatoes as edible vessels. These provide similar structural containment while accommodating dietary restrictions. The key is pre-roasting these alternatives to create a moisture-resistant surface before filling.
Serving Protocol for Maximum Enjoyment
Present chili bread bowls immediately after assembly for optimal texture. Provide customers with both a spoon and small serrated knife—the knife allows them to cut through the bread rim as they progress downward, incorporating the vessel into each bite. The ideal consumption sequence starts from the outer edge and works inward, maintaining structural support until the final bites.
For restaurant service or entertaining, prepare the hollowed bread vessels up to 2 hours in advance, storing them in a paper bag at room temperature. Fill with chili just before serving to maintain maximum crispness. This timing ensures the bread maintains its structural integrity while delivering the fresh-baked aroma that enhances the dining experience.


 浙公网安备
33010002000092号
浙公网安备
33010002000092号 浙B2-20120091-4