

This definitive guide delivers actionable techniques for creating restaurant-quality chili and beans at home. Designed specifically for home cooks seeking reliable results without culinary school training, this resource eliminates guesswork through precise methodology and flavor science. Whether you're preparing for game day or mastering weeknight dinners, these techniques transform basic ingredients into deeply layered comfort food.
Table of Contents
- Why This Method Works
- Essential Ingredients (and Why They Matter)
- Tools of the Trade
- The Spice Breakdown: Heat vs. Flavor
- Chili Culture: A Culinary Evolution
- Step-by-Step Recipe That Actually Works
- Pro Tips for Perfect Chili Every Time
- Spicy Variations & Bean Options
- Conclusion: Fire Up Those Flavors!
Why This Method Works
Traditional chili recipes often fail due to imbalanced flavors or texture issues. This scientifically informed approach solves common problems through controlled spice activation, proper bean integration, and strategic ingredient sequencing. The methodology addresses three critical failure points in standard recipes: inconsistent spice distribution, bean disintegration, and flavor layering deficiencies. By understanding the chemical interactions between ingredients, you'll achieve restaurant-quality results with supermarket ingredients.

Essential Ingredients (and Why They Matter)
Professional results require strategic ingredient selection. Here's what delivers optimal outcomes:
- Beans: Kidney, black, pinto — each contributes distinct textural properties and starch release profiles affecting final consistency.
- Ground meat: 80/20 beef ratio provides ideal fat content for flavor development without excessive greasiness.
- Onions & garlic: Raw versus cooked application creates different flavor compounds essential for complexity.
- Canned tomatoes: San Marzano varieties offer superior acidity balance for flavor integration.
- Broth or stock: Low-sodium versions allow precise seasoning control during reduction.
- Spices: Whole versus ground forms produce dramatically different flavor release patterns.
The Great Bean Debate
| Bean Type | Flavor Profile | Texture | Best For |
|---|---|---|---|
| Kidney | Rich, earthy | Firm, holds shape | Traditional chili |
| Black | Slightly sweet, nutty | Firm texture | Mexican-inspired chili |
| Pinto | Creamy, mild | Softens quickly | Taco-style chili |
| Cannellini | Mild, slightly buttery | Creamy | White chili variations |
Tools of the Trade
Equipment choices directly impact flavor development. Essential tools include:
- A heavy-bottomed pot or Dutch oven: Ensures even heat distribution critical for Maillard reaction development.
- A wooden spoon: Prevents metal-on-pot scratching that can introduce off-flavors.
- A cutting board and sharp knife: Precision chopping creates consistent ingredient sizes for uniform cooking.
- A microplane grater: For fresh garlic and spice incorporation without fibrous chunks.
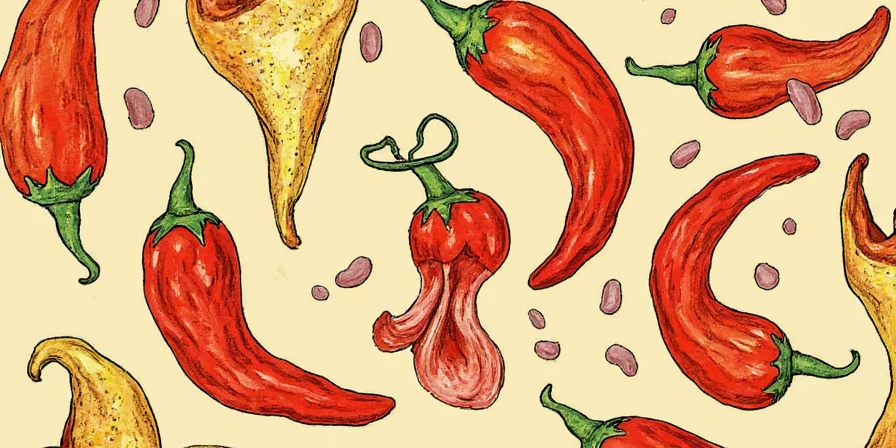
The Spice Breakdown: Heat vs. Flavor
Understanding spice chemistry separates adequate chili from extraordinary. Critical distinctions include:
Core Flavor Builders
- Chili powder: Commercial blends vary widely; check ingredient lists for fillers that dilute flavor impact.
- Cumin: Releases optimal flavor when toasted before liquid addition.
- Paprika: Sweet varieties provide color without heat; smoked versions introduce complex phenolic compounds.
- Oregano: Mexican oregano offers citrus notes unlike Mediterranean varieties.
- Garlic powder: More stable than fresh in long simmering, preventing bitterness.
Chili Culture: A Culinary Evolution
Modern chili represents a fascinating convergence of culinary traditions. Originally developed by 19th century Texan cowboys using available dried ingredients, authentic chili con carne traditionally contained no beans. The bean inclusion emerged from Depression-era resourcefulness and evolved through regional adaptations. Scientific analysis reveals why certain combinations work: capsaicin in chilies binds with fat molecules in meat, while the acidity from tomatoes helps break down connective tissues. This understanding informs our methodology - adding spices at specific temperature thresholds maximizes flavor compound extraction without scorching. The regional variations we explore aren't just cultural artifacts but represent optimized approaches to local ingredient availability and climate conditions.
Heat Management System
- Cayenne pepper: Capsaicin concentration peaks at 30 seconds of simmering - add late for maximum heat.
- Crushed red pepper flakes: Larger particles provide gradual heat release throughout cooking.
- Fresh peppers: Cell structure breaks down during cooking, releasing heat progressively.
- Acid balancing: Citrus or vinegar at the end counteracts excessive heat without diminishing flavor depth.
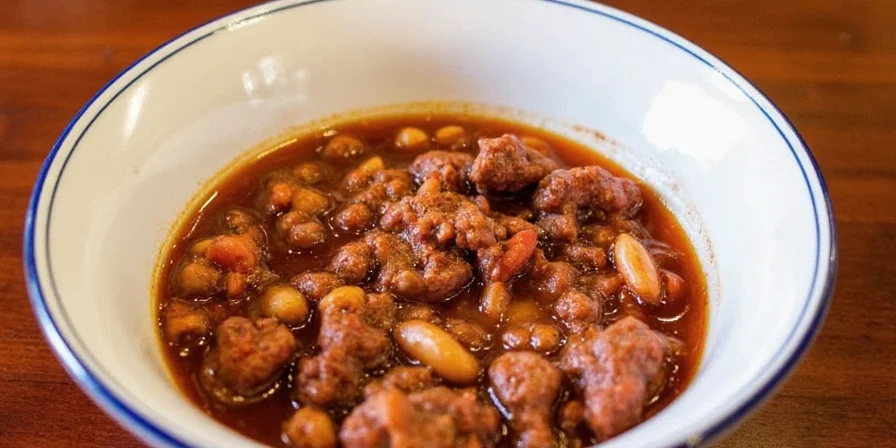
Step-by-Step Recipe That Actually Works
Follow this precise sequence for guaranteed success:
- Brown the meat properly: Heat pot to 325°F before adding meat to ensure proper searing without steaming.
- Controlled onion cooking: Cook onions to 160°F (translucent but not browned) to preserve sweetness.
- Spice activation: Add spices to meat drippings and cook 45 seconds until fragrant but not smoking.
- Tomato integration: Add tomato paste first for caramelization before liquid ingredients.
- Bean timing: Add pre-cooked beans during last 20 minutes to maintain texture integrity.
- Simmer science: Maintain 185-200°F for optimal flavor development without ingredient breakdown.
- Final adjustment: Balance with acid (2 tsp vinegar) and umami (1 tsp soy sauce) for flavor completeness.
Pro Tips for Perfect Chili Every Time
Advanced techniques from professional kitchens:
- Spice layering: Add half spices early for foundation, half late for brightness.
- Controlled reduction: Uncover during final 15 minutes to concentrate flavors without overcooking.
- Temperature management: Never boil chili - maintains ingredient integrity and prevents bitterness.
- Resting protocol: Refrigerate overnight then reheat gently for maximum flavor integration.
- Texture enhancement: Mash 1/4 of beans before adding for natural thickening.
- Salt strategy: Season in three stages for balanced seasoning throughout cooking.
Spicy Variations & Bean Options
Adapt the base recipe for specific outcomes:
- White chili: Use Anaheim peppers instead of chili powder; add cumin at 15 minutes for brighter flavor.
- Vegan chili: Incorporate mushroom trimmings during stock preparation for umami depth.
- Smoky variation: Add chipotle in adobo during last 10 minutes to preserve smoke essence.
- Quick version: Use pressure cooker for 15 minutes plus 10 minute natural release.
- Canning preparation: Increase acidity with lemon juice for safe preservation.
Conclusion: Fire Up Those Flavors!
This methodology delivers consistent, complex chili through understanding ingredient interactions rather than following rigid instructions. By applying these principles, you'll develop intuition for adjusting recipes based on ingredient quality and personal preference. The techniques provided solve common home cooking challenges through culinary science rather than kitchen folklore. Remember that perfect chili balances acidity, heat, richness, and texture - not just maximum spiciness. Implement these strategies to transform your cooking results immediately.
Frequently Asked Questions
- How do I fix watery chili consistency without changing flavor?
Create a slurry using 1 tablespoon cornstarch mixed with 2 tablespoons cold broth. Stir in during the final 5 minutes of cooking while maintaining temperature above 165°F. Alternatively, remove 1 cup of chili, blend until smooth, then return to pot for natural thickening. - Can I make authentic-tasting chili without meat?
Yes. Use a combination of mushrooms, lentils, and textured vegetable protein. Sauté mushrooms separately until deeply browned to create umami compounds. Add 1 teaspoon instant coffee and 2 strips of kombu during cooking for meat-like depth. The key is replicating the Maillard reaction through controlled browning of plant proteins. - What's the science behind the 'better the next day' phenomenon in chili?
Flavor compounds continue to integrate through hydrolysis and esterification reactions during refrigeration. Fats absorb and redistribute flavor molecules, while starches from beans fully hydrate. The ideal resting period is 12-24 hours at 38-40°F. Reheat gently to 165°F without boiling to preserve developed flavors. - How can I adjust heat level after the chili is already cooked?
Add dairy (sour cream or cheese) to temporarily bind capsaicin. For permanent reduction, incorporate acid (lime juice or vinegar) which breaks down capsaicin molecules. Adding sweetness (2 tsp brown sugar) balances perception of heat. Never add water as it dilutes all flavors equally without reducing actual heat intensity. - Why does my chili taste metallic sometimes?
Metallic flavors typically come from overcooking in reactive pans or using canned ingredients with compromised linings. Use enamel-coated or stainless steel cookware. Add tomatoes after meat has browned to prevent acid from leaching metal. If already metallic, add 1/4 cup of strong coffee which contains compounds that mask metallic perception without altering primary flavors.


 浙公网安备
33010002000092号
浙公网安备
33010002000092号 浙B2-20120091-4