
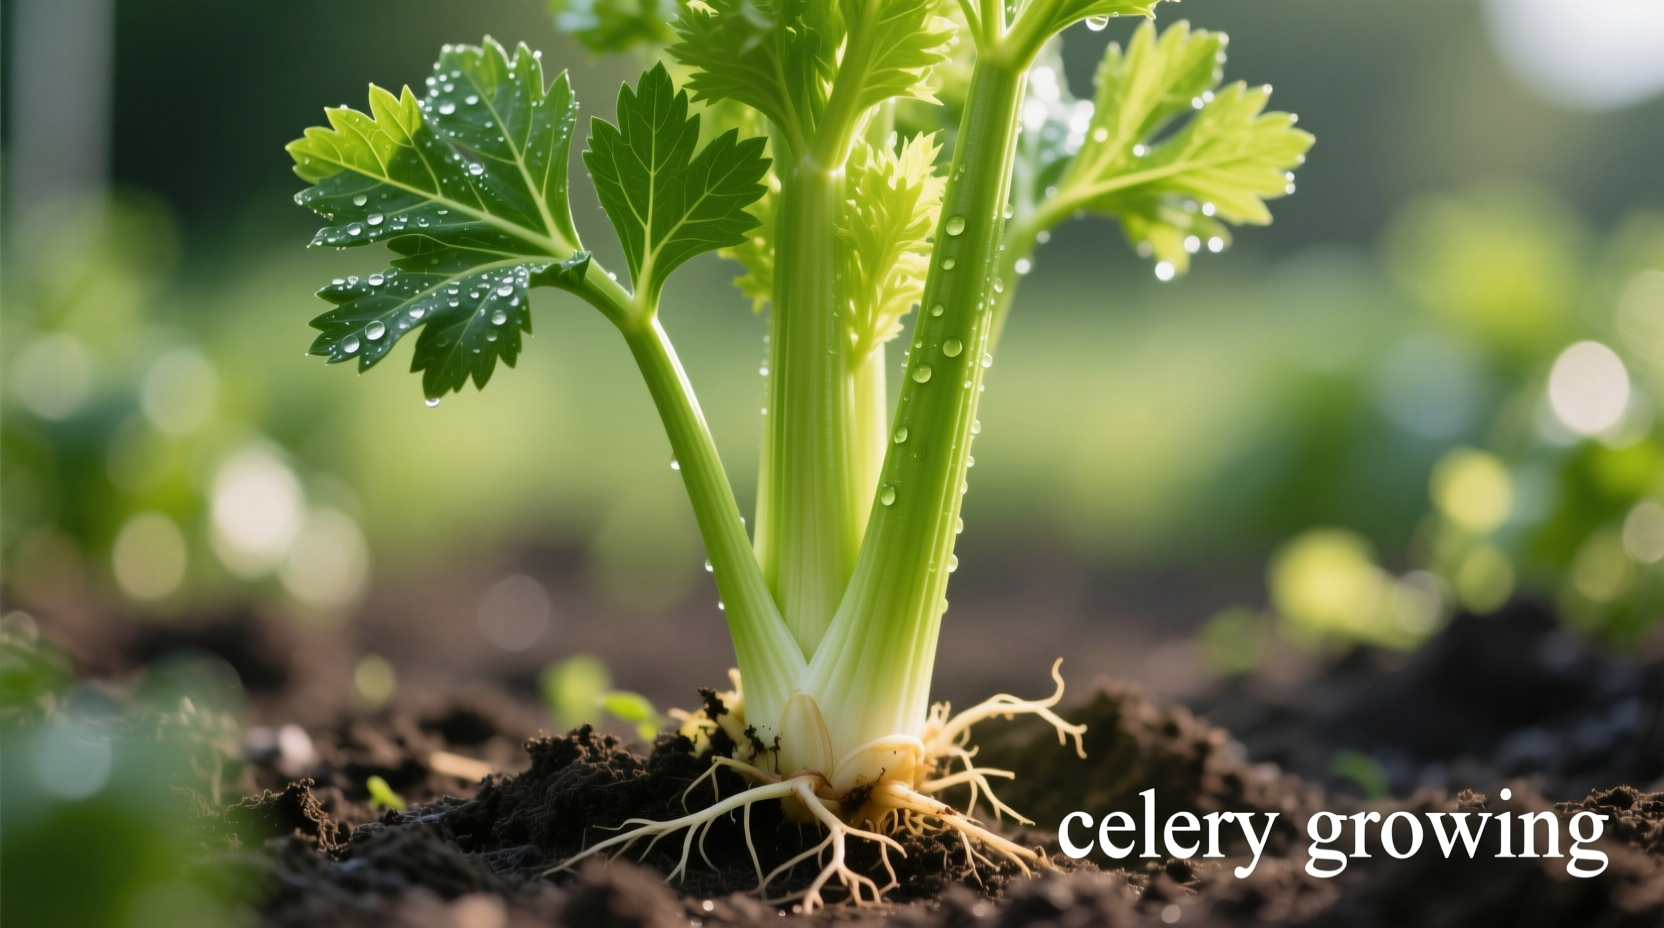
Successfully growing celery requires consistent moisture, rich soil with pH 6.0-7.0, and 130-140 days of cool temperatures (60°-70°F). Start seeds indoors 10-12 weeks before last frost, transplant seedlings 6-8 inches apart, and maintain steady watering to prevent stringy, bitter stalks. Harvest when stalks reach 8-10 inches tall by cutting individual outer stalks or the entire plant.
Many gardeners abandon celery after one failed attempt, frustrated by its reputation as a difficult crop. But with proper technique, you can harvest crisp, flavorful stalks that far surpass store-bought varieties. This guide reveals the science-backed methods professional growers use to overcome celery's challenges, turning this finicky vegetable into a reliable garden staple.
Planning Your Celery Growing Journey
Celery (Apium graveolens) belongs to the Apiaceae family and demands more attention than most vegetables. Unlike quick-growing crops, celery requires careful planning due to its long growing season and specific environmental needs. Understanding these requirements before planting prevents common beginner mistakes that lead to tough, stringy stalks or complete crop failure.
| Celery Variety | Days to Maturity | Special Characteristics | Best Growing Conditions |
|---|---|---|---|
| Tango | 85 | Disease resistant, smooth stalks | Cool coastal climates |
| Conquistador | 75 | Heat tolerant, early harvest | Warmer inland regions |
| Golden Self-Blanching | 90 | Yellow stalks, no blanching needed | Traditional garden settings |
| Utah | 80 | Drought tolerant, compact growth | Dryer climates with irrigation |
Preparing for Planting Success
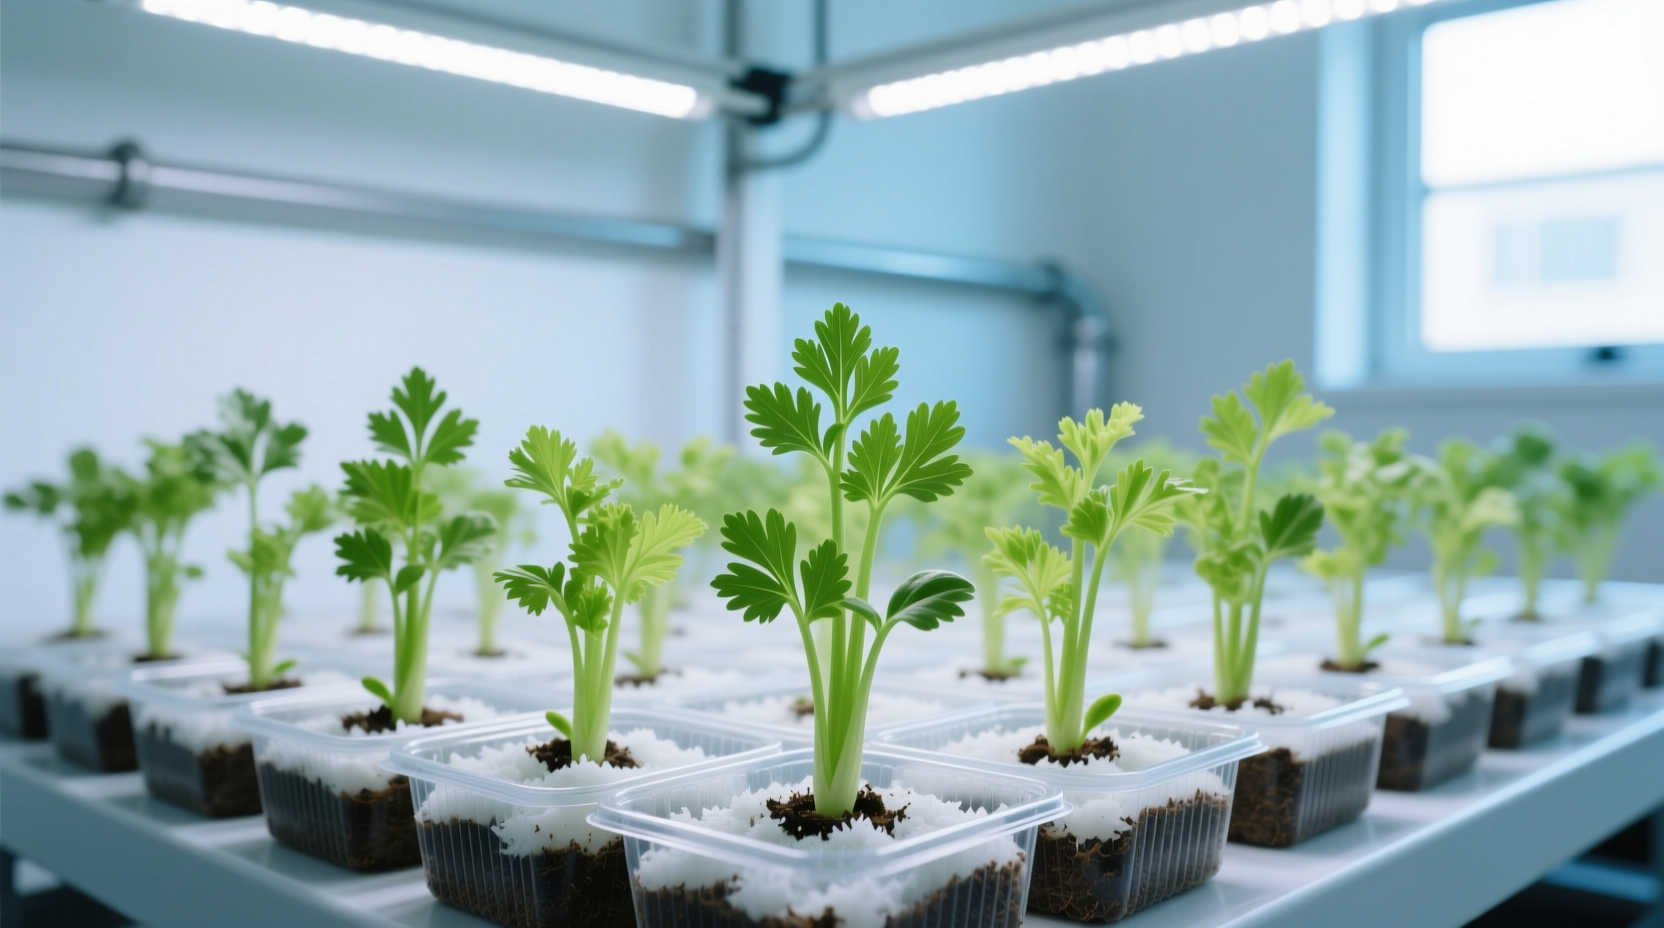
Begin celery seeds indoors 10-12 weeks before your last expected frost date. The University of California Cooperative Extension confirms celery requires one of the longest indoor starts among common vegetables. Use seed trays with individual cells filled with sterile seed-starting mix, pressing seeds lightly into the surface (they need light to germinate).
Maintain soil temperature at 70°F using a heat mat, keeping the medium consistently moist but not soggy. Germination typically occurs in 10-14 days. Once seedlings develop their first true leaves, begin feeding with diluted liquid seaweed fertilizer every two weeks. The critical factor during this phase is consistent moisture—allowing the soil to dry out even once can stunt growth permanently.
Transplanting and Garden Preparation
Prepare your garden bed 2-3 weeks before transplanting by incorporating 3-4 inches of well-rotted compost and a balanced organic fertilizer. Cornell University research shows celery requires exceptionally rich soil with high organic matter content. The ideal soil pH ranges from 6.0 to 7.0—outside this range, nutrient uptake becomes problematic.
When seedlings reach 6 inches tall with 4-5 stalks, begin hardening off by gradually exposing them to outdoor conditions over 7-10 days. Transplant on a cloudy day or in the evening to reduce shock. Space plants 6-8 inches apart in rows 18-24 inches apart. Immediately after planting, apply 2-3 inches of organic mulch to maintain soil moisture and temperature stability.
Essential Care During Growing Season
Watering represents the most critical factor in successful celery cultivation. Unlike most vegetables, celery requires consistently moist soil—never allowing the top inch to dry out. The USDA Agricultural Research Service confirms that moisture fluctuations directly cause increased stringiness and bitterness in stalks. Implement drip irrigation or soaker hoses to maintain steady moisture without wetting foliage.
Fertilize every 3-4 weeks with a balanced organic fertilizer or compost tea. Celery is a heavy feeder, particularly requiring adequate boron. Watch for hollow stalk disorder, which indicates boron deficiency—treat by applying a diluted solution of 1 tablespoon borax per gallon of water (use sparingly).
Monitor for common pests like aphids and armyworms. The University of Minnesota Extension recommends introducing beneficial insects like ladybugs rather than using chemical pesticides, which can accumulate in celery's porous stalks. For disease prevention, practice crop rotation and avoid overhead watering to minimize fungal issues like leaf spot.
Harvesting and Storage Techniques
Begin harvesting outer stalks when they reach 8-10 inches tall, typically 85-140 days after planting depending on variety. This selective harvesting encourages continued production. For full plant harvest, cut at soil level when the stalk base measures 2-3 inches in diameter. The optimal harvest time is early morning when stalks are most crisp and hydrated.
Immediately after harvesting, stand stalks in cold water for 1-2 hours to maximize crispness. Store in perforated plastic bags in the refrigerator's crisper drawer for up to 2 weeks. For longer storage, chop and freeze in airtight containers—though texture changes make frozen celery suitable only for cooked dishes.
Troubleshooting Common Growing Problems
Stringy, tough stalks: This almost always indicates inconsistent watering. Implement mulch and drip irrigation to maintain steady soil moisture.
Yellowing leaves: Could signal nitrogen deficiency or fungal disease. Test soil and apply appropriate fertilizer; remove affected leaves to prevent spread.
Hollow stalk disorder: Caused by boron deficiency or uneven moisture. Apply diluted borax solution and improve irrigation consistency.
Pest damage: Use floating row covers for young plants; hand-pick larger pests like armyworms early in the morning when they're most active.
Remember that celery's long growing season makes patience essential. Unlike quick-maturing crops, celery develops flavor and texture gradually—rushing the process by harvesting too early sacrifices quality. With proper care, a single plant can provide harvests for 8-10 weeks through selective stalk removal.


 浙公网安备
33010002000092号
浙公网安备
33010002000092号 浙B2-20120091-4