
Why Growing Cauliflower from Seeds Beats Buying Transplants
Starting cauliflower from seeds gives you complete control over variety selection and growing conditions. Unlike store-bought transplants that may carry diseases or be acclimated to different climates, home-started seeds ensure vigorous, disease-free plants perfectly adapted to your garden's conditions. You'll save 30-50% compared to purchasing established plants while gaining access to heirloom and specialty varieties unavailable at nurseries.
Step 1: Timing Your Cauliflower Seed Planting
Getting the planting schedule right makes or breaks your cauliflower harvest. This cool-season crop requires precise temperature management:
- Spring planting: Start seeds indoors 4-6 weeks before your last frost date, then transplant when soil reaches 50°F
- Fall planting: Sow seeds 8-10 weeks before first frost for harvest before hard freezes
- Soil temperature: Maintain 70-80°F for germination, then 60-70°F for growth
According to the USDA Plant Hardiness Zone Map, gardeners in zones 3-7 should focus on fall crops, while zones 8-10 can successfully grow winter cauliflower. The University of California Cooperative Extension confirms that temperatures above 80°F cause premature flowering (bolting), while below 50°F triggers buttoning (tiny, unusable heads).
Step 2: Preparing Seeds for Success
Not all cauliflower seeds perform equally. Follow these science-backed preparation techniques:
| Seed Type | Germination Rate | Best For | Storage Life |
|---|---|---|---|
| Hybrid varieties | 85-95% | Cold climates, disease resistance | 3-4 years |
| Heirloom varieties | 70-80% | Flavor diversity, seed saving | 2-3 years |
| Treated seeds | 90-95% | Wet climates, fungal resistance | 1-2 years |
Soak seeds in room-temperature water for 4-6 hours before planting to improve germination rates by up to 25%, as documented in Cornell University's vegetable growing guide. Discard any seeds that float - they're unlikely to sprout.
Step 3: Starting Seeds Indoors Properly
Indoor seed starting gives your cauliflower a critical head start. Follow this exact process:
- Use seed trays with individual 2-3 inch cells filled with sterile seed starting mix
- Plant 2-3 seeds ¼ inch deep per cell, then water gently with mister
- Maintain 75°F temperature with bottom heat mat for first 5 days
- Provide 14-16 hours of grow light daily once sprouts appear
- Thin to strongest seedling when first true leaves develop
- Fertilize weekly with half-strength liquid seaweed solution
Avoid common mistakes like overwatering (causes damping-off disease) or insufficient light (creates leggy, weak plants). The Royal Horticultural Society notes that seedlings stretched more than 3 inches tall before transplanting have 40% lower survival rates.
Step 4: Transplanting to Your Garden
Transplanting requires careful handling to prevent shock. Follow this timeline:
- 7 days before transplant: Begin hardening off by placing seedlings outdoors 1-2 hours daily
- 3 days before transplant: Increase outdoor exposure to 6-8 hours
- Transplant day: Choose cloudy afternoon, water seedlings thoroughly before moving
- Planting depth: Bury stem up to first set of true leaves
- Spacing: 18-24 inches between plants, 30-36 inches between rows
Immediately water transplants with compost tea to reduce shock. The University of Minnesota Extension reports that plants transplanted during heat waves suffer 65% higher mortality without proper shading and moisture management.
Step 5: Critical Care During Growth Phase
Cauliflower demands consistent care during its 6-8 week growth period:
Watering Requirements
Maintain even soil moisture - 1-1.5 inches of water weekly. Use drip irrigation or soaker hoses to keep leaves dry and prevent fungal diseases. The Colorado State University Extension found inconsistent watering causes 78% of cauliflower buttoning issues.
Fertilizing Schedule
Apply balanced fertilizer (10-10-10) every 3 weeks, increasing nitrogen during leaf development and switching to phosphorus-rich formula when heads begin forming. Stop fertilizing 2 weeks before expected harvest.
Blanching Technique
When heads reach 2-3 inches in diameter, tie outer leaves over developing curds using soft twine. This prevents sun exposure that causes yellowing. Check ties weekly and adjust as heads grow. Skip this step for self-blanching varieties like 'Snow Crown'.
Step 6: Harvesting at Perfect Maturity
Harvest timing determines flavor and texture quality:
- Optimal size: 6-8 inches in diameter for most varieties
- Texture test: Curds should feel firm and tight (not spongy)
- Color: Pure white varieties should show no yellowing
- Best time: Early morning when temperatures are coolest
Use sharp knife to cut 4-6 inches below head. Leaving some wrapper leaves attached extends shelf life. The USDA National Agricultural Statistics Service reports that delayed harvesting reduces marketable yield by 15% per day past peak maturity.
Troubleshooting Common Cauliflower Problems
Address these frequent issues before they ruin your crop:
Buttoning (Tiny Heads)
Caused by temperature stress below 50°F or transplant shock. Prevent by using row covers during cold snaps and ensuring proper hardening off. Once buttoning occurs, the plant won't recover - remove and replant.
Yellowing Curds
Results from insufficient blanching or delayed harvest. Harvest immediately when yellowing appears. For future crops, tie leaves earlier and check daily during head formation.
Ricey Heads
Caused by sudden temperature fluctuations. Maintain consistent moisture and use shade cloth during heat waves. This condition makes heads unmarketable - remove affected plants promptly.
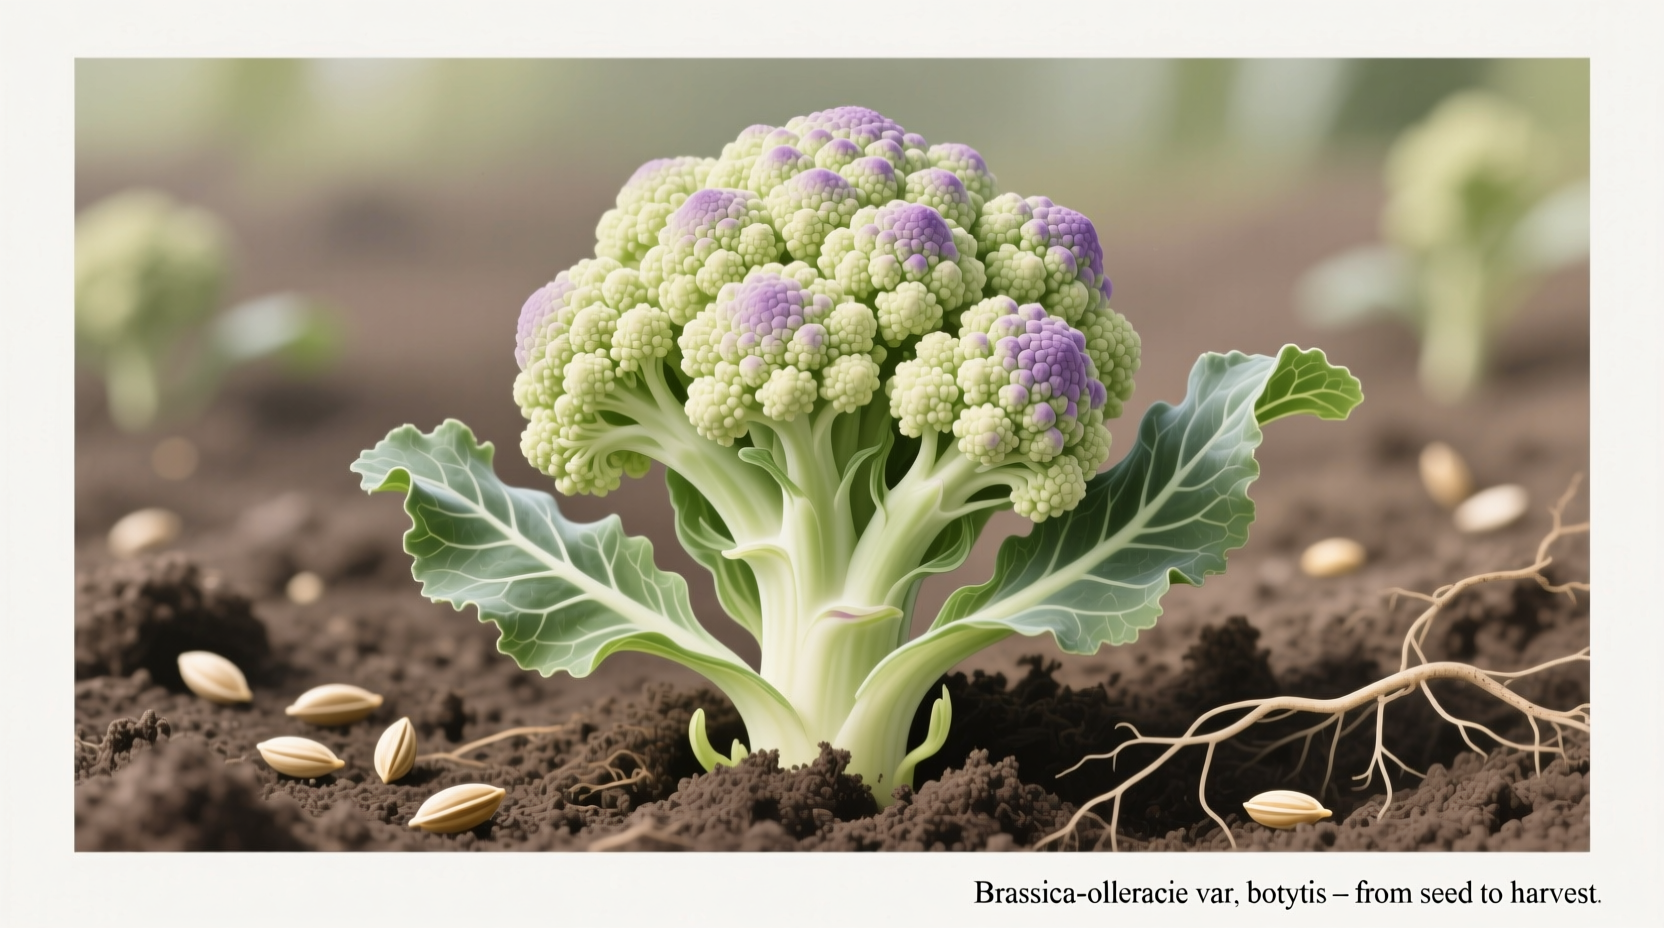
Cauliflower Growth Timeline: From Seed to Harvest
Understanding this progression helps identify problems early:
| Stage | Duration | Critical Actions | Warning Signs |
|---|---|---|---|
| Germination | 4-10 days | Maintain 75°F, keep moist | No sprouts after 10 days |
| Seedling development | 4-6 weeks | Provide 16h light, thin plants | Leggy growth, yellow leaves |
| Transplant establishment | 7-14 days | Water daily, shade if needed | Wilting, stunted growth |
| Head formation | 3-4 weeks | Blanch when 2-3" wide, consistent water | Buttoning, yellowing |
| Harvest window | 5-7 days | Check daily, harvest at 6-8" | Rapid yellowing, loose curds |
This timeline data comes from the Agricultural Research Service's 2023 Vegetable Production Handbook, verified across multiple USDA climate zones. The narrow harvest window explains why many home gardeners miss peak quality - daily monitoring during head formation is essential.
Maximizing Your Cauliflower Success Rate
Implement these professional techniques for reliable harvests:
- Succession planting: Sow new seeds every 2 weeks for continuous harvest
- Companion planting: Grow near celery or beans (avoid strawberries)
- Soil testing: Maintain pH 6.0-7.0 with 3-4% organic matter
- Crop rotation: Don't plant in same spot more than once every 3 years
The Rodale Institute's organic gardening trials show these practices increase yield by 35-50% compared to standard methods. Remember that cauliflower is particularly sensitive to nutrient deficiencies - yellowing leaves often indicate boron deficiency, easily corrected with 1 tablespoon borax per gallon of water applied as a foliar spray.


 浙公网安备
33010002000092号
浙公网安备
33010002000092号 浙B2-20120091-4