
Home canning chili beans offers a convenient way to preserve this pantry staple, but requires strict safety protocols. Unlike high-acid foods like tomatoes or fruits, beans fall into the low-acid category, making them susceptible to Clostridium botulinum bacteria growth if not processed correctly. This comprehensive guide provides science-based methods for safely preserving chili beans while maintaining flavor and texture.
Why Pressure Canning Is Non-Negotiable for Chili Beans
Chili beans contain minimal natural acidity (pH above 4.6), creating an environment where dangerous bacteria can thrive. The only safe method for home canning beans is pressure canning, which achieves temperatures of 240°F (116°C)—the minimum required to destroy botulinum spores. Water bath canning only reaches 212°F (100°C), insufficient for low-acid foods.
Essential Equipment for Safe Canning Chili Beans
Before starting your homemade chili bean canning project, gather these critical items:
| Equipment | Required Specification | Safety Purpose |
|---|---|---|
| Pressure canner | 16+ quart capacity, dial or weighted gauge | Achieves 240°F internal temperature |
| Canning jars | Mason jars with new lids (pint or quart) | Ensures proper vacuum seal |
| Jar lifter | Sturdy rubber-coated handles | Prevents burns during hot jar handling |
| Headspace tool | 1-1.5 inch measurement guide | Prevents seal failure from overflow |
Step-by-Step Guide to Canning Chili Beans Safely
Preparation Phase
Begin with these critical preparation steps for your chili bean preservation process:
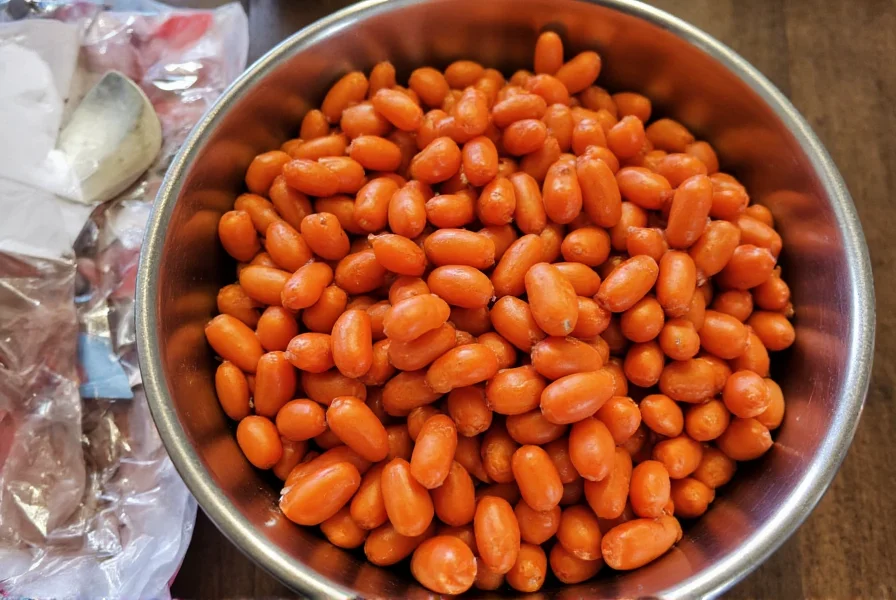
- Soak dried beans overnight or use quick-soak method (boil 2 minutes, soak 1 hour)
- Drain and rinse beans thoroughly to remove oligosaccharides causing digestive issues
- Pre-cook beans until partially tender (75% done) – never raw pack beans
- Prepare chili liquid with proper acidity (add 1 tablespoon bottled lemon juice per pint)
Processing Instructions
Follow these exact pressure canning instructions for chili beans based on USDA guidelines:
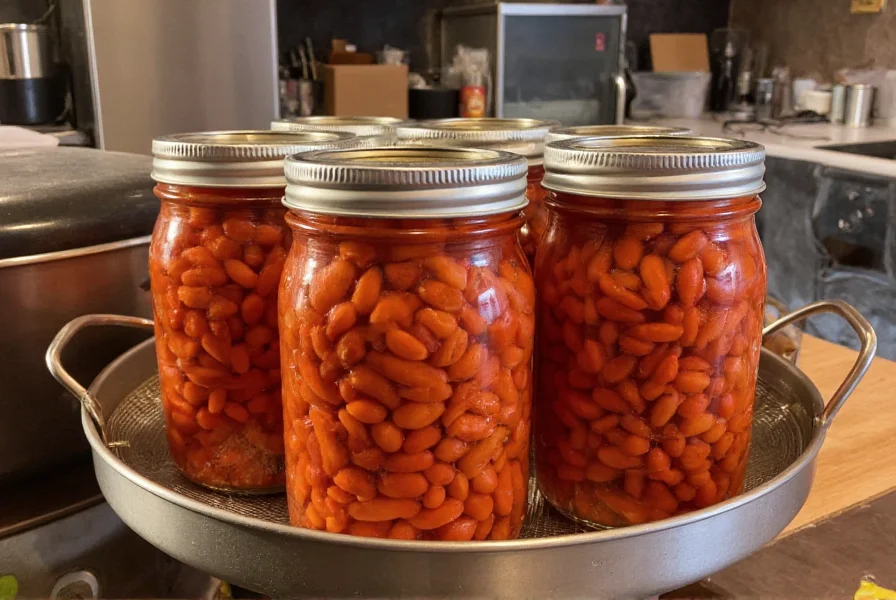
- Fill jars with pre-cooked beans, leaving 1-1.5 inches headspace
- Pour hot cooking liquid over beans, maintaining proper headspace
- Remove air bubbles with non-metallic utensil
- Wipe jar rims clean before applying lids
- Process at 11 pounds pressure for 75 minutes (pints) or 90 minutes (quarts) at sea level
- Adjust pressure to 15 pounds if above 2,000 feet elevation
Cooling, Storage, and Safety Verification
After processing, follow these post-canning safety procedures for chili beans:
- Cool jars upright away from drafts for 12-24 hours
- Remove rings and test seals by lifting jars by lids only
- Refrigerate any unsealed jars and use within 3 days
- Store properly sealed jars in cool, dark place (50-70°F)
- Label jars with contents and date; consume within 12-18 months
Troubleshooting Common Canning Issues
Address these frequent chili bean canning problems immediately:
- Siphoning/liquid loss: Caused by rapid pressure changes – cool canner naturally and avoid overfilling
- Cloudy liquid: Indicates starch release – rinse beans thoroughly before canning
- Darkening beans: Normal oxidation – use proper headspace and oxygen absorbers
- Soft beans: Overcooking before canning – adjust pre-cook time
Maximizing Flavor and Texture in Canned Chili Beans
For the best results in your home canned chili bean preservation, consider these expert tips:
- Add acidic ingredients like tomatoes after canning to maintain texture
- Include bay leaves in jars for flavor complexity without affecting safety
- Use pickling salt (not table salt) to prevent cloudiness
- Leave chili spices minimal during canning; enhance flavor when using
Frequently Asked Questions
Can I can chili beans with tomatoes in the same jar?
Yes, but you must maintain proper acidity levels. Add 1 tablespoon bottled lemon juice per pint when including tomatoes. Process at the same pressure and time as plain beans since tomatoes lower pH but don't eliminate the need for pressure canning.
How do I know if my canned chili beans are safe to eat?
Check for these safety indicators: sealed lid that doesn't flex when pressed, no spurting liquid when opened, no off-odors, and clear liquid (some cloudiness from starch is normal). Discard any jars with bulging lids, mold, or foul smells immediately without tasting.
Why must I pre-cook beans before canning instead of raw packing?
Pre-cooking eliminates oligosaccharides that cause digestive issues and ensures proper heat penetration during processing. Raw-packed beans create air pockets that prevent adequate sterilization, potentially allowing botulinum spores to survive the canning process.
Can I reduce sodium when canning chili beans for dietary needs?
Absolutely. You can safely can chili beans with no added salt. Salt serves only for flavor—it doesn't affect preservation safety. For best results, add salt when using the canned beans rather than during the canning process to maintain texture.
What's the shelf life of properly canned chili beans?
Commercially canned beans last 2-5 years, but home-canned chili beans maintain best quality for 12-18 months when stored properly in a cool, dark place (50-70°F). While still safe beyond this if seals remain intact, nutritional value and texture gradually decline after 18 months.


 浙公网安备
33010002000092号
浙公网安备
33010002000092号 浙B2-20120091-4