

Home canning chili offers a convenient way to preserve this hearty meal for months. Unlike high-acid foods that work with water bath canning, chili contains meat and low-acid vegetables, making pressure canning essential for food safety. The combination of ingredients creates an environment where Clostridium botulinum spores could potentially grow if not properly processed.
The Science Behind Safely Canning Chili
Chili's unique ingredient profile requires special attention during canning. The mixture of meat (a low-acid food), tomatoes (moderately acidic), beans, and vegetables creates a complex pH environment. While tomatoes alone might qualify for water bath canning with added acid, the inclusion of meat immediately moves chili into the pressure canning category.
Pressure canners achieve temperatures of 240°F (116°C) or higher, which is necessary to destroy botulinum spores. Standard water bath canning only reaches 212°F (100°C), insufficient for low-acid foods like meat-containing chili. This critical temperature difference makes proper equipment selection non-negotiable for safe home canning.
Best Practices for Canning Chili at Home
Follow these evidence-based steps for safely canning chili:
- Prepare your chili recipe - Use tested recipes with proper acidity levels. Avoid thickening agents like flour or cornstarch before canning, as they can prevent proper heat penetration.
- Cool chili slightly before filling jars, leaving 1-inch headspace for proper expansion during processing.
- Remove air bubbles using a non-metallic utensil and adjust headspace as needed.
- Wipe jar rims clean and apply properly prepared lids and bands.
- Process in a pressure canner according to USDA guidelines:
| Jar Size | Processing Time | Pressure (Dial Gauge) | Pressure (Weighted Gauge) |
|---|---|---|---|
| Pints | 75 minutes | 10 PSI up to 1,000 ft | 10 PSI |
| Quarts | 90 minutes | 10 PSI up to 1,000 ft | 15 PSI |
Adjust pressure settings based on your altitude. For dial gauge canners above 1,000 feet, increase pressure by 5 PSI. Weighted gauge canners require 15 PSI regardless of altitude.
Common Mistakes to Avoid When Canning Chili
Many home canners make critical errors that compromise safety:
- Using water bath instead of pressure canning - This creates serious botulism risk with meat-containing chili
- Ignoring altitude adjustments - Higher elevations require increased pressure for proper sterilization
- Overfilling jars - Insufficient headspace causes siphoning and potential seal failure
- Adding thickeners before canning - Creates uneven heating and potential safety issues
- Reusing canning lids - Flat lids are designed for single use to ensure proper sealing
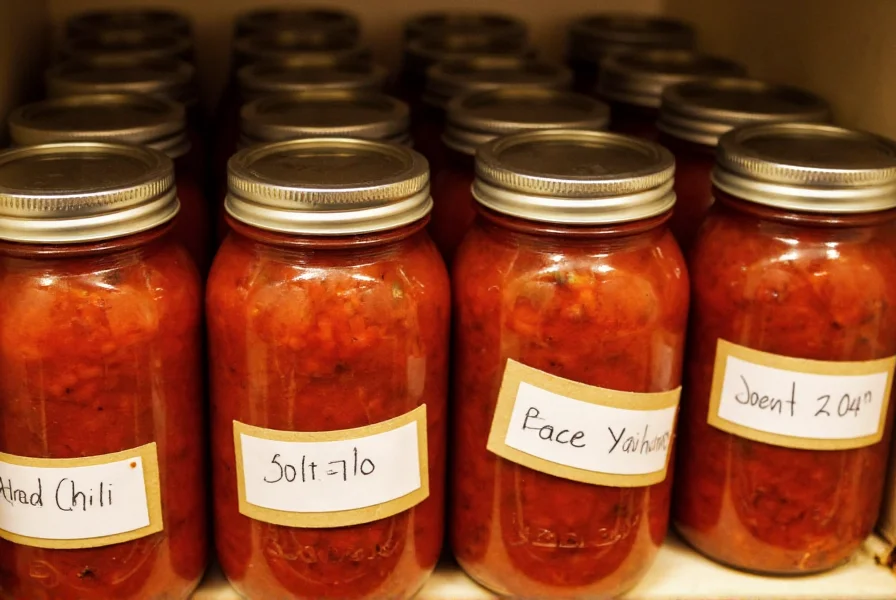
Storage and Shelf Life of Canned Chili
Properly canned chili maintains best quality for 12-18 months when stored in a cool, dark place between 50-70°F (10-21°C). While technically safe beyond this timeframe if jars remain sealed and show no signs of spoilage, flavor and texture gradually deteriorate.
Before consuming canned chili, always check for:
- Bulging lids or broken seals
- Cloudy liquid or unnatural discoloration
- Foaming or spurting when opening
- Unpleasant odors
If any of these signs appear, discard the entire contents immediately. Never taste questionable canned goods.
Alternative Preservation Methods for Chili
If pressure canning equipment isn't available, consider these safe alternatives:
- Freezing - Portion cooked chili into freezer-safe containers with 1-inch headspace. Properly frozen chili maintains quality for 4-6 months.
- Refrigeration - Store in airtight containers for up to 4 days.
- Drying - Dehydrate cooked chili into portable meal bars or powder for reconstitution.
Remember that water bath canning remains unsafe for meat-containing chili regardless of tomato content or added vinegar. The pH alone doesn't guarantee safety with low-acid meat components.
FAQ: Canning Chili Questions Answered
Can I can chili with beans already added?
Yes, you can safely can chili with beans included, but you must follow proper pressure canning procedures. Beans are low-acid foods that require the same processing conditions as meat. Ensure you leave adequate headspace (1 inch) as beans may expand during processing. The processing time remains the same whether beans are included or not.
How long does homemade canned chili last?
Properly canned chili maintains peak quality for 12-18 months when stored in a cool, dark place between 50-70°F. While technically safe beyond this timeframe if jars remain sealed and show no signs of spoilage, flavor and texture gradually deteriorate. Always inspect jars before consumption for any signs of spoilage, regardless of storage duration.
Can I use a water bath canner for vegetarian chili?
Vegetarian chili still requires pressure canning if it contains low-acid ingredients like beans, corn, or potatoes. While tomatoes are acidic, the addition of low-acid vegetables creates a mixed-acid environment that doesn't guarantee safety with water bath canning. For complete safety, pressure can all chili recipes regardless of meat content.
What should I do if my canned chili doesn't seal properly?
If a jar fails to seal within 24 hours, refrigerate it immediately and consume within 3-4 days. Do not attempt to reprocess the same jar, as this creates safety risks. Instead, transfer contents to a clean container. For future batches, ensure you're using new flat lids, proper headspace, and following recommended processing times. Inspect jars for chips or cracks before canning.
Can I add thickening agents like cornstarch before canning chili?
No, you should never add thickeners like cornstarch, flour, or arrowroot before canning chili. These agents prevent proper heat penetration during processing, creating potential safety hazards. Instead, can your chili in a thinner consistency and thicken it when reheating for serving. This ensures proper sterilization while allowing you to control the final texture.


 浙公网安备
33010002000092号
浙公网安备
33010002000092号 浙B2-20120091-4