
Discover exactly how to keep your garlic flavorful and fresh for months with science-backed storage techniques trusted by professional chefs. Whether you're stocking up after a farmers' market haul or preserving a garden surplus, these methods prevent waste while maximizing culinary potential.
Why Proper Garlic Storage Matters
Garlic isn't just a kitchen staple—it's a living plant that continues metabolic processes after harvest. According to the UC Davis Postharvest Technology Center, improper storage accelerates sprouting, moisture loss, and mold growth by disrupting garlic's natural dormancy cycle. Understanding these biological processes helps you make informed storage decisions that extend shelf life while preserving complex flavor compounds.
Garlic Storage Methods Compared: What Actually Works
| Storage Method | Shelf Life | Best For | Critical Limitations |
|---|---|---|---|
| Cool, dark pantry (60-65°F) | 3-5 months | Whole unpeeled bulbs | Requires 60-70% humidity; fails in refrigerators |
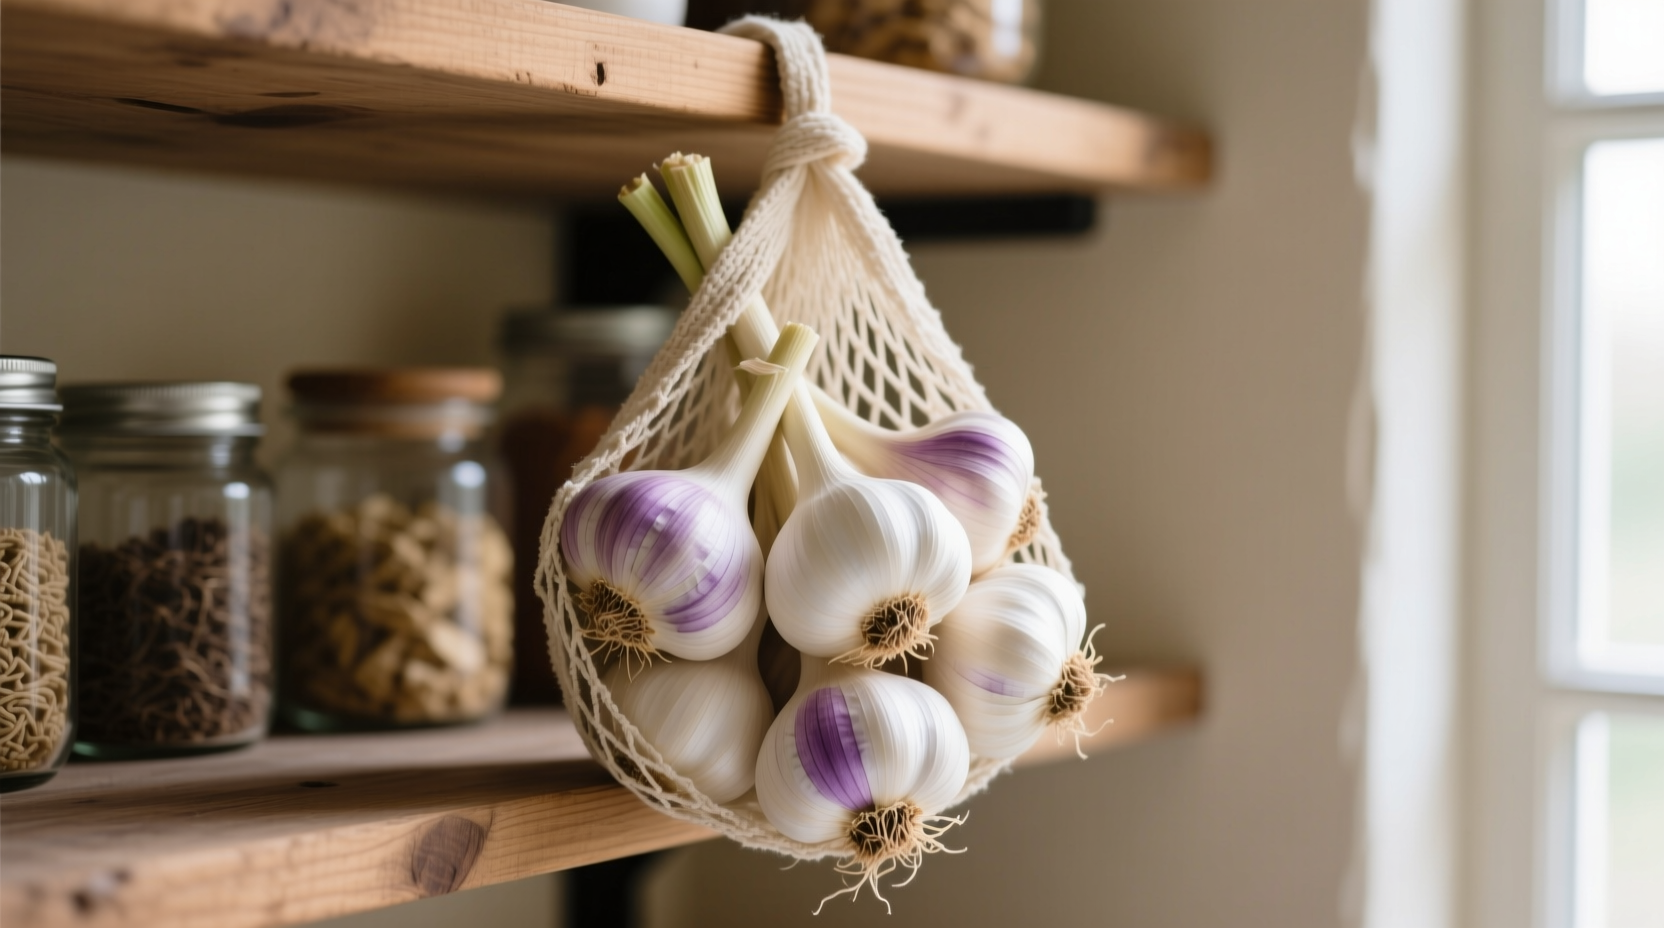
| Mesh bag in cupboard | 2-3 months | Individual cloves | Must be completely dry; avoid plastic containers |
| Freezer (whole cloves) | 6-12 months | Long-term preservation | Changes texture; best for cooked applications |
| Oil preservation | 1 week refrigerated | Immediate cooking use | Botulism risk if stored >4 days at room temperature |
This comparison reveals why the USDA Food Safety and Inspection Service explicitly warns against storing garlic in oil at room temperature—the anaerobic environment creates ideal conditions for Clostridium botulinum growth.
Step-by-Step Optimal Storage Protocol
Preparing Garlic for Long-Term Storage
Cure freshly harvested garlic for 2-3 weeks in a shaded, well-ventilated area before storage. For store-bought garlic, skip washing—moisture accelerates spoilage. Gently brush off excess dirt but never remove the papery skins. Inspect each bulb for bruises or soft spots, which create entry points for mold.
Creating the Ideal Storage Environment
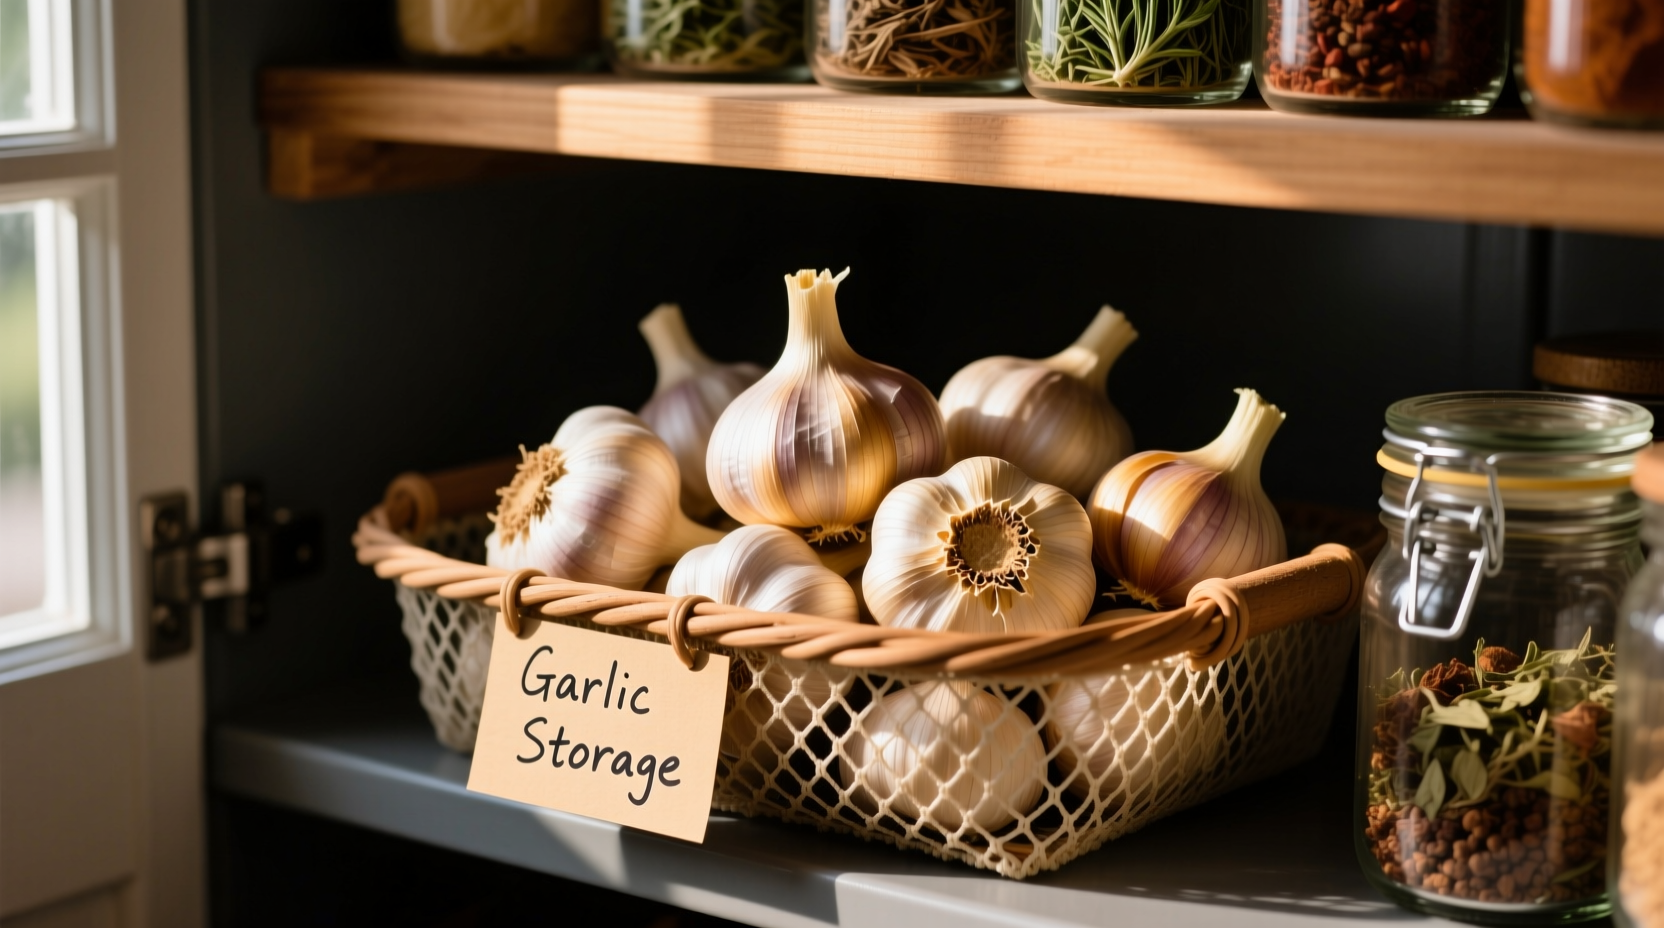
Professional chefs like those at the Culinary Institute of America recommend using breathable containers that maintain airflow while blocking light. A wire basket lined with parchment paper works better than traditional garlic keepers with limited ventilation. Place your container in the darkest corner of your pantry—away from heat sources like ovens or dishwashers that create temperature fluctuations.
Monitoring and Maintenance Schedule
Check stored garlic weekly for these warning signs:
- Sprouting: Indicates exposure to excessive moisture or warmth
- Soft spots: Early mold development requiring immediate removal
- Shriveling: Sign of excessive dryness needing humidity adjustment
Remove any compromised cloves immediately to prevent contamination. For extended storage beyond 4 months, rotate your stock by moving older bulbs to the front of your container.
Troubleshooting Common Storage Problems
Preventing Premature Sprouting
Sprouting occurs when garlic detects favorable growing conditions. The UC Davis research shows refrigeration below 40°F breaks dormancy, triggering sprouting within weeks. If you notice green shoots developing:
- Remove sprouts immediately—they drain flavor compounds
- Transfer bulbs to a cooler location (55-60°F)
- Reduce ambient humidity using silica gel packets
Solving Moisture and Mold Issues
Condensation inside containers creates perfect mold conditions. Food science research from the Journal of Food Protection confirms that relative humidity above 75% significantly increases Penicillium growth. Combat this by:
- Adding rice grains to absorb excess moisture
- Using containers with ventilation holes
- Storing away from refrigerator drip pans
Special Case Storage Solutions
Storing Peeled or Minced Garlic
Once peeled, garlic deteriorates rapidly. For immediate use (within 1 week):
- Store in an airtight container with a paper towel to absorb moisture
- Refrigerate at 34-38°F—never freeze minced garlic (creates bitter compounds)
- Change paper towel daily to prevent mold
Long-Term Preservation Techniques
For gardeners with surplus harvests, professional chefs recommend these tested methods:
- Freezing whole cloves: Place unpeeled cloves in freezer bags with air removed—lasts 12 months
- Vinegar preservation: Submerge peeled cloves in apple cider vinegar (refrigerate; use within 4 months)
- Drying: Dehydrate at 125°F until brittle, then store in vacuum-sealed containers
Remember that frozen or dried garlic works best in cooked dishes, as texture changes affect raw applications. The flavor compounds remain stable through these processes according to research published in the Journal of Agricultural and Food Chemistry.
When to Toss vs. Salvage
Don't discard entire bulbs over minor issues. Use this decision framework:
- Keep: Firm cloves with small green sprouts (remove sprout before use)
- Use immediately: Cloves with slight softness but no mold
- Discard: Any cloves with blue/green mold, slimy texture, or sour odor
Garlic that's sprouted but remains firm develops sweeter, milder flavors perfect for roasting—don't waste these culinary opportunities!


 浙公网安备
33010002000092号
浙公网安备
33010002000092号 浙B2-20120091-4